Knowing how to troubleshoot your camper’s air conditioner (AC) can save you money, inconvenience, and time.
The problem is that we often take these coolers for granted.
As soon as the warm weather arrives, we click them on and simply expect them to work.
But what happens when they blow out warm air, or just fail to function at all?
If you’re out in the wilderness, getting access to an engineer could be tough. It’s important to know how to address the problem yourself.
This article will take you through the most common issues, and how to troubleshoot them, so you can keep your air conditioner healthy and running.
How To Troubleshoot Common Camper Air Conditioner Problems
With an estimated 10 million RVs in the US and only 330,000 AC engineers, getting hold of someone to fix your cooling unit in the field may prove difficult.
Here are ways to solve the most common issues and help you get that AC unit running again—without having to call out for expensive help.
1. My Air Conditioner Will Not Switch On
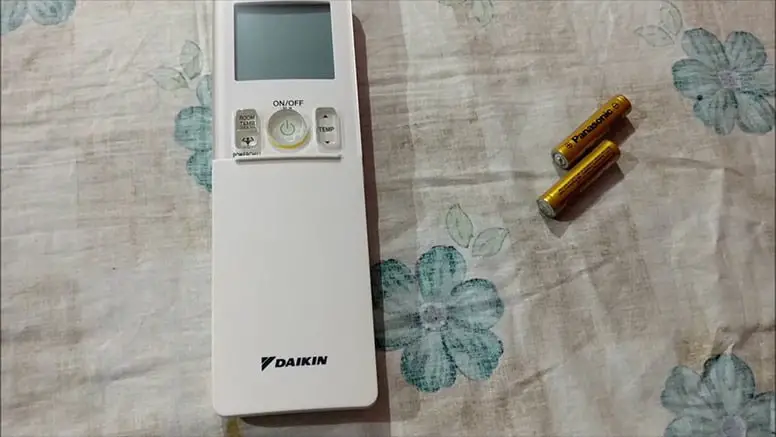
If you’re frantically clicking the thermostat, but the AC fails to start, there could be a very simple solution.
First of all, if your unit is activated by
While AA and AAA batteries can often last from months to years, cheaper brands may discharge much sooner.
A dim or non-existent control display suggests that the batteries are on their way out.
Either change the batteries for new ones, or check the old ones with a battery tester. If the cooling unit still doesn’t kick into life, it’s time to look elsewhere.
Next, check that there’s electricity in the RV itself. Plug a device into one of the camper’s 110-volt outlets and see if it works.
If not, then either you aren’t hooked up to the site’s electric supply, there’s an issue with your generator, the breaker has tripped, or a fuse has blown.
The solutions are—plug into the park’s supply, fix or replace the generator, reset the breaker, or change the fuse.
Assuming there’s power to the RV itself—check the AC’s power supply.
The majority of air conditioners run on an electrical cable leading from the compressor to a power outlet.
Check that this is plugged in and that the cable shows no signs of deterioration. If it appears damaged, replace immediately.
2. My Air Conditioner Blows out Hot Air
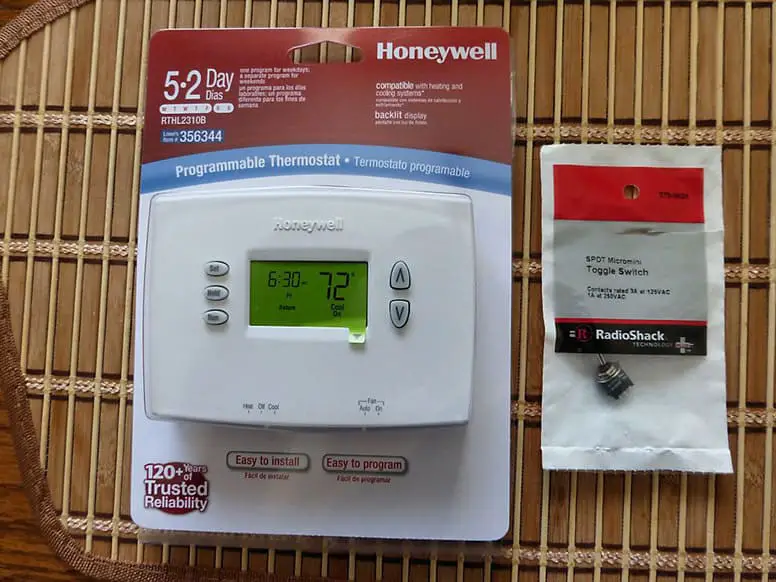
It may sound obvious, but the first port of call should be checking the temperature on the thermostat.
Accidental knocks or inquisitive children can lead to the temperature being set too high, or on winter mode.
If that’s the case, restore it to the desired setting.
It’s possible there could be an issue with the thermostat itself. Barring battery or fuse issues as mentioned above, the control board may be broken.
Disconnect the two wires leading to the thermostat and attach them together, bypassing the thermostat entirely.
If the AC unit starts up, it’s definitely a broken thermostat. Replacements can easily be purchased online, and are simple to install.
A quick word of warning, though. Anytime you clean, maintain, or generally play about with the thermostat, fan, compressor, or condenser, always disconnect from the electricity supply first.
With over 1500 electrocution injuries in the US every year, you don’t want to be adding to this statistic.
If your thermostat isn’t the issue, cleaning the AC unit can often solve the problem. Follow the steps outlined in the tip below.
If this fails to help, there could be a fault with the condenser or compressor—in which case it may be time to call a professional.
3. My Air Conditioning Unit Smells Bad And/Or Does Not Cool

A poorly maintained or dirty air conditioner can both smell awful and prevent cooling.
Often, fungi and mold will collect inside an uncleaned AC unit—leading to airflow loss, motors working overtime, and increased costs.
What’s more, they can promote a bacterium known as legionella, which causes the life-threatening Legionnaires’ disease.
In addition, standing water in the unit can lead to the formation of hydrogen sulfide, which has the distinctly unpleasant smell of rotting eggs.
Here’s the how to clean your unit—preventing smells and disease while making it run more efficiently.
Safety First
As mentioned earlier, safety always comes first. Ensure that the AC unit has been unplugged.
As an extra precaution, you can remove the associated fuse, or disconnect the RV entirely from the hook-up or generator.
Clean the Air Conditioning Filters
The filters are often neglected. If it’s the height of summer and you’re using the RV’s AC every day, these filters should be attended to at least once every four weeks.
They are easy to remove—usually they just clip out.
Wash them gently in a sink with very warm water and a little dish detergent. An old toothbrush is ideal.
Leave them to air dry—if they show signs of damage or tears, replace them. Check out this guide.
Clean the Air Conditioner’s Evaporator Coils
Once you’ve removed the filters, you will see the evaporator coils exposed. Unless you are a certified AC engineer, these should not be removed.
Instead, gently clean them with a small, soft brush, to remove any debris. Do not press too hard, as they can become easily bent.
Once cleaned, remove any remaining debris with a vacuum.
Clean the Air Conditioner’s Condenser Coils
Only do this if you’re both comfortable with heights and are capable with basic tools.
You’ll need to climb onto your camper’s roof to access the condenser.
Unscrew all bolts and metal hardware, and place them in a container for safekeeping. Then, remove the condenser covering.
Be careful where you place it—if it slips off the roof, you’ll be left with a broken shroud that needs replacing.
Clean out all the dust, insects and residue with a vacuum cleaner.
Once complete, give it a generous spray of specialized coil cleaner.
Replace the AC cover and carefully climb down from the top of your RV.
After cleaning, consider buying an air freshener.
4. My Air Conditioner Is Dripping
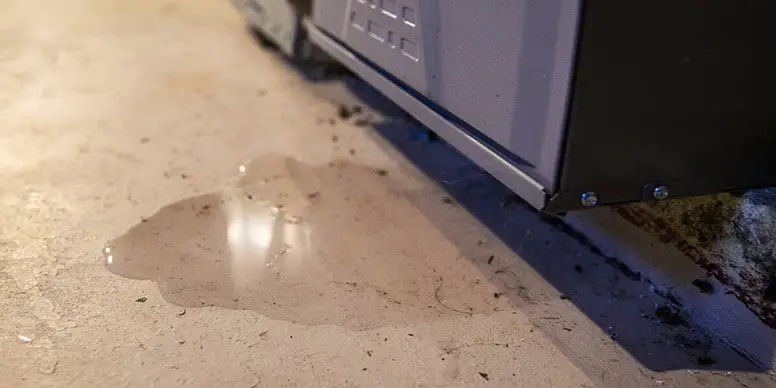
Dripping water from your AC can be part of normal operation and therefore nothing to worry about, or in other cases, something more serious.
Taking the normal operation first, if your condenser is dripping, chances are there’s no issue.
If it’s just a little puddle that appears while running, it’s most likely due to temperature differences causing condensation on the underside of the condenser.
If the weather outside is very hot, and you have your AC set to 64 degrees Fahrenheit, you’re creating ideal conditions for condensation to form.
However, if the dripping continues for a few days, even during non-operation, there could be a more pressing issue.
Additionally, if the evaporator unit inside the RV is leaking, it’s time to do some troubleshooting. Here are the main causes and solutions:
Blocked Air Filters
This can lead to freezing of the evaporator coils, meaning excess water can spill over the sides of the drainage tray. Clean the filters as described above.
Broken Drain Tray
Water should gather in the drain tray and then be expelled down the drain hose.
If the drain tray has become cracked, often due to rapid changes in temperature, it can leak. If the tray can be removed, do so for a thorough inspection and repair.
If not, it will need to be done while in place.
Small cracks can be fixed with some silicone sealant, which is very forgiving—providing a seal which can flex with the temperature changes.
If the cracks are more than 0.125 inches in width, it’s time to replace.
Blocked Drain Hose
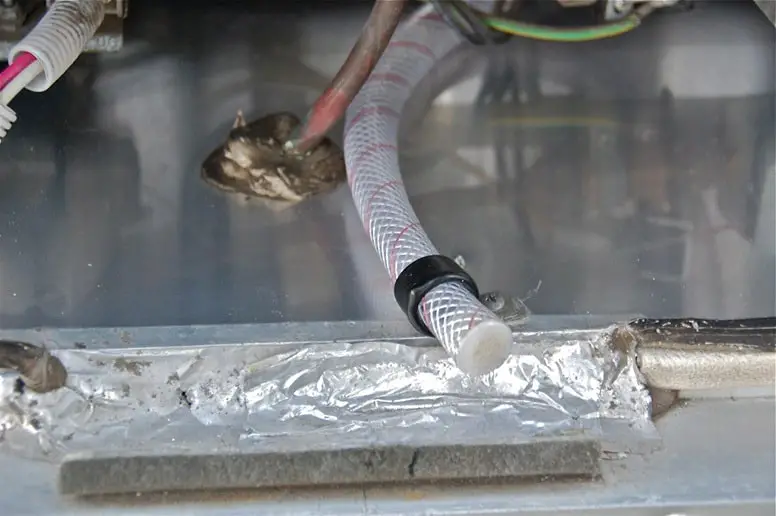
If a blockage occurs, these hoses back up with water all the way to the evaporator unit. This leads to drips, as the water has no means of escape—it will spill over the sides of the drain tray.
It’s usually very easy to clean these pipes. If they’re quite short, removing and blowing down them with a hard and short blast can clear blockages.
Alternatively, connect them to a high-pressure water outlet and flush out the problem. This also has the advantage of cleaning the hose thoroughly, reducing the likelihood of recurrence.
5. My Air Conditioner Is Freezing Up
Ice on the inside or the outside of the AC unit is a sign that there’s something wrong. These include:
Insufficient Airflow
Lack of airflow means that the warm air in the RV cannot stop the coil’s condensation from freezing.
So, check and wash the filters, as already described, and clean any exterior vents on the evaporator unit.
Grimy Coils
The dirt on the coils can mean that they’re ineffective at absorbing water and so it just turns to ice. Give the coils a good clean, as previously described.
Low Levels of Refrigerant
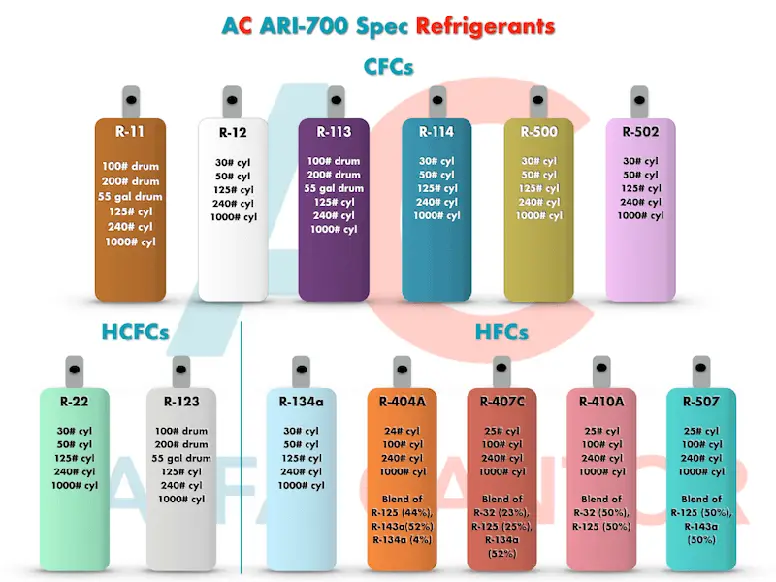
This is one of the more serious causes of freezing that will require the presence of an engineer. If the above tips do not solve the problem, chances are the unit is low on refrigerant.
Most RVs use Freon as a coolant. Under normal operating conditions, this gas allows condensation to form.
However, if refrigerant levels drop, the pressure inside the unit’s lines change, meaning that ice is likely to form.
This ice will build to a point where it becomes an insulator—reducing the cooling power of the AC unit and making the refrigerant become even more depleted.
Eventually, it reaches such a low level it fails to cool anymore. The ice melts and your AC unit will just blow out warm air.
Consult an engineer if you suspect that the refrigerant is too low. Replacing is not an easy procedure and should be done by a professional.
Furthermore, the cooling operation is usually a “closed-system” which should prevent coolant dissipation. The engineer can check for issues which may be causing this loss.
6. My Air Conditioner Is Noisy
AC units are not the quietest of machines.
With evaporators, condensers, and fans all running concurrently, of course, they’re going to make some noise.
However, if you find that there are now some new sounds that you haven’t heard before, or the decibel level has increased, there could be an issue. Here are the usual culprits.
Banging or Rattling on the Condenser
The condenser is often roof-mounted and exposed to the elements—meaning that debris can enter through the grills in its cover.
This is more likely if you’re camping in heavily wooded areas, where leaves and branches can be brushed by the RV.
The first course of action is to remove the cover on the condenser and check inside thoroughly for debris—such as dried leaves or sticks. If some are found, remove.
Should this not improve the rattling, or if the inside of the condenser is clean, check the screws, bolts, and washers that hold it in place.
As these units vibrate, bolts can work themselves loose—causing a rattling sound. Ensure that all the fasteners are tight.
Furthermore, these units sit on rubber feet, which work as shock absorbers. Examine the unit to see if they have become dislodged or damaged.
In which case, either reposition or replace.
Whistling
The most common cause of a high-pitched whistling sound is leaking refrigerant. In this case, switch off the unit straight away and call a professional. Leaking gases can be dangerous to the health.
Moaning or Grinding
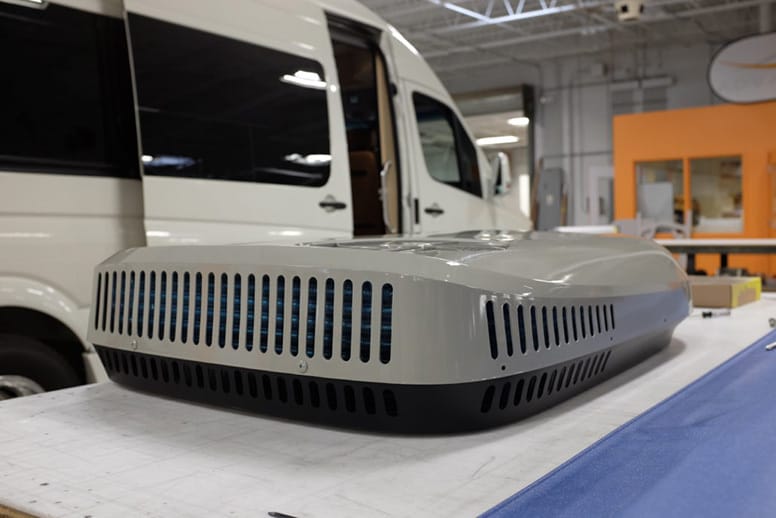
If the unit sounds loud and labored, the motor could be beginning to fail. The most common cause is a worn out bearing.
Replacement motors can be purchased online if you don’t have the knowledge to carry out repairs.
Cracking
AC units are exposed to changes in temperature. This heating/cooling effect causes the casing and parts to expand and contract, which can lead to cracking noises.
In many cases this is a normal function—if it has made these sounds from new, there’s little to worry about.
However, if it’s a recent symptom, the unit could be freezing up. This exposes the unit to more contraction and expansion.
Check inside the AC for signs of freezing, and troubleshoot as earlier described.
7. My Air Conditioner Is Constantly Running
As the weather becomes warmer, more demands will be placed on your AC. In these circumstances, it’s normal for it to be running longer than previously.
Yet, if you believe that weather is not the reason, ask yourself these three questions:
- Is it literally running all the time without clicking off at all?
- Are you either too hot or too cold?
- In other words, does your RV never reach a comfortable temperature?
- Is the air temperature never reaching that set on the thermostat?
If you answered yes to any of those questions, there could be an issue that needs addressing.
Size of AC Unit
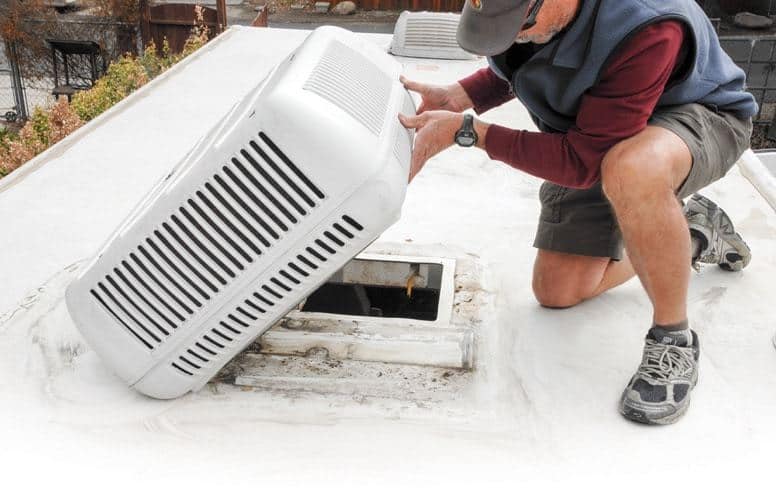
Most RVs are factory fitted with an AC unit that is suitable for the size of the vehicle. If this has been changed or modified in post-production, it could be insufficient for the volume of the camper.
You can always add a 2nd unit.
Signs that this is the issue are:
- You’ve just replaced the AC unit.
- Air leaving the vents is very cool but the RV doesn’t reach the temperature on the thermostat.
- Iced-up evaporator coils.
If you’re mathematically minded, you can perform your own cooling load calculations to see the size AC unit you need—here’s a useful video which explains the method.
If you’re not keen on numbers, consult an AC professional.
Restricted Airflow
The unit could be running constantly because it can’t provide sufficient cold air for the RV. To ensure that this is not the cause, you should:
- Clean all the air filters.
- Open all the air conditioning ventilation grilles.
- Ensure none of these grilles are impeded by furniture, decorations, or drapes.
My Air Conditioner Switches Off The Generator
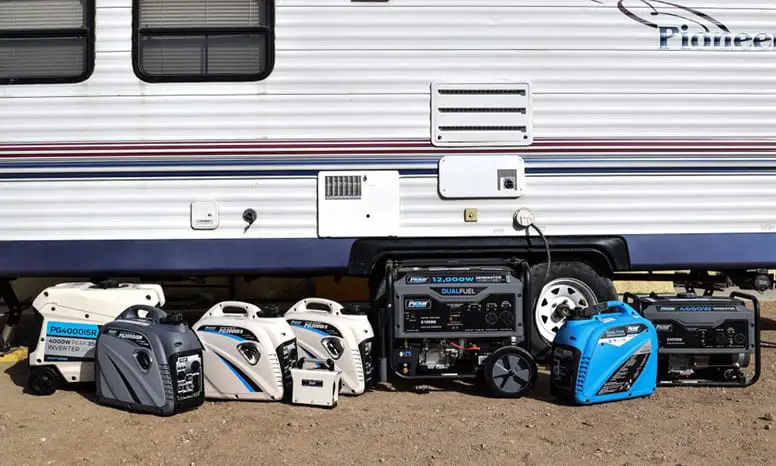
You’re sitting in the RV watching TV and it starts to become a little too warm for comfort. So you click on the AC and all the electricity trips.
Now you’re hot and you’re missing your favorite show.
AC units demand a lot of power, more than any other appliance in your RV or home.
The most demand occurs when the air conditioner starts up, measured in watts.
It isn’t just a case of checking that the wattage of your particular AC unit is suitable for the size of the generator.
It’s likely that you want to run other RV electricals at the same time, such as your fridge or TV.
These wattages all need adding together to find a suitably sized power bank. If not, this can lead to some problems.
In the best case scenario, your generator will just trip and cut out—meaning you have to venture outside to reset it.
In the worst case, if the trip fails, the circuit board can become fried—meaning having to buy an expensive replacement.
Alternatively, just run fewer electricals at the same time.
On top of AC units, high demand electricals include hair dryers, microwaves, and electric grills.
Choosing your generator wisely at the start will save money and headaches in the long run.
Conclusion
Most of the common problems experienced with air conditioning units can be solved with a little troubleshooting. Hence, saving you the expense of an engineer or waiting for one to arrive.
The more self-sufficient you are in your RV, the further into the wilderness you can venture and enjoy the great outdoors.
I hope that this article has been helpful.
If you have any questions or comments, please feel free to let me know below. Also, if you think others could benefit, do not hesitate to share.




Was running my air conditioner Friday night and the middle of Saturday afternoon, it just quit. I turned the switch to the off position and when I turn it on, it doesn’t make any noise at all. Where should I start?
Just bought a new 15000 BTU roof top A/C for my camper. The unit only blows semi cool to warm air. The thermostat turns on the unit. Could it be a bad tgermostat.
My AC work Okay on L/H fean When turn on to cool the generator stop running Was running before When I used direct power the AC work Ok ! Thanks