Nothing can beat the feeling of being out in nature, with nothing but the sound of birds chirping and the rustle of leaves in the wind.
But the first step to experiencing all that is to pitch a tent. While it may seem like a daunting task, it can be an easy and enjoyable experience with some simple steps.
So pack up your gear and get ready for an amazing camping experience!
#1 Choose a Suitable Location

When choosing a location for pitching your tent, look for a flat area that is away from sources of water and debris.
Avoid any areas with standing water, as these can be breeding grounds for mosquitoes. If possible, find an area that is sheltered from strong winds, as this will make pitching and taking down the tent far easier.
Be aware of any nearby hazards, such as trees or large rocks that could be dangerous in strong winds. If you’re camping in the woods, make sure to check for any animal trails or signs of wildlife that could cause you to be disturbed in the night.
#2 Gather Your Materials
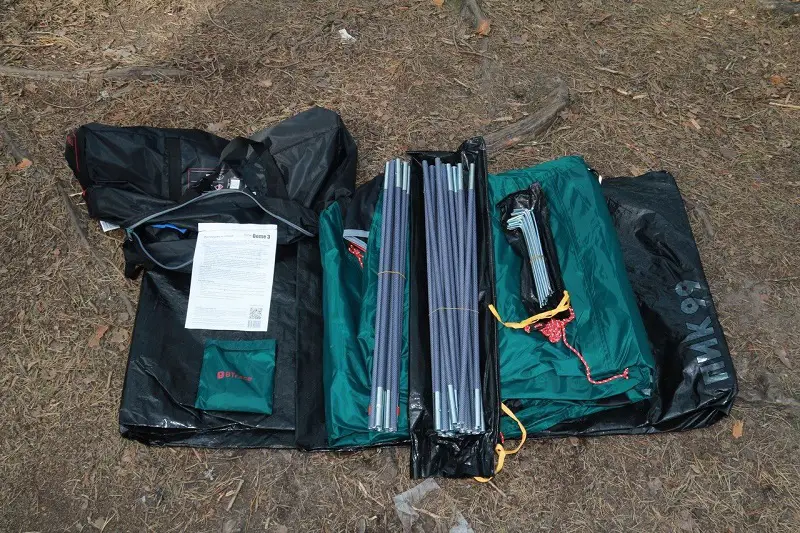
Gather all the necessary materials for pitching your tent. These should include the tent poles, the tent itself, a ground tarp, ground stakes, a hammer to hammer the stakes into the ground, and a mallet to help set up the tent.
Make sure you have all the pieces of the tent and poles, and if necessary, lay out the components to familiarize yourself with their placement and function.
If you’re unfamiliar with the tent, it’s worth taking the time to read the instructions to make sure you understand the process.
#3 Lay Out The Tent
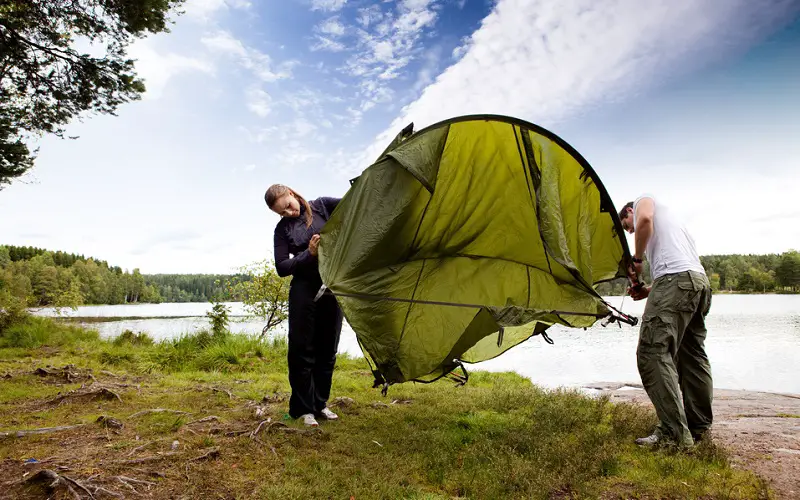
Unroll the tent on the ground tarp in the chosen area and lay out the poles. Make sure the poles are in the right order and that the ends are connected together correctly, either by clips, sleeves, or other means.
The tent should be laid out with the door facing away from the wind. This will make entering and exiting the tent easier, as well as keeping the tent more stable in strong winds.
If you’re camping with others, make sure to leave sufficient space between the tents for easy access.
#4 Assemble The Tent Poles

Assemble the tent poles by fitting the ends of the poles together and connecting them with the clips, sleeves, or other means.
Make sure the poles fit together as snugly as possible, as this will help keep the tent stable in strong winds. Take care to ensure that the poles are securely attached to the tent, as this will help prevent the tent from being torn apart in strong winds.
Place the ground stakes around the tent in a circular pattern, and hammer them into the ground. This will help anchor the tent in place and prevent it from being damaged in strong winds.
#5 Insert The Poles
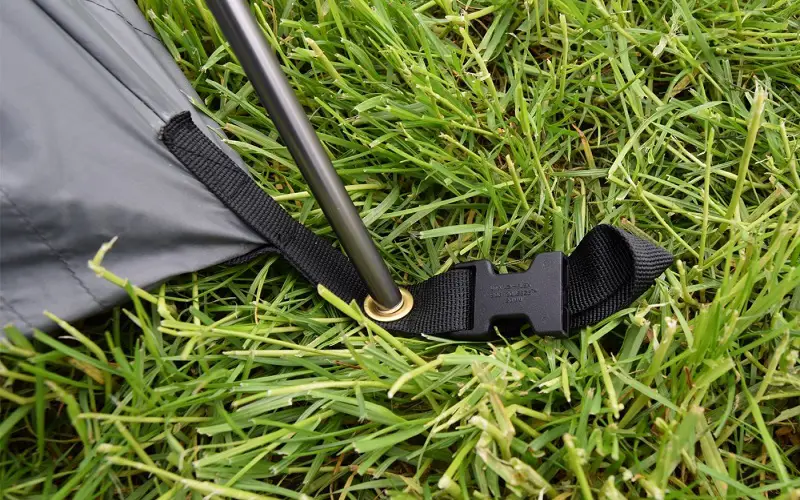
Once the poles are assembled, insert the poles into the loops along the sides of the tent.
Make sure the poles fit snugly and that all the loops on the tent are tight and secure.
Additionally, make sure the poles are symmetrical and that the tent is not lopsided. This will help ensure that the tent is stable and will not be damaged in strong winds.
#6 Raise The Tent

Once the poles have been inserted into the loops, the tent can be raised. Start by raising the poles one at a time, ensuring that they are straight and upright.
As the tent is being raised, make sure to secure the sides and corners with the guy lines. This will help to keep the tent stable in strong winds and prevent the sides from blowing away.
Once the tent is fully raised, adjust the guy lines as necessary for further stability.
#7 Stake The Corners
Once the tent is raised and the guy lines are secured, it is time to stake the corners. First, locate the loops at the corners of the tent and attach the rope from the stakes to those loops.
Then, hammer the tent stakes into the ground at an angle, ensuring they are firmly anchored in the ground.
This will provide an extra layer of stability for the tent and prevent the tent from being blown away in strong winds. Additionally, make sure to leave sufficient space between the tents for easy access.
#8 Adjust And Tension The Tent
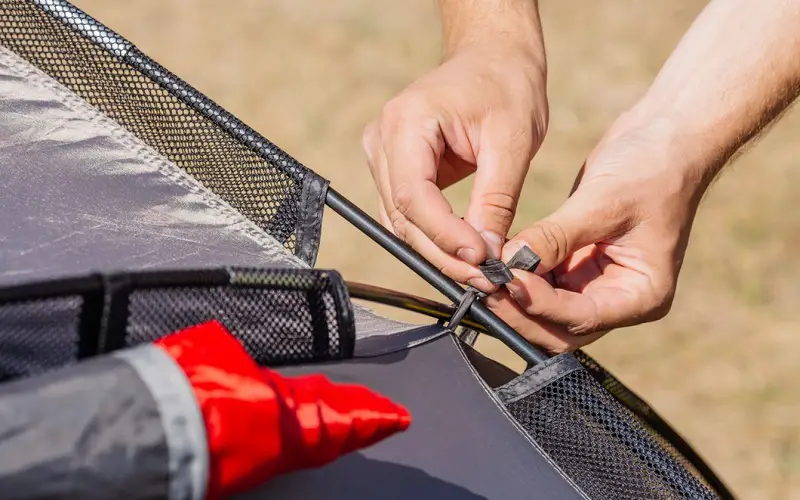
Once the corners of the tent are staked into the ground, adjust the tent and tension the ropes to make sure the tent is taut and secure.
Make sure that the poles are symmetrically aligned and that the guy lines are as tight as possible.
This will ensure that the tent is stable and that it will not be damaged in strong winds. Additionally, adjust the ropes periodically to ensure that the tent stays taut and secure.
#9 Attach The Rainfly
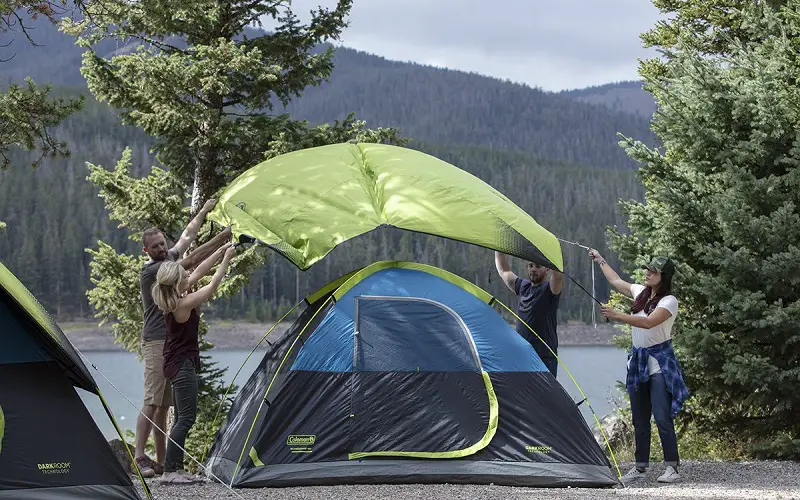
If the rainfly is included with the tent, attach it to the poles for additional protection against the elements.
Start by aligning the poles with the loops on the rainfly. Once the poles are in position, attach the rainfly to the tent by using the clips, buckles, or loops that are provided with the tent.
Adjust the tension of the rainfly as necessary to make sure that it is secure and taut. This will ensure that the rainfly will stay in place and will not be damaged in strong winds.
#10 Test The setup
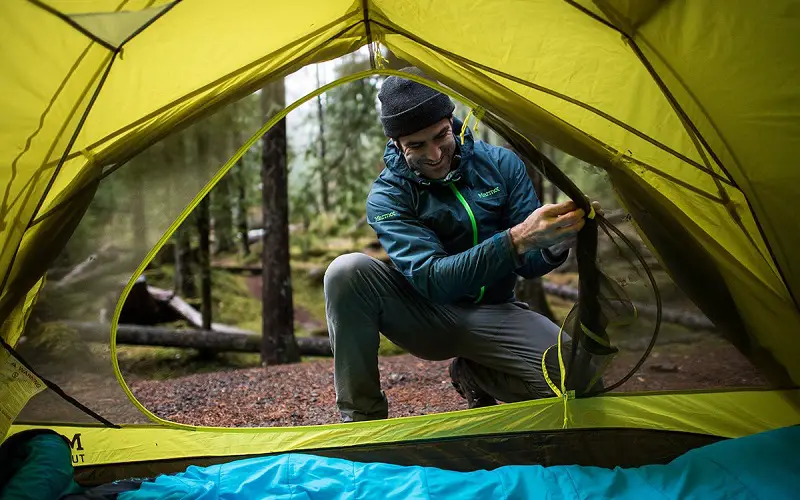
To test the setup of the tent, shake the tent by pushing and pulling on the poles and tugging on the guy lines.
This will help identify any potential weak spots in the setup, such as loose guy lines, bent poles, or sagging areas.
Adjust any identified weak spots to ensure that the tent is properly set up and stable. Once the tent is set up and tested, it is ready to be enjoyed.
Final Word
Pitching a tent can be a daunting task, especially if you are in unfamiliar terrain.
But with the right gear and a little know-how, you can set up camp like a pro. Remember to choose your campsite carefully, avoiding low-lying areas or those under trees that could be hazardous during high winds.
By following our step you’ll make sure the tent will be safe and secure in strong winds and will provide a comfortable and pleasant place to rest and relax.
Quality tent setup is key to making the most of any outdoor activity.
References:



![9 Final Thoughts And Items For Your First Camper Adventure [Checklist] 13 RV Camping Checklist](https://kempoo.com/wp-content/uploads/2018/11/first-camper-adventure.jpg)
