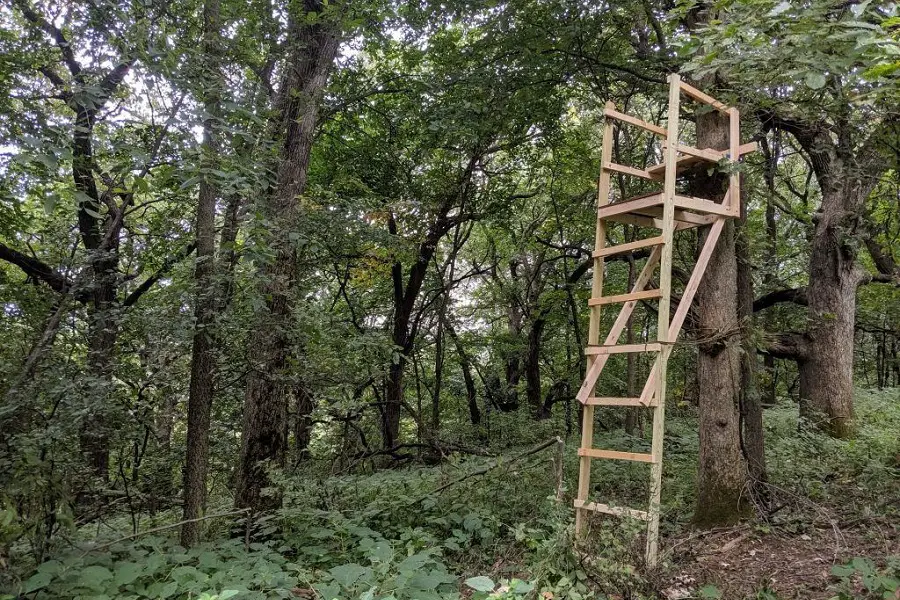
Hunters build DIY deer stands for many reasons, from comfort to improve their line of sight.
While searching for advantages in deer hunting, you might like to check state regulations as not all approve of this technique.
Otherwise, states may impose certain restrictions on building and positioning deer stands, with which you should be familiar.
After you confirm the legality of constructing a DIY deer stand in your state, you can get stuck into building your own structure.
You increase your comfort and line of sight and enjoy many other benefits when you take this route.
Why Do You Need a Deer Stand?
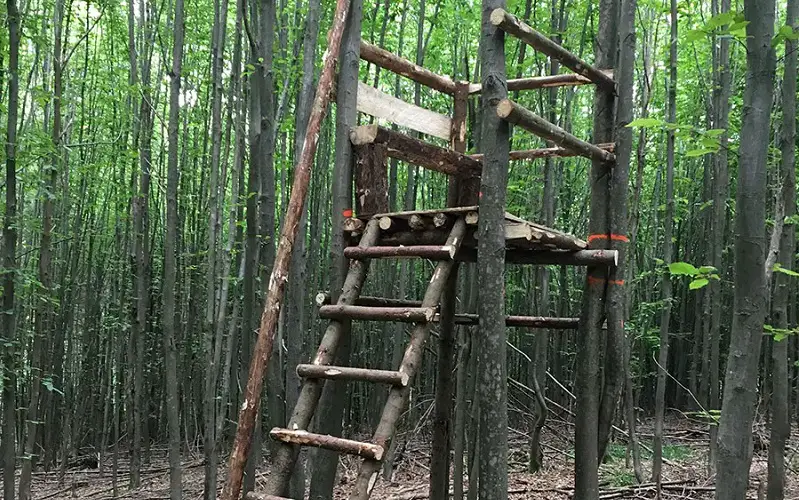
Deer stands that sit at least 20 feet off the ground provide better visibility for hunters than those working on ground level. When your line of sight is evident from 20 feet above the ground, you improve your chances of spotting your prey.
Another reason why you need a DIY deer stand is to disguise your presence from local deer. Deer and other animals (including people) seldom look up, which gives you a better chance of spotting, aiming, and firing before your target notices your presence.
When you hunt from a DIY deer stand, you also hide your movements from wild game. You can move freely in your stand without deer detecting your presence. This extra time and invisibility ensure that you increase your chances of a viable hunting trip.
If you think of it – you’re more likely to increase your time in the field if you’re comfortable. Hunting at ground level is challenging, uncomfortable, and tiring. In contrast, a DIY deer stand provides more comfort and protection from adverse weather conditions.
When you’re comfortable, you have more patience to wait for your target to come to you than if you are constantly worrying about niggling inconveniences while hunting. Once you build your DIY deer stand, place it at about 50 feet from known deer food sources.
If you put the stand closer to the food source, you’re likely to scare off the prey. Any further than 50 feet, and you might miss your shot – hunt in the early mornings and evenings for your best shots.
Is it Legal to Build a Deer Stand Yourself?
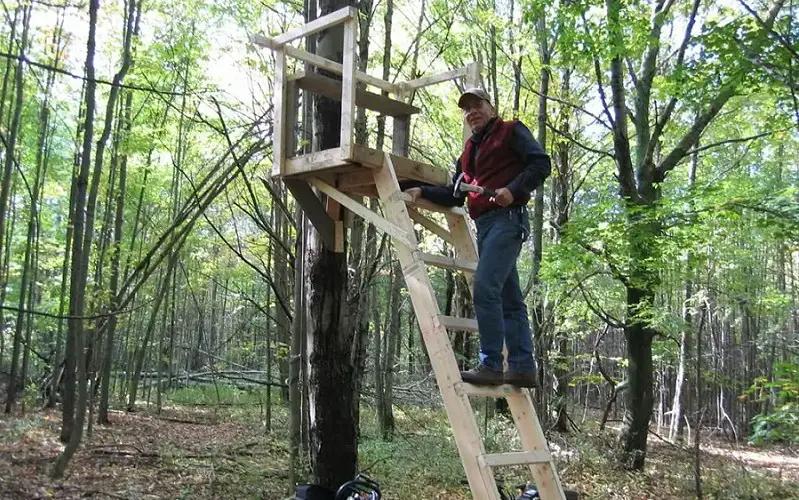
If you’re considering erecting a DIY deer stand on public land, it is advisable to check local state regulations. States regulate the erection and use of DIY deer stand on public land to protect local fauna and flora.
In the absence of such rules, the situation can and has gotten out of hand, spoiling the landscape and placing natural foliage and people at risk of harm.
What you need to look at in terms of a DIY deer stand is this:
- Some states may require a building license to erect a DIY deer stand. The reason for the building permit is that deer stands can become fully-fledged dwellings out in the wild. If your DIY deer stand is larger than regulations allow, you may need a building permit, even if you build the stand on private property.
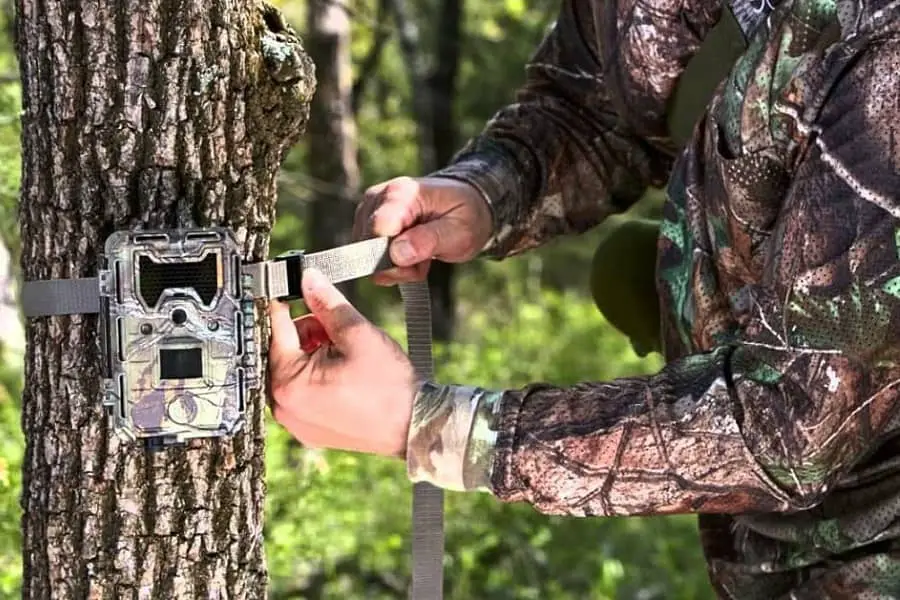
- Certain states do not allow you to leave personal belongings in a DIY deer stand overnight. You must remove all belongings from the stand. You can leave the tree stand intact, blinds, or trail cameras in and around the stand when you vacate it overnight.
- When you erect a tree stand or position a pop-up blind on public land, you must move this structure once a week. When you move the blind or tree stand, it must be a minimum of 200 yards from that position.
- You must reflect your name, address, and contact details on the stand.
- Do not hunt from a stand that has not been occupied in seven days. If you discover a stand in the same position after a week, notify the local wildlife organization about its presence. Provide the local wildlife management authority with the GPS coordinates of the stand or at least clear directions to locate the stand.
- Regulations do not allow hunters to cut branches around the DIY deer stand. If you want to create a clear line of fire, you will have to satisfy yourself with bending and twisting off a few branches to improve their line of sight.
- Hunters can also use dead or fallen branches and twigs to disguise their DIY deer blind further. Beyond these measures, hunters may not use their knives for anything other than field dressing.
- Hunters must always use tree harnesses as safety precautions to prevent falls and injuries.
- Always wear the requisite orange hunting gear, including vests and hats, when you are in your DIY deer stand and entering and leaving the area.
Certain states ban the use of DIY deer stands, while others impose restrictions such as not allowing nails or screws to be driven into tree trunks.
Still, other states require hunters to apply for special permits when they wish to erect DIY deer stands, so always check the legality of building and placing deer stands before forging ahead with your new project.
How to Build a Deer Stand?
You can built a DIY deer stand for under $50. Your stand will be about 42” wide for comfortable seating, including a swivel chair.
If you prefer, you can enclose the top to provide additional cover.
Materials And Tools Needed
Purchase the following items to construct your DIY deer stand:
- 12 x 8 ft. treated 2×4’ wood
- 2 lbs. x 12d galvanized nails
- 18 x 0.25” diameter of 4” long carriage bolts, washers, and nuts
- 1 x 12” long, ¾” galvanized piping with threading on both sides
- 2 x pipe flanges for ¾” piping
- 6 x 3″ length by 0,25″ diameter flat head stove bolts plus the washers and nuts
- 2 x 0.25” diameter, 3” length, lag bolts
- 1 x 15” x 14” plywood scrap for the seat, which should be treated
Step-By-Step Guide
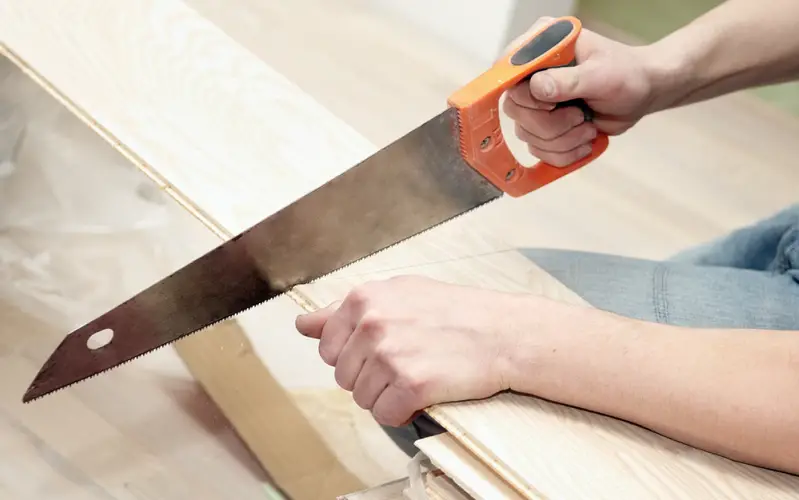
Get the wood pre-cut to size so that you only need the necessary screwdrivers, hammer, and drill to make the DIY deer stand.
Otherwise, cut the wood as follows:
For the Ladder
- Ladder struts – use the 2×4’s to cut 2 pieces of the 8ft. into 6×32” planks
- Ladder rungs – use the 2×4’s to cut 2 of the 8ft. planks into 6x 32” planks
- Upper ladder vertical – use 2 pieces of the 8ft. planks (2×4’s) as they are
- Lower ladder vertical – cut the 8ft. 2×4’s into 2×36” planks.
- Use the remaining 12” pieces of wood for the seat.
Secure the 36” extenders to the bottom of the ladder using 3 carriage bolts on either side. Place the first rung (32”) about 13” from the top of the side supports, partially securing with a nail on either side.
Place the next rung 15” below this one and repeat, nailing the last one 13” below the second-last rung. Once you can see that the rungs are evenly spread, use 3 nails to secure them properly on either side.
Ensure the top width of the ladder is no wider than 30 1/2″ so that it fits properly in the top support of the DIY deer stand deck.
Deck and Seat
- Use one 8ft 2×4 and cut this into 3×32” pieces
- Use one 8ft. 2×4 and cut this into 32”, 30 0.5”, and 33 0.5” pieces
- Use the 8ft. 2×4’s and cut into 7×42” pieces
Create a frame using 4×32″ pieces to form a square and place the same length plank in the middle of the frame.
Cover the structure with 42″ pieces, leaving a 1.5″ gap between each plank. You should nail 7 pieces across the top of the framework, working on a flat surface.
Attach the flange for the seat to the third plank from the back of the DIY deer stand. Use the 2×0.25″x3″ lag screws and attach these to the 2×4’s. Also, use two of the 3″ stove bolts, the washers, and nuts as per the diagram below.
Cut a seat shape following the diagram above. Secure two of the 12” 2×4’s at the top end of the seat. Secure the pipe flange to these pieces using 4×0.25” flathead stove bolts. Hold these bolts in place with the nuts and washers.
Diagonal Supports
Use the 8ft. 2×4 and cut this into 2×48” pieces. Position the deck at a slight angle to the ladder, as shown in the diagram below.
Secure the supports between the ladder and deck as indicated, using the galvanized nails. Once you are confident that everything is evenly secured, you can insert the carriage bolts.
The reason for using the carriage bolts is so that you can assemble and disassemble the DIY deer stand as necessary for convenient transport.
You may also want to add sidewalls, windows, and a roof to this simple DIY deer stand for additional comfort.
Final Word
Making a DIY deer stand has many benefits, including comfort, protection, and a clear shot for a clean kill.
Always check with state regulations to ensure that you can use one of these stands on public or private land. Also, find out whether you need a special permit to hunt from a deer stand in your state. Making your own DIY deer stand is cost-effective and convenient.
You can customize the separate parts for quick assembly and disassembly to make it simpler to transport the stand between locations. After completing one of these stands, you can hunt in comfort and style.
Resources:


