Every RV owner learns to become familiar with maintenance. One of the most unpleasant maintenance chores you will have to deal with concerns your black tank.
It is important to clean and flush the black tank periodically to keep it in optimal condition.
You may think dumping your tank is enough, but it isn’t. You don’t want to find this out the hard way when you end up with a clog.
I’m going to detail everything you need to know about cleaning and flushing your black tank. You will also learn how to prevent clogs, as well as good maintenance habits.
Preparing To Clean And Flush Your Black Tank

There are a couple of things to prepare before you start working. If you are a new RV owner who has never cleaned out your black tank before, this will help you. And even for those of you who are long-time owners, a refresher won’t hurt.
Clear Your Schedule
This may sound obvious, but you’ll need to set aside at least a few hours for the task.
Expect to be at the dumping station a while.
You will have to dump your tank before, during, and after cleaning.
Find a site located near you; this resource detailing dump station locations may be useful.
Protect Yourself
Hopefully, you already use gloves while dumping your tank. If you don’t, you should start immediately. You don’t want to get any bacteria or chemicals on your skin.
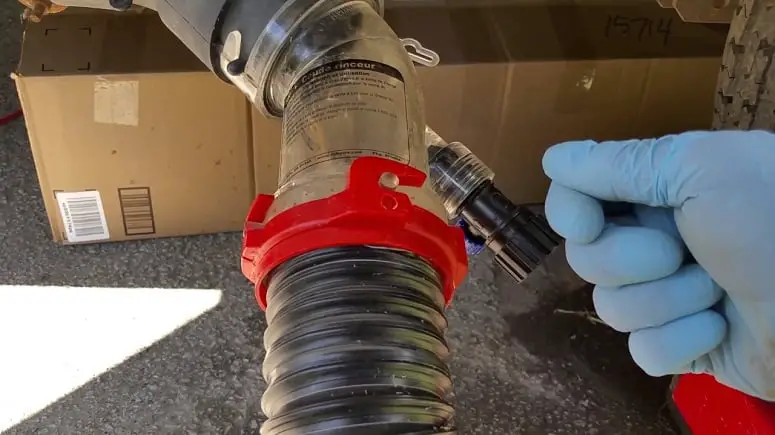
Get A Clear Sewer Hose Attachment
A clear sewer hose attachment is a useful gadget to have.
They enable you to see everything that is flowing out of your black tank.
However nasty this idea might be, this offers you an advantage. Once the water is running out clear, you can be absolutely certain your black tank is clean.
Get Rid Of Clogs First
Cleaning and flushing your tank out won’t necessarily get rid of clogs. Clear out blockages in your tank or waste pipe before you work on general cleaning.
Treatments that are designed to maintain your tank won’t be effective. Get a product specifically for breaking down clogs.
What You Should Avoid
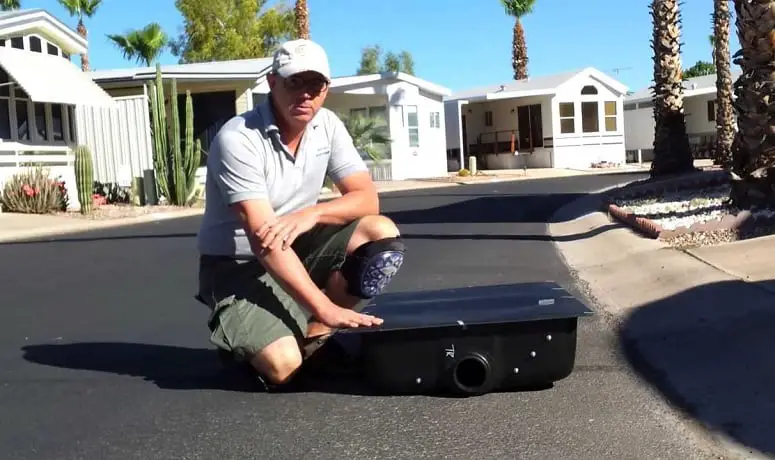
Some things should be avoided when it comes to cleaning out your black tank.
Certain techniques you may have heard about (or even tried) can be risky.
There are two things you don’t want happening when you clean and flush your tank. The first and most obvious is that you don’t want your tank to get damaged in the process.
The second is that you need to make sure the black tank’s contents don’t go where they shouldn’t. You can prevent either of these potential disasters by following these tips:
Research New DIY Techniques
Don’t rush to try a DIY technique without researching it first. You may have heard about the ice trick, for example.
Supposedly, filling up your black tank with ice and going for a drive will work to clean it out. The reality is that this might not work for everyone.
Watch this in-depth video about why the ice cube technique might not be worth your time:
Don’t Use Pressure Washers Or Blowers
Stay away from using high-pressure devices—whether they use water or air. Unless something is specifically designed to be used on your RV black tank, don’t use it.
Blasting your tank with a power washer might get it clean. Unfortunately, you may also end up cracking your tank and getting waste everywhere.
Not Using Products For Residential Sewage Systems
Remember that your RV sewage system is not the same as a residential one. Don’t use drain cleaners or other solutions that are not for RV blank tanks. Some of these powerful, corrosive substances can harm your pipes or tank.
Step By Step Process
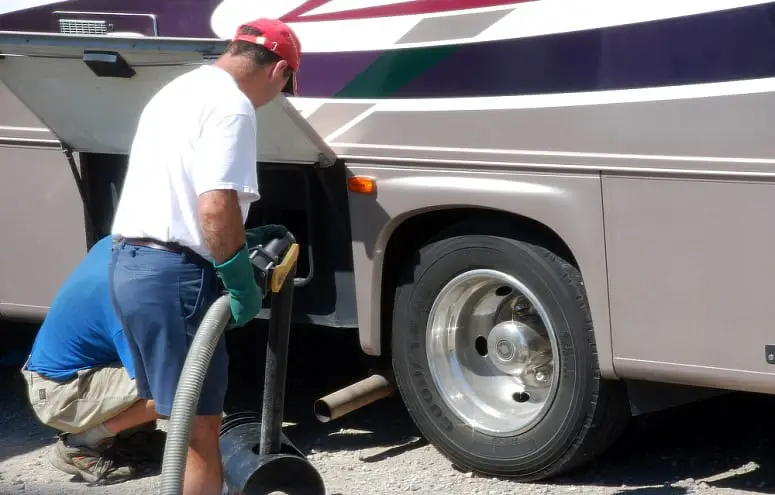
1. Dump Your Black Tank
You should get your tank as empty as possible before you begin cleaning and flushing. If you have just dumped your tank, you can skip ahead to the next step. If you haven’t, you’ll have to get this task out of the way first.
Whether you are a novice or you’ve owned an RV for years, let’s briefly go over the basics. It’s helpful to refresh yourself on correct dumping practices every once in a while.
Don’t Dump Your Black Tank Empty
If your tank sensors are telling you that the tank is barely full, don’t dump it straight away.
Dumping your black tank when it is closer to empty than full can dry it out. Waste can end up sticking to the walls or bottom of your tank—which you don’t want.
You can pour water down your toilet into your tank to fill it up. Once it reaches at least half capacity, then dump it.
Always Dump The Black Tank First
Your black tank should be the first to get dumped every time. This is so that when you dump your gray water tank, it will rinse out the sewer pipe.
You will still need to rinse it again for extra cleaning. Still, dumping the gray water tank afterwards will clear out much of the filth.
2. Clean Out The Waste Pipe
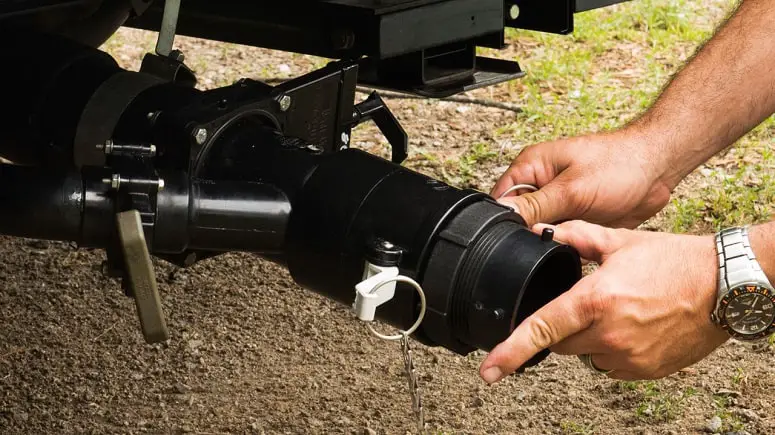
If you are cleaning and flushing out your black tank, don’t neglect your waste pipe.
If you haven’t been staying on top of regular maintenance, your pipe may have pyramid plugs. These are solid deposits of waste that can lead to clogs in your pipe.
You definitely want to get rid of these before tackling the black tank. This pipe is the portal through which cleaning and maintenance products reach your tank. It needs to be as clean as possible.
You will also save yourself the effort of doing this job later. Why clean your pipe afterwards and get grime and crud in your freshly cleaned tank?
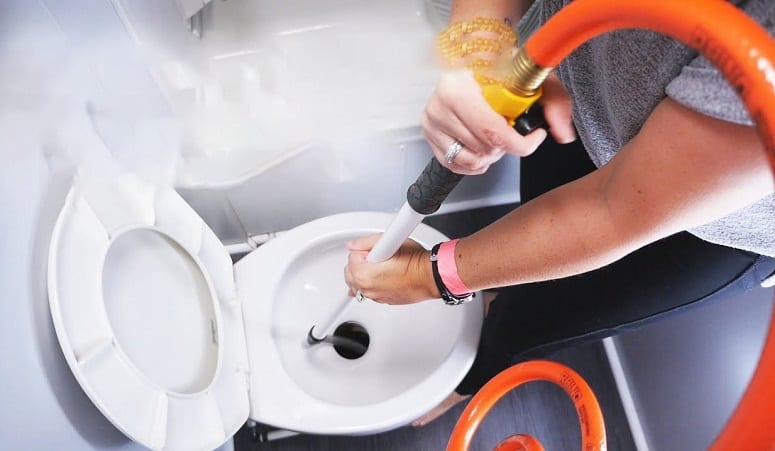
Head to your RV’s toilet and get your gloves on. You might also want to protect your eyes, as you’ll be close to the toilet.
You can use either a regular toilet snake (auger) or a motorized toilet wand. If you decide to go for the latter, ensure it is one that is RV-friendly.
Get the snake or wand down into your toilet and start moving it around. Depending on the state of your pipe, this might require some effort.
Keep rotating and clearing until you feel the pipe is clear. Be careful not to take the toilet wand all the way out of the toilet while it is on—you don’t want backsplash.
3. Clean Out Your Tank Using Products
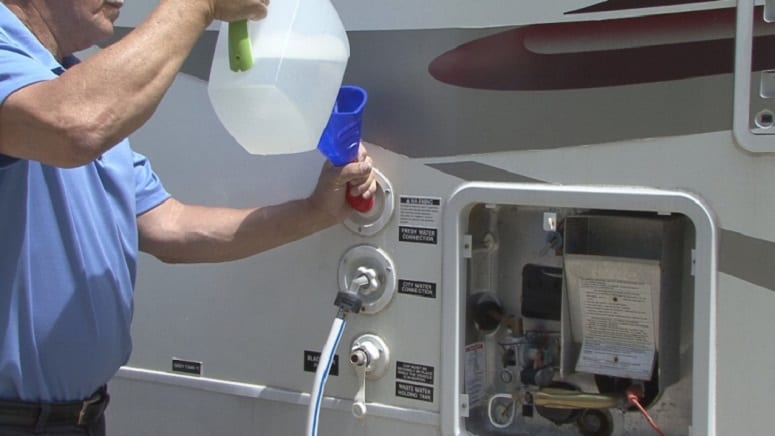
Just as with black tank maintenance products, there are two broad categories of cleaners. You can buy a natural or chemical product. Remember to only choose products that are RV appropriate.
Some of these cleaning products will have to be left in your tank overnight for best results. Others will require that you take your RV out for a spin to agitate the solution.
Check the product instructions before you buy. You want to find something that suits your needs.
Natural Cleaners
Natural black tank cleaners typically make use of biological organisms to do the dirty work. These enzymes, or bacteria, work to break down the waste in your black tank.
There are even natural cleaners that use probiotics. These beneficial bacteria are not just popular health supplements.
You might be curious about how this works. It’s pretty straightforward. As with probiotics that clean your gut, the organisms in these cleaners digest the waste in your black tank (yuck).
A good natural cleaner should also be able to work against toilet paper, grease, and oils.
Chemical Cleaners
Chemical brands of cleaner are more versatile than you might expect. Some of you may be wary about buying products that contain certain chemicals, such as formaldehyde.
Nevertheless, there are black tank cleaners that are formaldehyde-free.
4. Clean Out Your Tank Using the DIY Route
If you don’t want to use specialty products, you can clean your tank out the DIY way.
These are methods that have been tried and used successfully by plenty of RV owners.
The Geo Method
For the Geo method, all you’ll need is Calgon water softener and Dawn dish soap. Pour a cup of Dawn dish soap and a cup of Calgon into your black tank, through the toilet.
As Calgon is a water softener, it won’t hurt your black tank. Don’t overdo it with the dish soap. You don’t want a black tank full of bubbles.
Fill your black tank up with water (hot is better, but cold will do). Leave the solution to sit for a few hours, and you’re done.
Diluted Bleach
To clean your black tank out using diluted bleach, add no more than three-quarters of a cup of bleach per 15 gallons of capacity.
So if your black tank holds 30 gallons, use a maximum of one and a half cups of bleach.
As with the Geo method, let it sit for a while. Never dump pure bleach into your black tank. If you choose this method, take care to flush out your tank thoroughly, so no bleach residue is left.
Bleach can interfere with black tank treatment products. If you use a probiotic treatment with bleach still in your tank, the organisms can die before they degrade waste.
5. Flush Out Your Tank
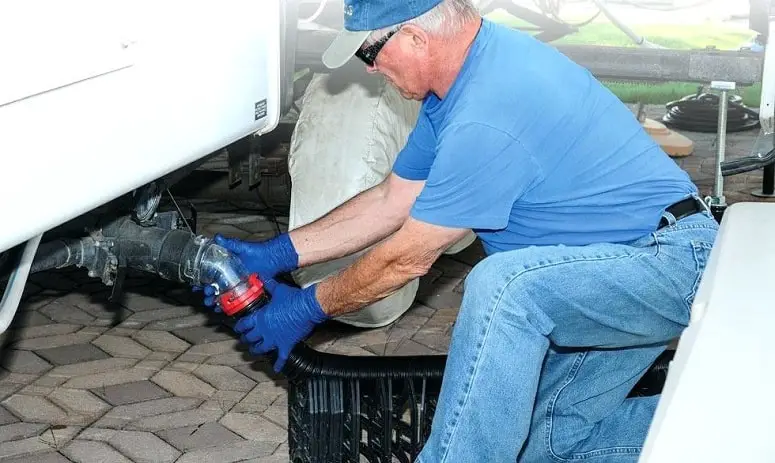
Once your chosen cleaning solution has sat in your tank long enough, it’s time to dump it. The next thing you’ll have to do is flush the tank.
You want to make sure there isn’t any residue or waste left in there.
This is where a transparent sewer adapter will be a big help.
You’ll be able to see when the water coming out of your black tank is clear, indicating that your tank is clean.
Built-In Flush
Your model of RV might have a built-in flush included. This is essentially a rinsing system that is a part of your RV.
All you have to do is hook up a garden hose to the black tank flush inlet. Check with your RV manufacturer how to use this system correctly.
Detachable Rinser
If your RV does not have a built-in flush, you can get a detachable one. These devices will flush out your blank tank without risking backflow or damage.
The rinser attaches to your hose and your tank. Most are equipped with vacuum seals, so that nothing will flow into your water hose.
Wand
You can use a motorized wand to flush out your tank as well as clean your waste pipe. Make sure the wand you use is suitable for your tank. You might need a straight or flexible one, depending on your RV.
6. Finishing Off
Your black tank is finally as clean as it’s going to get. You’re probably eager to jump in the shower at this point. Don’t worry: just a few last tasks and you’ll be free.
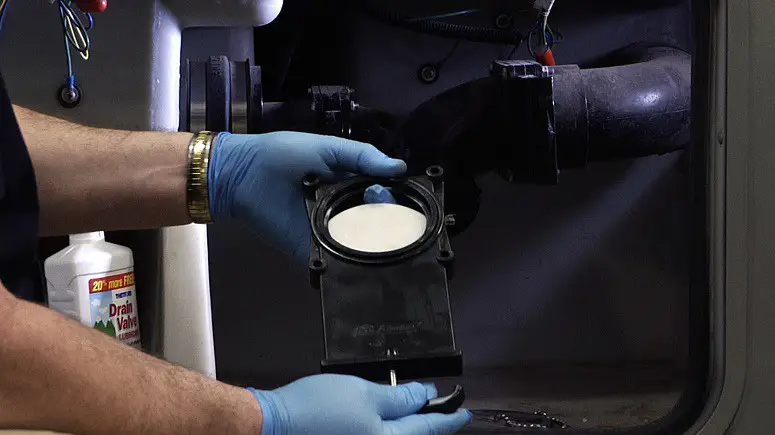
Lubricate Valves
Lubricate your dump valves to keep them in tip-top shape. If you don’t want to take everything apart, you don’t have to.
There is a way you can lubricate your valves with minimal effort—all you’ll need is a drill.
Adding Maintenance Products
Once you’re done, don’t leave your tank high and dry. Fill it up at least one-third of the way with water. A dry black tank will quickly become a smelly one.
Now’s your chance to start using maintenance products regularly. Choose a biological or chemical solution, whichever you prefer.
Ideally, you should look for a product that targets all aspects of your black tank. It should break down waste and clean your sensors. Neutralizing odors is also a priority.
If you use thick toilet paper, find something that can work to degrade it.
How Often Should I Clean And Flush My RV Black Tank?
You already know that pretty much everything in your RV should be deep cleaned periodically.
How often you should flush and clean your black tank varies, depending on your circumstances.
If you are taking your RV out infrequently, do a clean and flush after each trip. You don’t want to keep your RV sitting around with a dirty black tank.
Similarly, you should clean and flush your black tank before putting your RV into storage. You want that tank to be absolutely spotless before the RV sits unused for months on end.
If you take your RV out quite often, you’ll have to play it by ear (or nose). Regular use of a tank treatment product is not a substitute for a thorough cleaning.
Preventing Clogs In Your Black Tank
The worst thing that can happen to your blackwater tank is a clog. Thankfully, clogs can be prevented without too much hassle.
Practice Good Cleaning And Dumping Habits
Deep cleaning and flushing your tank periodically is a great habit to avoid clogs. Another is to invest in a tank maintenance product. Don
’t let your tank dry out—dump it when it is about two thirds full.
Use RV-Friendly Toilet Paper
Your RV is not the place for thick, perfumed, fancy toilet paper. This type of toilet paper does not degrade easily and can form clogs.
What about using a maintenance product that claims to be able to break down all toilet papers brands? It’s still preferable to use an RV-friendly brand to reduce the risk of clogs.
Train Your Fellow Passengers
Everyone who comes in your RV should get a crash course on using the toilet. Think of it as potty-training for adults (and older kids)! It might be awkward, but it can save you trouble later.
All passengers should know not to throw anything down the toilet. The garbage is the place for used sanitary products, tissues, and similar items.
Solid waste should be flushed twice. This will rinse out your waste pipe and prevent any build-ups from forming.
Conclusion
As you can see, cleaning and flushing out your black tank is nothing to be afraid of. It may not be particularly fun, but it is necessary.
A deep-cleaning from time to time can go a long way towards preventing problems.
Believe me, your black tank is a part of your RV that you want to be fully functional at all times.
Do you have any other tips for cleaning and flushing an RV black tank?
We’d love to read about them in the comments.
Share this article with other RV owners—everyone should know how to clean and flush the black tank.




Great info for newbie like me. Thx. A bunch!!