If the kitchen is the center of the home, what would be the center of the campsite?
It would be the warm, glowing campfire you’ve built with chairs and drinks sitting roundabout.
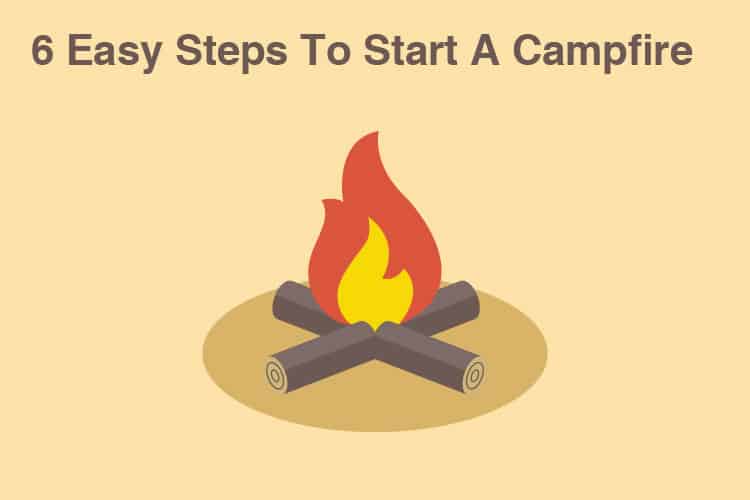
How to start a campfire easy and safely? That’s what we’re here to talk about. There are easy proven steps we can follow for building a campfire and that’s what I want to cover here.
I remember attempting to build my first campfire. I had taken so long that it had grown dark, and we had to shine the headlights on the tiny flames while we tried to build them up.
Memories of that laughable evening inspire me to share this information in the hopes of preventing others from going through the same frustration.
How To Build Your Campfire Step by Step
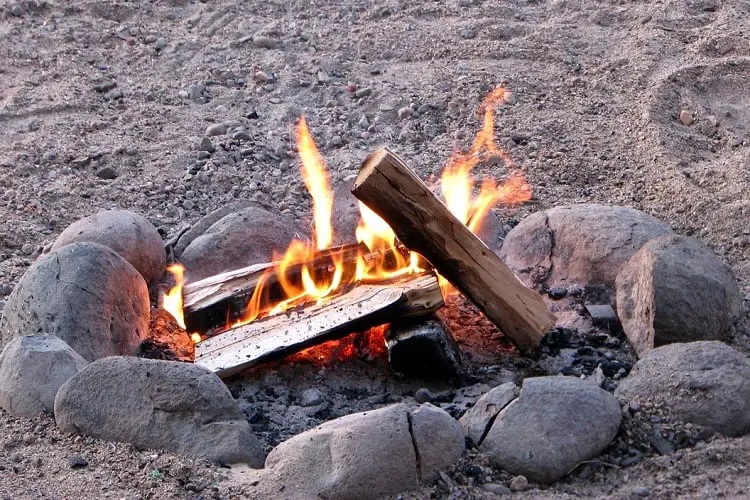
- Start Small with Fuel Using Cardboard – Tear up the cardboard into various shapes and sizes. Center them, propping them up without letting them lie down flat to allow for that necessary air flow. Light the cardboard.
- Increase Fuel to Include Small Twigs – Immediately begin adding light twigs. Wait until the twigs have caught well.
- Larger Sticks Should Next Be Added – Add sticks next.
- Gently prop the larger sticks over the small flames – The items must always leave room for air to draw up from the bottom to the top of the campfire. Wait until the larger sticks have begun to burn steadily.
- Carefully add small logs – Firewood is the last step in starting your campfire. Seasoned is better if it’s available. Gently prop small logs over the fire, taking care not to let the campfire flatten. If you lose the air flow, you will likely have to begin all over again. Once the small logs are burning steadily, you can begin the final step.
- Last Step of Adding Regular-Sized Logs – Add the regular-sized logs to the fire. There you have it! Your cozy campfire is burning steadily. Use another log to move the logs around as desired. A cozy, successful campfire for all to enjoy.
Additional Tips
Pro Tip: Although wood species are similar, maple and oak burn the hottest as opposed to a softer wood such as pine.
Maple and oak also have longer burning coals. This is an important detail if you’re planning on cooking over an open fire.
The choice may be limited, however, if firewood is required to be purchased at the campground.
Pro Tip: Seasoned wood will burn hotter than ‘green’ wood.
Wood that has dried over a period of time is considered ‘seasoned’. It is also usually a lighter weight than ‘green’ wood.
Safety First Concept
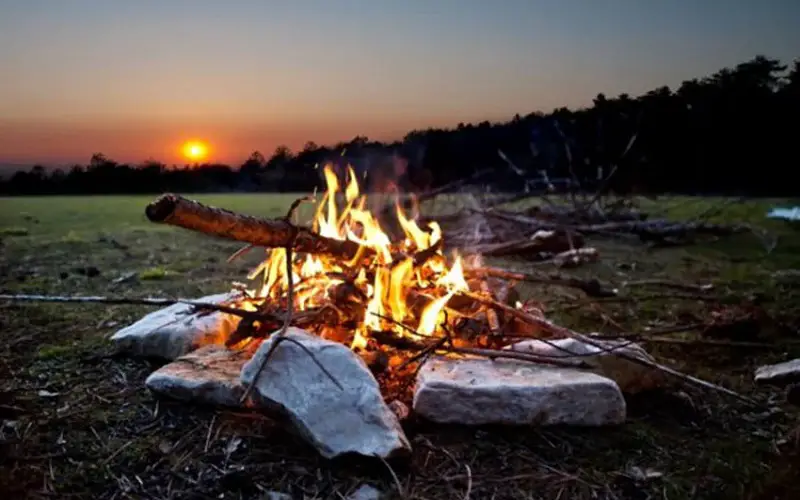
Before building your campfire, be familiar with safety.
9 important safety tips
- Make sure the area is clear of brush, dead leaves, or litter.
- Preferably, build your campfire in a campfire ring. In national parks, this may be the only legal area to build your campfire. If there has been a dry spell, campfires may not be allowed for that season. Check this out before building any campfires that are illegal.
- Store extra firewood away from the fire as well as other items.
- Avoid using flammables such as gasoline to build or maintain your campfire. Although the National Park Service mentions using lighter fluid on your wood before you light it, it can leave a funny taste in food or s’mores. It is never recommended to use lighter fluid after a fire is lit for safety reasons.
- Never leave your fire unattended. Sparks may fly, the wind may blow. It can take only a few seconds for an unattended fire to become out of control.
- Be sure to supervise children and teach them to stop, drop, and roll.
- Always keep a fire extinguisher and a bucket of water nearby for emergencies or in case the wind blows the fire out of the firepit.
- Keep a first aid kit available on camping trips.
- Extinguish your campfire completely before going to bed for the night. If a bucket of water is not available, spread the coals of the fire into an even layer. Cover with dirt and sand until the embers are extinguished. Simply dumping dirt on the embers may “bank” them and actually cause them to remain hot longer.
If you are new at building a campfire or your skills are a little rusty, check out below for steps on how to build a campfire.
Gather All Needed Items First
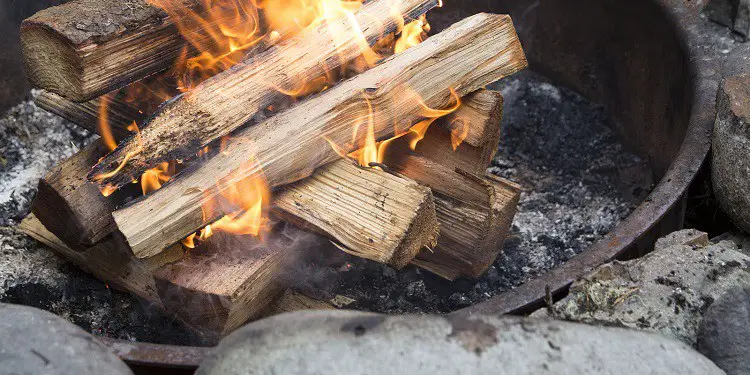
Gather all your needed items before you begin building your fire.
I like to have everything within reach when building a campfire instead of going for each item as it’s needed.
Some campgrounds provide firewood while you may have to hunt for your firewood at others.
Campgrounds are increasingly outlawing bringing in firewood from home to prevent infestations.
Items Needed for a Campfire
Here’s what you’ll need to build an easy campfire:
- Cardboard, Some people would use dead leaves, twigs, and moss, but I think the cardboard is easier. Just bring some from home. Easy is what we’re aiming for here.
- Several twigs that have dried and are not fresh from trees or shrubs
- Larger sticks that are also dried, not from live trees or shrubs. It may be illegal to pull from live trees.
- Small, dried logs that are found on the ground, preferably not damp, or purchased from the campground.
- Dried, regular-sized logs. You will need enough of each item to allow for the next larger fuel source to have time to begin burning steadily.
Alternative solutions can be Ignite-O Instant Fire Starters that are safe for campfires and can burn to a full-size campfire in fifteen minutes.
These fire starters are handy for damp wood. When purchasing an instant fire starter, check that they’re made for outdoor use. Many firestarter logs are not. Firestarter logs are often made of sawdust, vegetable wax, and other recycled materials.
As such, they are often considered environmentally friendly.
As long as they are on a grate or otherwise situated for air flow, these logs can be lit immediately without the steps for smaller fuel such as twigs and cardboard.·
Alternatives to Lighters and Matches
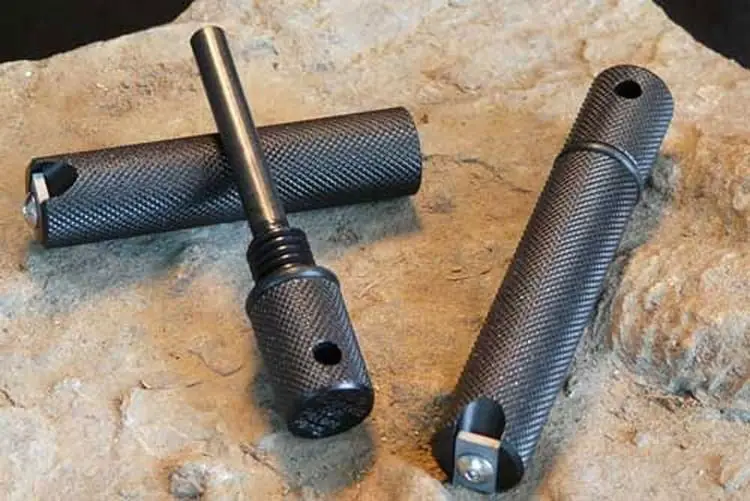
Perhaps it should also be mentioned that there are alternative ways to light a fire other than matches or a lighter. Many campers recommend carrying a magnesium fire starter.
Many of these campers may fall into the category of survivalists whose skills fall outside the scope of this article. The magnesium firestarter can come in handy if your lighter quits working or your matches get wet.
However, it takes some skill and practice to strike a spark into tinder that may be damp that has to be gathered. My preference would be to simply carry an extra lighter or keep my matches in a sealed plastic bag.
This requires no additional skill and keeps starting a campfire easy. And if anyone mentions starting a fire with sticks and friction as in a bow drill, fire plow, or hand drill, just chuckle under your breath and whip out your lighter and matches.
Dare them to a race. Your friends may be more skilled, but time will be on your side. These skills are admirable to have, but even those who practice them admit that they’re challenging to accomplish.
Final Word
There are some more advanced methods of starting a campfire by using bow drill, hand drill, or fire plow.
For those less inclined to try these challenging campfire methods, perhaps a magnesium fire starter as mentioned below will be of some interest.
Did you find the campfire tutorial helpful? Let us know any comments you might have in the comment section. If you enjoyed the tutorial, please share it with others who enjoy camping also.
Resources:


![9 Final Thoughts And Items For Your First Camper Adventure [Checklist] 8 RV Camping Checklist](https://kempoo.com/wp-content/uploads/2018/11/first-camper-adventure.jpg)
Hello there,
I’m Jane, a freelance content writer. I’ve been researching an idea for a blog-post about outdoor lifestyle and why keeping kids and family safe has always been a top priority for parents– and then I thought that this could be an excellent contribution to your site kempoo.com
What do you think? Should I write it up and send you a draft?
Kindly let me know if you love the idea, and I’ll write up a post on it!
Thanks!