If you have a trailer, chances are that you love spending time outdoors.
Are you a fan of winter adventures?
At the end of the day, you want to come “home” to a trailer that will shield you from the cold weather.
If your trailer doesn’t have adequate insulation or a furnace, extreme temperatures can be a challenge to deal with.
Constantly being freezing while inside your trailer can spoil an otherwise great trip.
Taking measures to insulate your trailer can help you stay warm and comfortable throughout your winter adventures.
Let’s find out what you can do to protect your trailer from the elements.
1. Damage Repairs
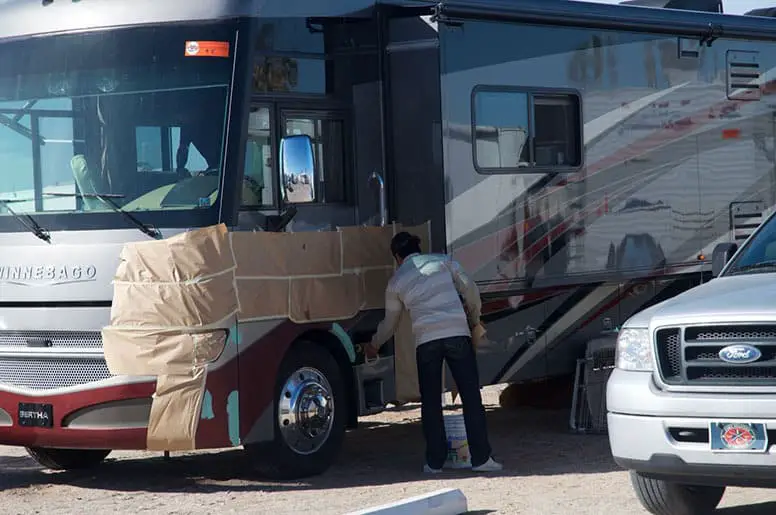
Before you get started insulating your trailer, you’ll have to address any existing issues.
If you’ve been neglecting repairs here and there, this is a good chance to get them done.
To be thorough, go over the exterior and interior of your trailer carefully.
Make a list of all the areas that need attention.
There are a few reasons you shouldn’t skip this step. Small cracks or holes can make all your efforts at insulation pointless.
During the cold winter months, you can bet that icy winds will be blowing into your trailer through these places.
If your door doesn’t close securely because of a faulty latch, replace it. Now is the perfect time to deal with that crack in your kitchen floor.
Delamination is another culprit that can reduce how effective a trailer’s insulation is. If your trailer’s external layer is cracked, starting to pull away or shed, that’s less protection.
Watch this video to learn how to examine your trailer for delamination:
You shouldn’t think of modifying any part of your trailer that already has a problem.
For example, avoid adding new insulation to your walls if the old insulation is starting to turn moldy.
It may take a little more effort and time, but you have to take the bad parts out first.
Voiding Your Warranty
Some of the insulation techniques mentioned here may void the warranty of your trailer. Review your warranty policy before making any big modifications.
2. Walls, Roof And Floor
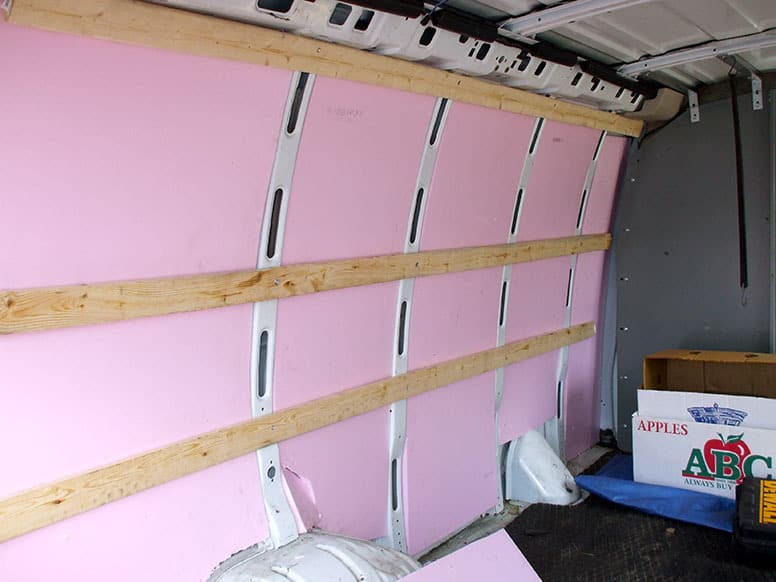
Unless you purchased an arctic package upgrade with your trailer, chances are that your insulation is basic.
And you if your trailer is small, the situation may be even worse. The thin walls, typical of many small trailers, can leave you with little protection.
Adding insulation to the body of your trailer can mean different things to different people.
If you are a DIY expert, you may feel capable of stripping your trailer and re-insulating every inch.
Alternatively, you might decide that externally insulating your roof and sealing up any visible cracks is enough.
It depends entirely on what you’re comfortable with.
You have choices when it comes to insulation. You can purchase the same insulation your trailer came with, such as fiberglass.
For a simpler project, injected foam insulation is a good choice. You can fill out any hollow areas in your floors, roof, or walls.
Watch this video to learn how:
If you want to go all out, invest in radiant barrier insulation. This is a type of foil insulation that can protect against the heat as well as cold.
This video will show you how to rig up a system for application and removal:
3. Don’t Neglect the Door
Your efforts to stay warm can be thwarted by a badly sealed door.
Even if your trailer door closes correctly, this doesn’t necessarily equal good insulation.
Standard trailer doors tend to be just as thin as the walls. But, unlike the walls, the door is not usually insulated—meaning it offers no protection against extreme weather.
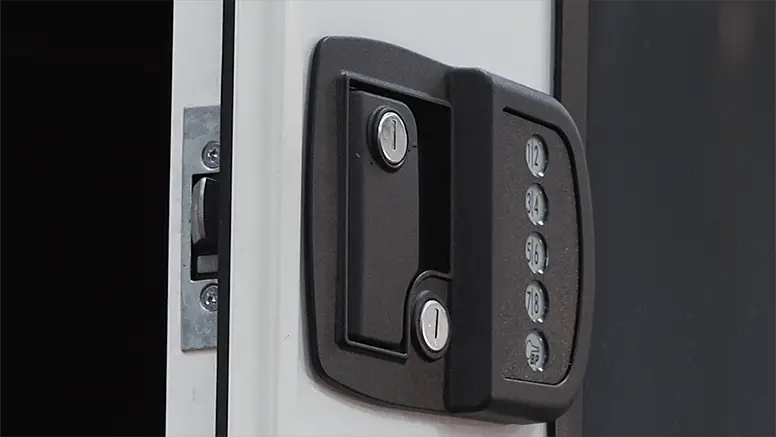
Replace The Door And Weather Stripping
If your door is worse for wear, you might have to consider replacing it. A beaten up door is not just bad for insulation, it can also be unsafe.
And old weather stripping will have to be replaced for optimal insulation.
Add Extra Sealing
Adding sealing to your door can go a long way toward improving the insulation capacity.
All you have to do is seal the area around your door frame inside, using foam insulation tape, like this one.
Another solution is to use pipe insulation foam. You can set it around your door as a sturdier barrier against drafts. Watch this short video to learn how:
DIY Door Insulators
It’s very easy to create your own insulator pads for the door. Just cut out the insulation of your choice (e.g. radiant barrier) to fit over the door.
You can attach it to the door frame with tape overnight, or whenever you are staying in the trailer for several hours.
Size your insulating material to be a little bigger than your door. This way it will cover the taps too.
4. Windows
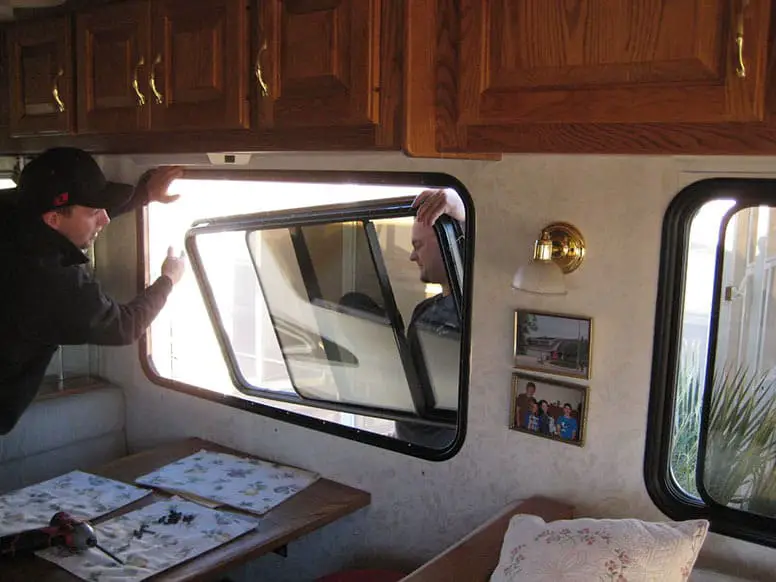
Most trailers come with standard, single-pane windows.
This type of thin glass offers very little in the way of insulation.
You can lose more heat than you realize through your windows in the winter. Let’s look at a couple of ways to improve your windows’ insulation.
Dual Pane Glass
Upgrading all your windows to dual-pane glass can significantly boost your trailer’s insulation capabilities.
However, replacing the windows can be a pricey endeavor. If this is not an option for you, there are other alternatives.
Blackout Curtains
Blackout curtains are useful for insulation against both heat and cold. And they are a must-have if you don’t want to be woken by the first rays of the morning sun.
You can buy standard blackout curtains and cut them down to fit your RV windows.
Shrink Wrap
Shrink wrap can be applied to single-pane windows to prevent heat loss. You can get a DIY kit like this one by Frost King to prepare for the winter.
Here is a video on how to install it:
Window Shields
A window cover not only shields against the sun, it will also keep you warm in the winter.
This one has hooks for a quick and easy installation.
You can also make your own window covering with insulation. Cut out your desired insulation to fit the windows and tape them on.
Watch this video to learn how:
5. Shield the Trailer Underbelly
If you plan to brave the cold with your trailer, you will need to shield the underbelly.
This is true even if you have already insulated your floors.
Don’t let an exposed underbelly reduce the effectiveness of all your hard work. During bouts of nasty weather, you will still feel the wind blowing underneath your trailer.
DIY Underbelly Insulation
If you enjoy working on big projects, this is a good one. You can build an underbelly insulation attachment that fits your trailer.
Watch this video to learn how:
Skirting
When we’re talking about insulation, skirting refers to material that encircles your trailer. Skirts block the space between the ground and your trailer’s underbelly.
You can have a company like this one build a custom-made skirt for your trailer.
Getting one professionally made can be costly, though, depending on the size of your trailer.
If you prefer a DIY option, you can build your own.
Here is a video for skirting a trailer with foam board insulation:
Be warned that the dark space underneath your trailer can attract rodents. You might want to set some traps out if you are planning to stay at your campsite for a while.
Don’t Forget External Storage Compartments
Storage compartments underneath your trailer could be letting the cold in. Pass-through storage compartments, in particular, can be drafty.
Certain brands of insulation need air space to work. That means if your belongings are tightly packed away between the insulation, it may be less effective.
Check the brand of insulation for the suggested amount of air space.
6. Don’t Let Your Plumbing Freeze
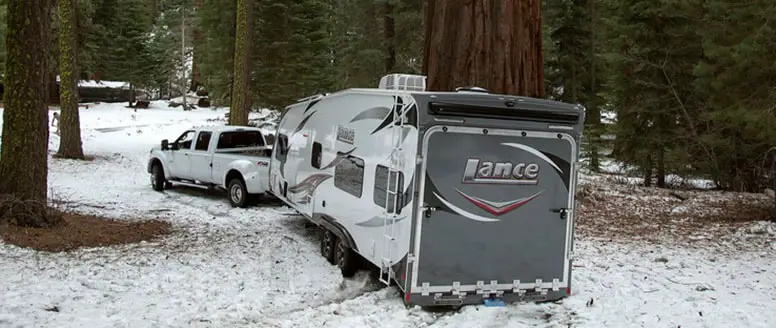
Dealing with frozen pipes in the dead of winter can be a hassle.
Having to defrost a black waste tank that has frozen solid is a nightmare you definitely want to avoid.
Insulating your trailer’s underbelly might not be enough to stop your pipes from freezing.
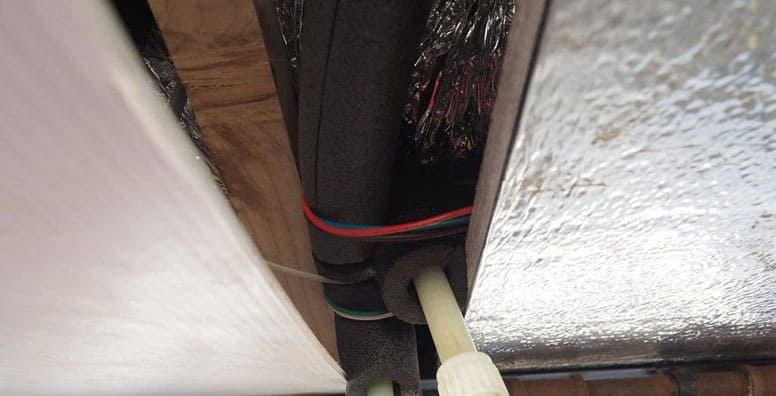
It’s best to play it safe and insulate any and all exposed pipes.
You can either tape insulation around your pipes or buy a product that includes an adhesive.
For your tanks, invest in heating pads. These can be wired to your electrical system and keep your tanks from freezing.
Remember to insulate your hose as well.
For a simpler option, buy a hose that can withstand temperatures below 20 degrees Fahrenheit, like this model by Camco.
Take care to seal all the openings around pipes that lead to the outside of your trailer. For example, your shower head—there’s nothing worse than a blast of cold air during your shower.
You can use caulk for smaller areas. If you notice any large gaps, you might have to go with another type of insulation, but try to avoid using foam.
This can expand around your pipes and cause damage, or even block your pipes when this happens.
7. Vents
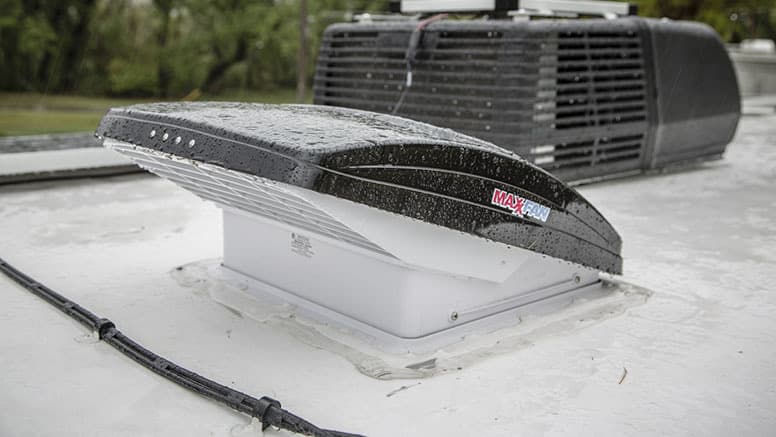
The vents can play a big role in regulating the temperature in your trailer.
It is important not to neglect them during the insulation process.
Uncovered vents in the winter can result in substantial heat loss. Cold winds, rain, and snow can blow right into your trailer.
Insulate your vents externally with a vent cover.
This one by Ventomile will fit most standard vents.
For the inside of your trailer vent insulators are available. These resemble pillows that can be stuffed into your vents or skylights.
When you want to remove them, you just have to pull them out.
If you find one that has a reflective surface, it can be used during all seasons. Winter or summer, you should make use of a vent cover during the evenings.
Warm air will not be able to escape through your vents as it rises upwards. In the summer, you won’t be blasted by hot temperatures in the midday heat.
This vent cover is standard-sized (it should fit most vents or skylights) and is also reflective.
8. Preventing Humidity
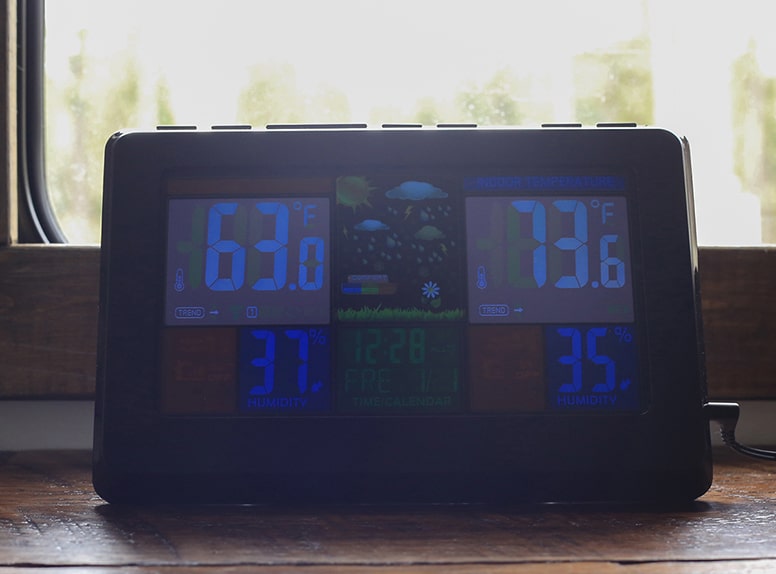
Successfully insulating your trailer boils down to keeping the environment in your trailer stable.
This involves blocking outside air—warm or cold—from getting in.
One of the less pleasant side effects of decent insulation is humidity.
This is going to be more of a problem in the winter than in the summer months.
You’re much less likely to want to open the windows or door to let a breeze in when it’s frigid outside.
With you and your traveling companions in a closed insulated trailer, it can quickly become humid.
Condensation building up inside your trailer is bad news.
As a trailer owner, you’re probably already aware of the dangers of water damage. Moisture and humidity are your trailer’s worst enemies.
You can prevent humidity build-up with a dehumidifier. Get one with an automatic shut-off so that it doesn’t overflow. Otherwise, it is defeating the purpose of keeping your trailer dry.
This portable dehumidifier should fit comfortably in most trailers.
Of course, you can just open the vents to air out your trailer periodically. However, this will let the cold air in. Personally, I’d choose the dehumidifier.
Conclusion
Now you know all the options you have at your disposal for insulating your trailer.
I hope that some (or all) of these tips will be useful to you.
You shouldn’t have to restrict your camping trips just because it’s too cold. There’s also no reason why you can’t stay comfortable in your trailer, regardless of the season.
Do you have any other insulation techniques for trailers, to share with your fellow travelers? Please detail them in the comments. Share this article with other trailer owners who could use this advice.


