When the RV season ends and it’s time to put the RVs into storage, some owners face a tough choice.
Storing your recreational vehicle in a devoted RV-storage facility can get pricey. Even an outdoor spot is heavy on the wallet.
Because of this, many RV owners look for alternative solutions—one of which is home storage.
That said, storing a large RV at home does come with its own set of challenges, not to mention possible laws to abide by.
Below, I’ve put together a complete guide to storing your RV at home.
If you’re wondering whether home storage is for you, or perhaps looking for some tips on how to achieve it, this article will help.
Let’s get started with a few things you need to know before parking up at home.
#1. Things You Need To Ask Yourself
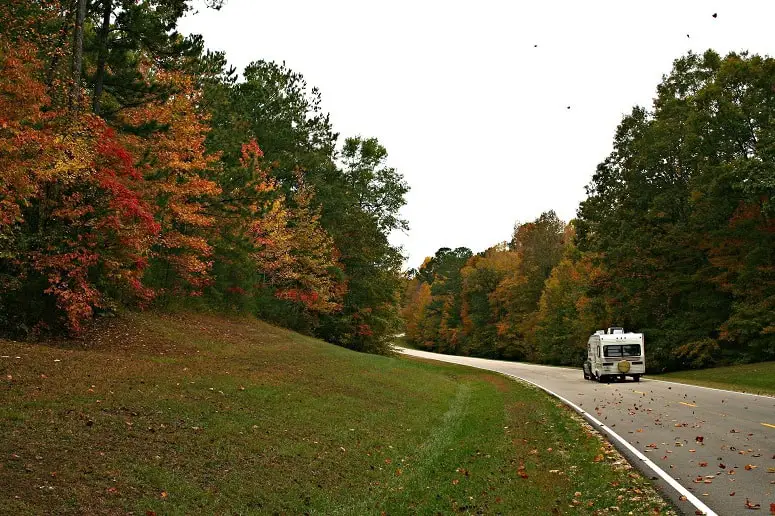
Although it might seem ideal, storing your RV at home isn’t as straightforward as you may think.
Before you completely rule out the idea of a storage facility, there are some key questions that need answering, including whether it’s even legal.
Is It Legal?
Not every state or even county is the same. And, unless you live far out in the countryside, chances are that storing a large vehicle on your property isn’t allowed.
Homes affiliated with a homeowner’s association are rarely allowed to keep large vehicles on the property. If it is allowed, there are usually a ton of rules to follow.
For example, the vehicle shouldn’t be too large or be used as a permanent living unit.
Some homeowner associations may only allow RV parking on the condition that you pay a small price.
The first thing to do is to take the time to call around and check for any potential issues.
Make a phone call or visit your local municipality and take note of any restrictions or guidelines you need to follow.
If you fail to follow any of these rules, your RV could get towed. At the very least, you may receive a fine or ticket.
Do You Have Enough Space For Your RV?
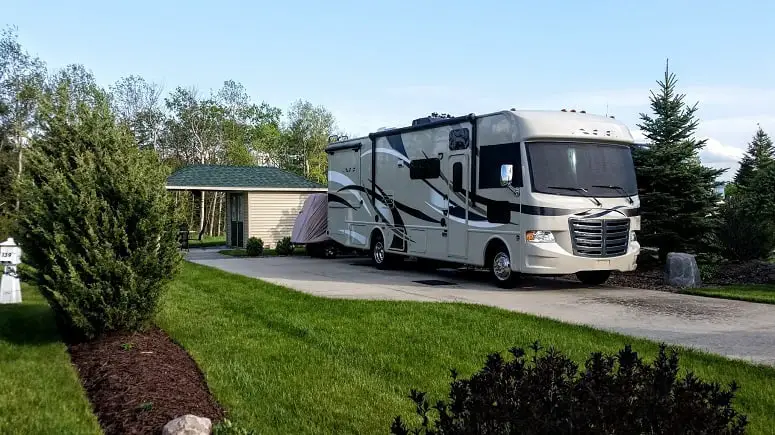
Ok, this is a pretty important one. After all, there will be no home storage unless you have got the available space.
Before driving your RV into the back or front yard, measure the area you have available.
Ask yourself if parking there is going to strip your home of sunlight. Consider your view and that of your neighbors.
If your Class A RV is towering over the neighborhood, you’ll probably receive some complaints, and these might even result in fines.
Additionally, if the tail of your fifth wheel is hanging out across the sidewalk, you should definitely reconsider.
Where Do You Plan On Storing It?
When you’ve established that you have enough space and won’t obstruct any views, then you need to decide exactly where you’ll park.
There are generally two spots RV owners go for: the garage or the driveway.
The ideal place would be your garage if it’s large enough. Indoor storage will protect your RV from the harsh winter weather outside.
However, the garage must be spacious—you may have to remove everything inside.
There’s no point in scratching up the RV’s roof or sides just to get it into storage. Measure your RV and your garage before you attempt this.
If there are more vehicles needing a parking spot in your garage, or it’s not big enough, you might want to consider somewhere else.
Some RV owners build a separate RV awning that keeps their camper covered.
If you think the driveway will do, make sure there is ample room for the other household vehicles. Even small trailers and motorhomes take up a fair amount of space.
And as we said above, be sure that your RV or camper doesn’t obstruct the sidewalk.
Will Your RV Be Safe?
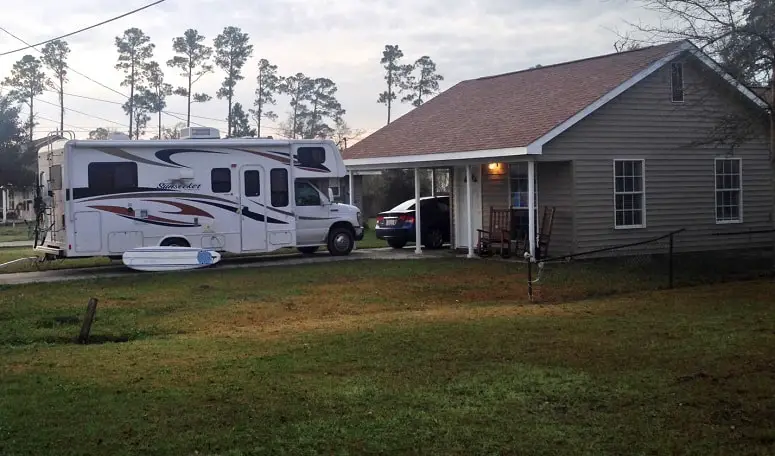
If you manage to clear out space in the garage for your RV, then it will likely stay protected.
However, if you’re parking it in the driveway, uncovered and exposed, you run the risk of damage or theft.
In this case, you have to take the right precautions, such as preparing for winter and perhaps installing some additional locks.
Winter can be especially harsh for the water pipes in your RV, and you’ll need to winterize them.
Also, if your driveway is not in view of your house, unwanted visitors may see an opportunity to go inside. Your RV likely has a lot of goods that could entice thieves.
It does happen, even in campgrounds, that owners get a battery or other essentials stolen.
My advice is to make sure that you have good insurance and consider installing a surveillance camera.
Many RV owners also set up a fence and gate. Of course, it’s no guarantee, but thieves are likelier to stay away from such places.
Are You Being A Nice Partner/Neighbor/Spouse?
Lots of people love the RV life but your neighbors may not be as enthusiastic about it as you are.
If that’s the case, for those people, waking up every morning and seeing a huge vehicle blocking the view isn’t going to be pleasant.
The same goes for your spouse or housemate. While it’s no problem for you seeing your beloved RV every day, it might be for them.
Sharing the driveway, or giving up a garage spot because of the RV can also be annoying.
So, because of this, I’d advise you to consult with your spouse, housemates, or neighbors to make sure you aren’t putting anyone out with the RV.
This is critical when it comes to your neighbors.
You see, if they get too annoyed with your RV in view, they can report it to the police.
After a couple of strikes, your RV might get towed. This can happen even if it’s parked on your property.
Will It Actually Save You Money?

While keeping your RV at home might save you some cash, it won’t be completely free of charge.
If you want to keep it in your garage, you might need to renovate the space a bit. This can quickly add up.
Besides, if you have a lot of stuff already in the garage, you might need to pay for a storage unit.
Of course, these aren’t as pricey as those made for RVs, but your wallet will feel the impact, nonetheless.
Again, you should also check with your local municipality—some will require you to pay a fee for at-home RV storage.
In these cases, storing your RV at home might not save you so much.
#2. Where And How To Park Your RV
When you’ve decided to keep your RV safe and sound in your garage or driveway, it’s time to park it. Here’s what you’ll need to consider.
Make Sure Your RV Stands On A Level Surface
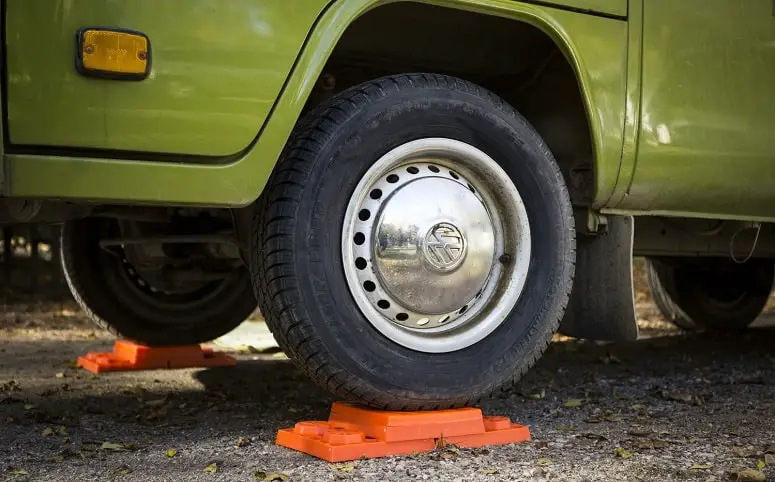
It’s not uncommon for driveways to have a slope or a small incline as opposed to being completely level.
If your driveway is like this, there are some precautions you’ll need to take.
For starters, the RV will need to be leveled just like it does when you’re out camping. This is mainly for three reasons.
The first had to do with weight distribution; when your RV is leaning to one side, heavy furniture and appliances inside can shift their weight to another point.
In a worst case scenario, this puts excessive weight on the wrong corners, causing damage to the axles. This can be a costly mistake once you’re ready to hit the road again.
The second reason is that of the onboard refrigerator. RV refrigerators are a lot more sensitive than those you find at home.
If they continually sit at an angle, you run the risk of ammonia sediment building up, which will make your fridge unsafe to use.
It occurs when the refrigerator tilts or sits at an angle and the liquid ammonia seeps into places where it’s unsafe. Eventually, your appliance will stop running.
If you can’t correct the slope, turn off the refrigerator, as this might minimize the potential damage.
The last reason to even out the level of the surface is a matter of safety. If the area where you park your RV is tilted just a little, it could cause your vehicle to roll off.
This presents a whole new danger in itself, if the RV rolls into the street, or your home.
Fortunately, you can easily prevent this by placing wheel blocks by the tires. These will keep your RV fixed in its place.
Watch Your Roofline
Before backing up your RV into the driveway, make sure that you have enough room between your vehicle and roofline of any overhead canopies.
The same goes for your garage. Accidentally clipping the roofline could cost you a lot of money to fix, not to mention the damage caused to your RV. To avoid this, be sure that you measure everything beforehand.
Another thing to look out for is low hanging branches from trees. These can scratch the coating on your coach.
Trim all bushes, shrubs, and nearby trees before you drive the RV in, so that you won’t have to repair the damage on your RV once the season begins.
Build The Perfect Foundation
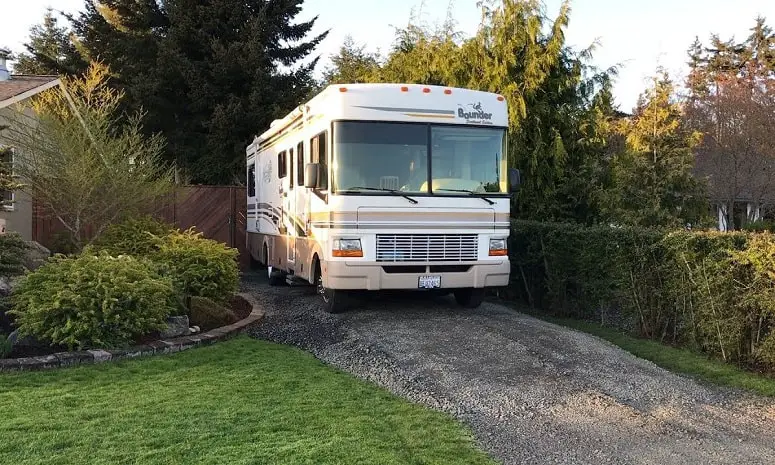
The surface where your RV will stand can be pretty much anything.
However, if you’re considering letting it rest on grass or soil, there are a few things that could go wrong.
Firstly, the pressure could kill your carefully tended lawn. An RV has an immense weight and placing that on grass for extended periods can prevent the grass regrowing.
Secondly, you’ll be exposing your tires to an array of dangers. Moisture and dirt can expose your tires to dry rot, meaning you’ll have to replace them soon after winter is over.
Furthermore, if your lawn and the ground beneath it is soft, the RV can sink, making it a nightmare to get out.
A lawn or garden is also home to many bugs that could potentially sneak into your RV and cause trouble.
If you do decide to park your RV on grass, place some plywood or plastic cutting boards under where the wheels will go.
These will prevent the direct contact your tires would otherwise have with the ground. And lastly, use some tire covers.
Another surface you should stay away from is asphalt. Asphalt can damage your tires, due to its crude petroleum content.
If you decide to expand your driveway for your RV, the best thing to do is lay down gravel.
These small stones will provide the perfect barrier for your tires. They allow for water and dirt to drain down to the ground, without any harmful chemicals.
But if you’re expanding your driveway to make it more spacious, it’s likely that you want the material used to match your existing drive.
That said, this might be the opportunity you’ve been waiting for if you’re looking to renovate your entire driveway.
Make Sure There Are No Obstructions
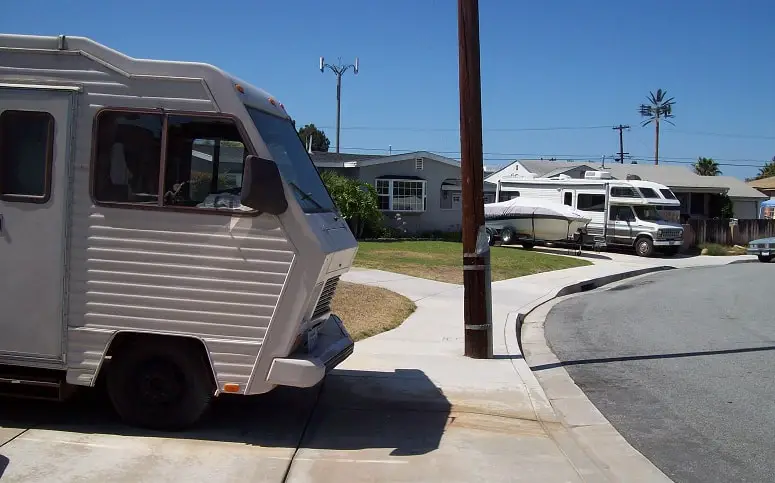
For this, there are two important things to avoid: blocking the line of sight and obstructing the sidewalk.
Both you and your neighbors should be able to look around your RV.
This is so you can spot upcoming cyclists or motorists on your road. If your huge RV is blocking everything, you can’t determine whether or not it’s safe to enter the street.
The same goes for the sidewalk. You should never park your RV on or near the sidewalk. If you were to do this, it’s classed as a violation and you will get in trouble.
#3. Preparing Your RV For Storage
Before you can leave your beloved RV in your yard, driveway, or garage, there are a few last steps you need to take.
These are just to prepare your RV for the months ahead, so that when the season begins again, you’ll be ready with minimum hassle.
Winterizing
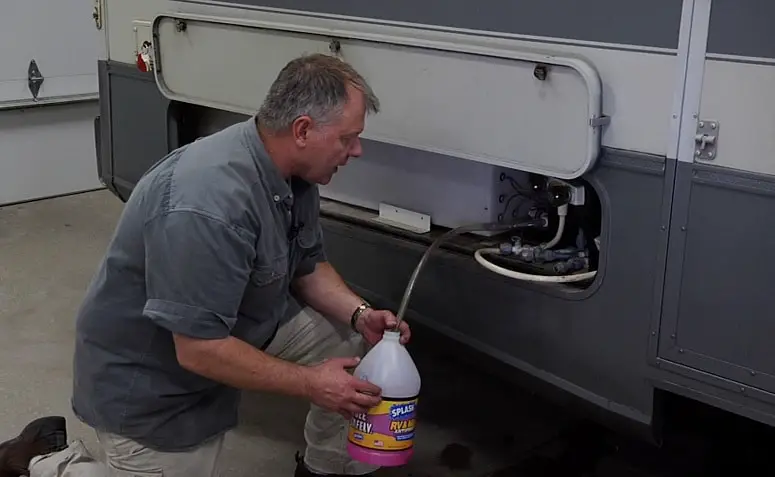
The frigid temperatures during winter can cause damage to your RV’s water systems.
Be sure that you add antifreeze to all the holding tanks. This includes the water pump and the black and grey tanks.
For the water pump, the easiest way to do this is to open up all the faucets to get the pump pressurized.
Then, add a cup or two of antifreeze. When you see it running out of the faucets, you’re good to go.
The next step is to change the water inlet screen. This is to reduce the pressure on your faucets and water pump.
Here are some more tips on winterizing:
You do this by opening up the tap. Then watch the pressure run toward the city water inlet and then remove the screen. After you’ve done this you can replace it with a new screen.
Moving on to the drains and black water tank. For the drains, experts recommend that you add about a cup of antifreeze to each one.
For the blackwater and greywater tank, add about three or four cups of antifreeze and flush the toilet. When you see antifreeze in the toilet, you’ve added enough.
Then make sure you switch everything off before leaving your RV. Empty out the water heater and seal off all the taps.
Of course, if you don’t want to winterize yourself, then bring your RV to the dealer. They will gladly help you out.
Clean The Interior
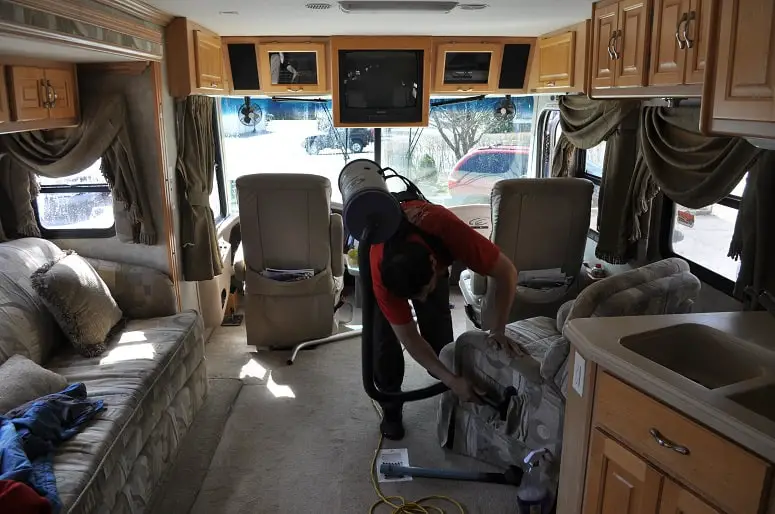
One of the greatest parts about parking your RV at home is that you can check up on it whenever you want to.
That said, it’s still essential that you clean the interior after your last trip.
It’s important that you take your time to go over everything. Clean out the fridge, defrost the freezer, and give every shelf a scrub down.
If you’re struggling with odors, place an open box of baking soda inside, this will take the bad smells right out.
Although your RV will be close to you, you should still take out all food items from the cupboards and pantry.
Insects and rodents won’t hesitate to enter and they can cause havoc inside an RV.
Pests, such as cockroaches and mice carry diseases that will transfer to everything they touch.
Hence, prevention is better than running the risk of having an infested camper.
Leftover food can also become moldy. Especially packaged foods: as they age, these foods could develop moisture, which eventually becomes mold.
This can spread throughout your RV and it will be a headache to clean up.
Next, you should also vacuum the couches and chairs to get all potential crumbs out. Make sure you get into all the corners and underneath seats and chairs, too.
Close The Windows And Vents
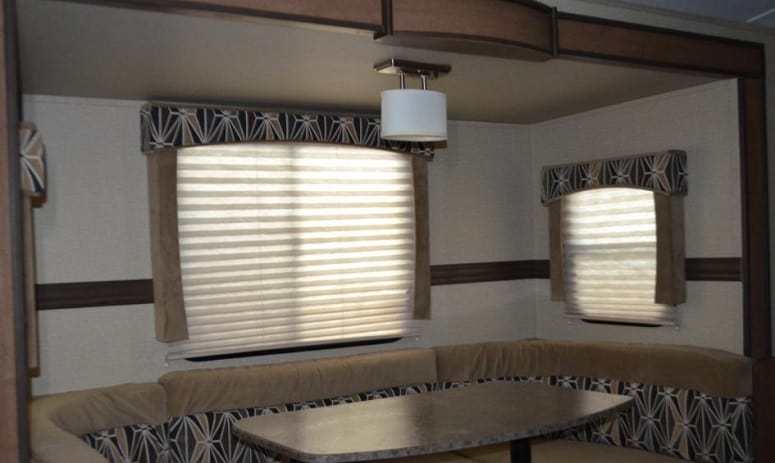
Avoid leaving vents and windows open. Even if you cover your RV, moisture can still enter.
On rainy days, or when the snow melts, water can get inside your camper and mold may develop.
Besides mold, an open vent provides an easy entrance for rodents. These pesky creatures are also looking for a place to keep them warm during the cold months, and an empty RV is perfect.
Another thing you should look out for is the sun. The UV light is not good for the interior, even in winter, and can cause costly damage if left unchecked.
To avoid this, make sure you close all of the blinds and curtains.
Pest-Proof Everything
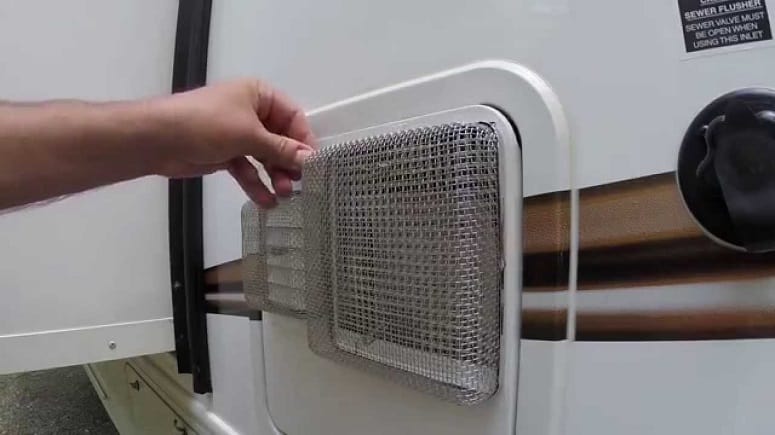
The first thing you need to do is inspect the exterior of your RV.
Look for any cracks, openings, and holes that an unwanted guest could potentially pass through.
A good tip is to see if you can fit a finger inside, if you can, a mouse will likely fit too.
Of course, mice aren’t the only critters you should be aware of.
Snakes and squirrels also have a tendency to enter RVs. And unfortunately, once squirrels spot a place they like, they can enlarge the opening to suit themselves.
Critters like squirrels and mice will tear up carpets, chew on the furniture and hang from the curtains.
Some may even build a nest in your pantry, especially if you forgot to empty it. Additionally, they will leave behind a fair amount of waste.
Another danger is when mice make the air intake system their nesting ground. Not only can this be hard to spot, but it can be dangerous for the people onboard.
Mice create their nests from feces and urine, and once this gets into the air it can spread something called hantavirus.
What You Can Do
In these cases, prevention is key. Mice can cause costly damage and the cleanup could take a long time – you’ll have to scrub and disinfect.
Get your hands on some aluminum wool, or brass, these won’t rust during the winter. Then go around your RV and fill up every hole that shouldn’t be there.
An alternative is foam insulation products such as Great Stuff, this is easy to use and works well on smaller holes.
To be extra safe, place ant bait, mouse traps, and insect traps around your RV. Leave them near the tires and hitch blocks, or any other place where your RV touches the ground.
If you park your RV near trees, you can even leave some traps on the roof near the vent. This will help prevent any critters from entering through the ceiling.
Don’t Forget The Propane Lines
Besides mice and squirrels, insects such as bees, wasps, mud daubers, and spiders are attracted to propane.
Often, these creatures will seek out the propane scent and then build a nest nearby. I don’t know about you, but I don’t like having wasps in my RV.
Fortunately, you can prevent this by remembering to turn off the propane tank.
Vent them out before leaving and seal off any exits, such as stove burners and pilot lights. Be aware that the propane odor can linger in your RV, so air it out.
A good tip is to remove the propane tank entirely and buy some caps for the lines.
You can get these at your local hardware store. These will also prevent insects from entering.
Then, every now and again, take a walk around your RV and check for nesting signs. Luckily, this is easier when your RV is at home.
Give Your RV A Bath
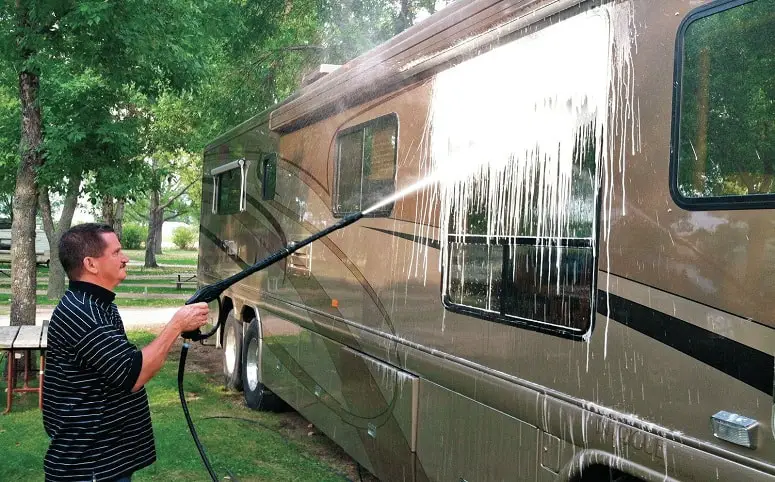
Cleaning the exterior of the RV is just as important as cleaning the inside. Make sure that you give the outside walls a good scrub down.
Leftover mildew can cause the exterior to corrode or rust and, even though it’s not noticeable now, after the winter it might be out of control.
Wash every part of your RV, such as the awning, tires and wheel walls, the roof, and the undercarriage.
This is also a good chance to double check the seals that you added earlier.
Once you’re finished, open the awning and let your RV dry completely before placing any covers on it.
The awning is especially susceptible to mold and if you close it while it’s wet, you will likely have to replace it.
Look Out For Your Tires
When an RV is in storage for longer periods, the tires can develop flat spots. These will require you to replace the tires before going out on a trip again.
A good way to prevent flat spots is to block the tires or use a jack to lift them off the ground a bit and rotate them. It doesn’t have to be often, just once in a while.
Make sure that you inflate all the tires properly. Less air inside can also lead to flat spots.
Additionally, if your RV is going to stay outside, remember to invest in some tire covers. These will keep the tires safe and prolong their lifetime.
The last thing you need to do is lubricate the bearings. These bear the friction, and lubricating them before storage will help you keep them for longer.
Pro tip: Check your tires for signs of wear and tear. Look out for rust, tears, cracks or loose connections. These flaws will likely worsen while your RV is out of use, so it will save you time when the season begins if you fix them now.
Covering Your RV
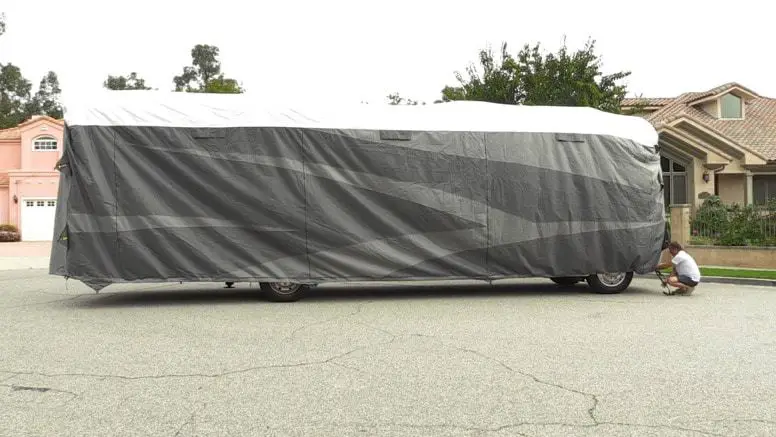
Whether you manage to find an indoor spot for your RV or it stands outside beside your house, a cover is always beneficial.
RV covers will keep your camper safe from the elements. That said, it’s essential to choose the right material.
Pick the wrong one and any moisture or dampness that gets under the cover will cause mold or other damage. Tyvek and Polypropylene covers are both good choices.
Once mold begins to develop on the exterior, it can be hard to get rid off.
One thing to look out for in particular is black mold. This type of mold can cause severe health issues.
To prevent this mold inside, many experts recommend that you place a container of Dri-Air, silica gel, or DampRid inside the RV. This will reduce the buildup of moisture.
Preserve Your Battery
Even though you aren’t using your RV, the onboard appliances may still drain your battery.
The best way to prevent this is to simply disconnect the battery. That way you’ll preserve it for the next use.
Preserve Your Engine
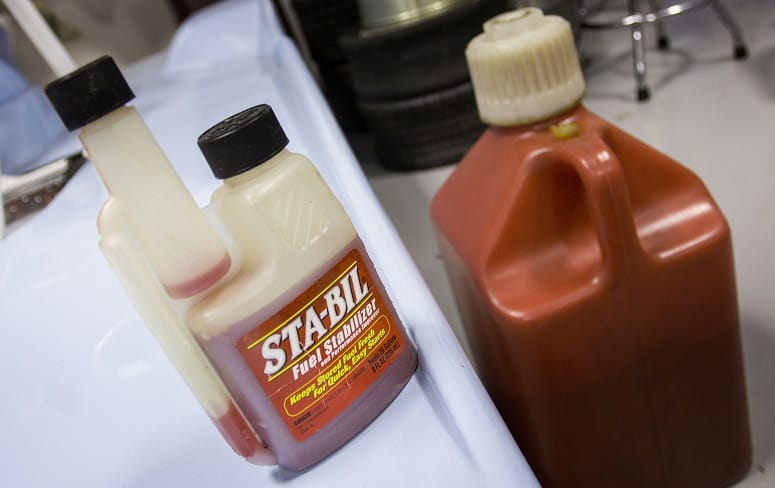
If your RV is a motorhome and carries fuel, a good idea is to condition the engine by giving it an oil change, pre-storage.
Make sure that all fluid level are as they should be and add some fuel stabilizer to the fuel tank.
Over the winter, the fuel left in the tank can “go bad,” which may ruin your engine when you begin to drive again.
This helpful video has some extra tips:
Conclusion
Storing your RV can be expensive, so making room for it at home is most likely a financial advantage.
There are, however, still some things to take into considerations, such as laws to abide by, cooperation of neighbors, and the available space you have.
Remember to make sure you have room for the RV and check with your neighbors, as well as finding out local rules and regulations.
Next, prep your RV for storage by cleaning everything and covering what you can.
Hopefully you found this complete guide to storing your RV at home helpful.
Did we miss anything?
Please leave us a comment below and don’t forget to share this guide with RVers near and far.


