No matter what sort of RV or camper you have, the bathroom is an important space.
After all, everyone on the trip will be using it at some point in time.
Whether you want to improve your bathroom’s design or create additional storage space, there is a solution.
Even the fixtures (sink, toilet, and shower) can be replaced and upgraded.
There are many different ways you can beautify your bathroom, from accessories to full-on DIY projects. You can easily find options for all sorts of budgets and preferences.
Investing a little time, effort, and money into your bathroom can bring great rewards.
1. Plan Ahead
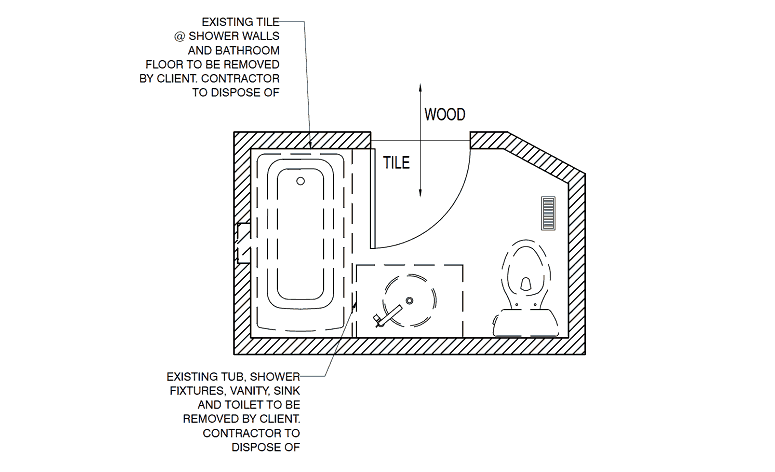
Before you start checking out all the amazing ways you can improve your bathroom, take a moment to plan.
Here are a few things you should be aware of prior to buying new fixtures and getting to work.
The DIY Route
A DIY project can save you a lot of money—if it’s carried out correctly.
Don’t make big modifications to your RV or camper bathroom unless you know what you are doing.
If you don’t feel comfortable handling tools or replacing fixtures, hire a professional.
You might have to pay a little extra, but at least you can be assured everything will work as it should.
Manufacturers
Certain manufacturers design fixtures that are camper friendly. This means products on offer are built with small spaces and standard RV or camper specifications in mind.
Thetford is one such brand.
The company offers everything from RV toilets to cassette toilets and porta-potties.
Check Reviews
Read as many reviews as you can find about your fixture or accessory of choice.
Do other RV or camper owners recommend it?
What type of RVs or campers is this product best for?
Think about where you’ll be taking your RV or camper. For example, if you have an off-road camper, you will likely be heading over bumpy terrain. Will this accessory or fixture hold up to that sort of environment?
Don’t exclusively rely on the manufacturer images and videos. Looking at real photos of the fixture or product will give you a better idea of what to expect.
2. Materials To Avoid
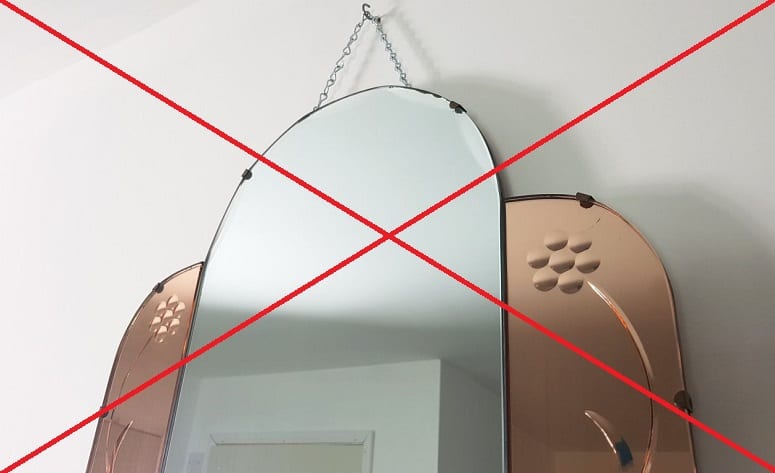
In RV or camper bathrooms, some materials stand the test of time better than others.
Needless to say, fragile or heavy items or accessories should be avoided.
A frameless mirror may look great, but it could shatter at the first bounce in the road. If you’re using adhesives to affix something to your bathroom wall, make sure they are powerful.
Even if a product claims to be able to stick to wet walls, this probably isn’t factoring in movement. You don’t want a rack full of toiletries to crash to the floor as soon as you hit rough terrain.
For those of you with wet bathrooms, make sure whatever you buy can withstand constant exposure to moisture.
A cosmetics caddy that is made of cloth might not be the best idea, for example. Pick stainless steel for all metal accessories as it is resistant to rust.
3. Upgrading Your Toilet
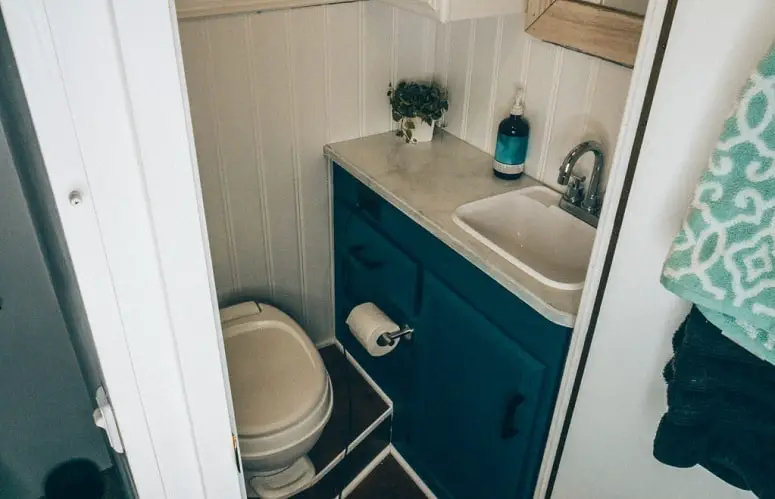
There are more options for upgrading your toilet than you might imagine.
And a new toilet can change the appearance of your bathroom quite dramatically.
Think about getting a shorter or taller toilet, depending on what suits you. Check out different styles and shapes, or colors—like a bone white toilet instead of a plain white one.
Choose a model that conserves water by offering a dry-flush option. For an at-home feel, choose a residential toilet.
Make sure you know the specifications of your RV or camper bathroom (measurements, gasket mount, etc.) before making your purchase.
DIY Installation
Before you begin installing your new toilet, flush the old one a couple of times to clear the pipes.
Then, dump your black tank and turn off the water.
Do not skip this step—you don’t want your black tank to be full of waste during this process.
Remove the old toilet by unscrewing it from the floor and dismounting it. Disconnect all pipes and hoses and set the toilet aside.
Now, it’s time to install the gasket—this is what seals your toilet to the bathroom floor.
Make sure it is bolted securely into place. As long as you bought a suitable model, all the mounting holes should line up.
Test the toilet out by sitting on it to make sure it is secure. Reconnect the plumbing and flush to examine for leaks, and you’re done.
Watch this video about DIY toilet installation:
4. Upgrading Your Sink And Faucets
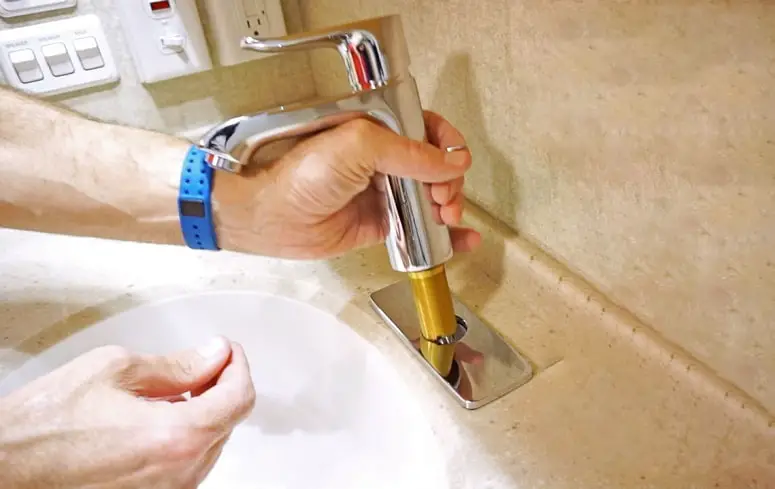
Campers usually come with the bare minimum in terms of bathroom fixtures.
This is your chance to replace a plastic sink and basic faucet with something better.
You can also take the opportunity to customize, by selecting fixtures in colors and styles that fit your tastes.
Don’t forget to turn off the water and depressurize your water lines before you begin.
Sinks: DIY Installation
Go underneath the sink and disconnect the water lines. Remove any screws or bolts that are connecting your sink to the counter.
Once you have removed the old sink, clean the counter thoroughly. Get rid of any residue left behind, to ensure your new purchase fits tightly to the counter.
Set the new sink into the hole and secure it, re-attaching the water lines. Turn the water on and run it for a little while to check that there are no leaks.
Watch this video for an in-depth explanation of how to replace an RV sink:
Faucets: DIY Installation
If your sink faucets leave you wanting more, pick the perfect length and shape for you. Even faucet handles can be upgraded—take advantage.
5. Upgrading Your Shower Head
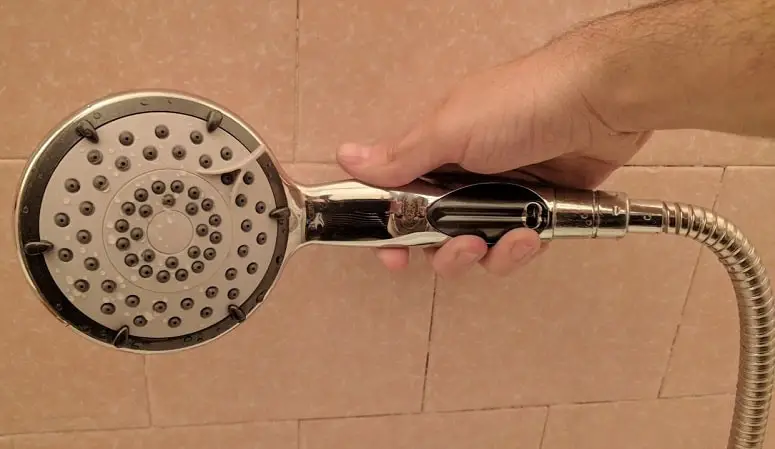
There are shower head upgrades available to solve almost any issue you may have.
From unappealing designs to weak water pressure, you can find a replacement to address your concerns.
No matter what type of RV or camper you have, conserving water is always a priority.
If you are the type that enjoys long, hot showers, you might be resigned to giving these up on the road.
Unfortunately, water-conserving shower heads can result in weak pressure. There’s nothing more frustrating than emerging from the shower still covered in soap.
DIY Installation
Upgrading your shower is one of the simpler bathroom upgrades. All you have to do is unscrew the old shower head and replace it with the new one.
Make sure it is fitted tightly and screwed in well.
First of all, turn off the water, and then depressurize the lines by turning the shower on and letting the existing water run out. You don’t want to end up drenched when you remove the old shower head.
6. Upgrading Your Tub Or Shower Pan
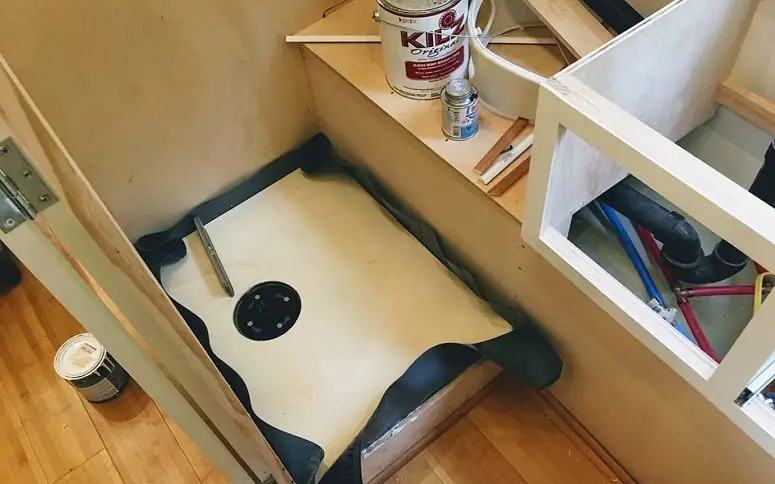
That’s right, even your tub or shower pan can be upgraded.
As with the other fixtures, all you have to do is take measurements and pick a new model.
Changing these items in your bathroom allows you to tailor everything to fit your needs. If your shower tub was way too low, pick one with a deeper basin to avoid flooding.
DIY Installation
It’s a good idea to upgrade your shower or tub surround at the same time as you change the pan or tub.
Replacing the pan or tub will usually involve messing with the surround in any case. Supports have to be taken off, which can crack your surround if not done carefully.
Note that replacing a bathtub can be a tricky project. If your tub is not properly installed, it can crack when weight is put on it. Improperly installed drains can cause flooding.
Accessing the plumbing underneath tubs can be difficult in certain types of RV. Unless you are sure you can complete the installation from start to finish, hire a professional.
See this comprehensive video on how to replace your tub and surround:
7. Upgrade Shower Curtains And Doors
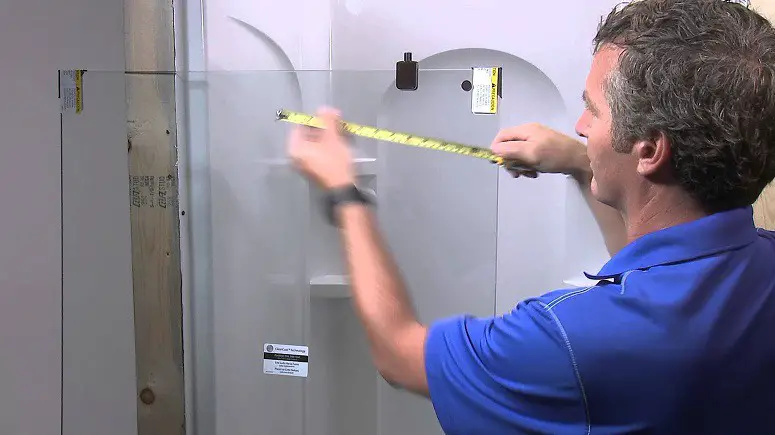
Anyone who has showered in a small camper bathroom has likely encountered the dreaded sticky curtain. You find the curtain sticking to you as you are trying to shower.
Trying to remove it generally results in water going where it shouldn’t.
You also want to prevent water from seeping out of your bathroom. Even if the bathroom floor is waterproof, the floor of the rest of your RV or camper is not.
Whenever possible, shower screens are better than curtains; they’re less likely to fall prey to mold and mildew.
Walls and doors are also far superior at shielding the rest of your bathroom from accidental spraying.
Shower Door Or Curtain Rod: DIY Installation
Perhaps you are unwilling or unable to switch to doors rather than curtains.
In this case, you can use a curtain to maximize your shower space. Consider getting a curved rather than straight shower rod.
You’ll still have the protection of your shower curtain, but it will be at a distance from you—no more sticking.
8. Upgrading Storage Units
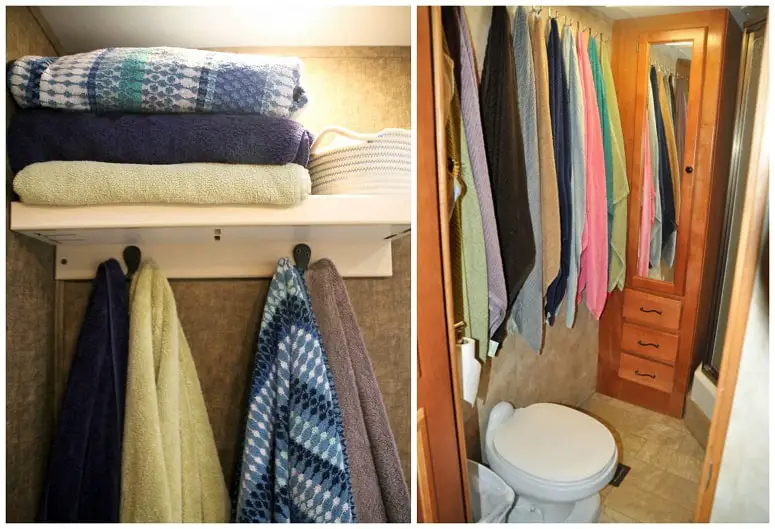
If you’re installing new sinks, tubs or faucets, worn out cabinets will be all the more evident.
Drab-looking cabinets can bring down your whole bathroom’s appearance.
DIY Minor Upgrades
If you already like the cabinets you have, you can still improve them.
Worn-out or stiff hinges can switched out with brand new ones.
Extra shelving can be added so that you have more space. Add magnetic latches to guarantee your cabinets stay firmly shut.
DIY Repainting
You can give your old fittings a brand new look by repainting them.
Remove all cabinet doors, drawers, and shelves. Take them to your garage or a well-ventilated place indoors where you have space to work.
All parts of the cabinets that will be painted will need to be cleaned with TSP (trisodium phosphate). This is a heavy duty chemical, so take precautions when you are using it.
Once everything is prepped for painting, you can get to work. Cover glass or mirrors with tape, so as not to get paint on them.
Follow the instructions of the paint brand you use for how many coats to apply and drying time.
9. Add Extra Storage
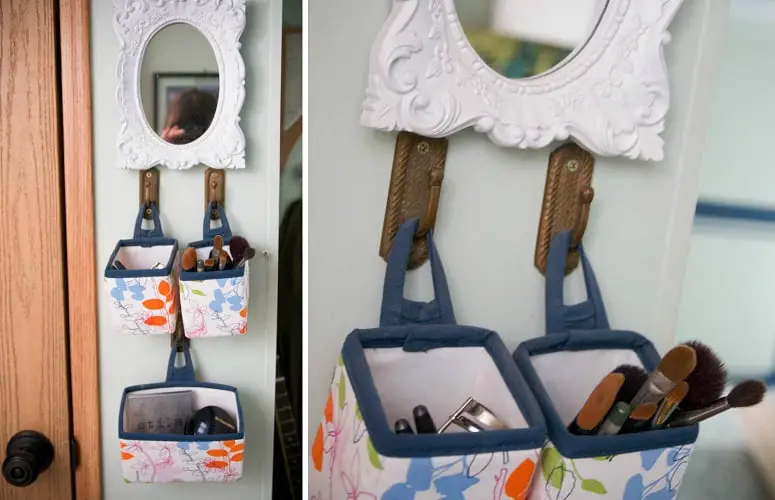
Upgrading your bathroom isn’t just about replacing and upgrading major fixtures.
You can also improve functionality by adding extra storage options.
Even the smallest camper bathrooms can be enhanced. You can combine one or more approaches, depending on your bathroom space and layout.
Shelves And Racks
Anyone with an RV knows the benefits of adding shelves. This isn’t just for kitchens and bedrooms—your bathroom cabinets can benefit too.
Racks can store cosmetics and other miscellaneous items that don’t fit in your cabinets. If you have a small camper bathroom with minimal cabinets, racks can make up for it.
Remember to choose racks made of materials that will not corrode or rot. This stainless steel rack can be stuck to your walls—no drilling required.
Caddies
Make use of the inside of your shower with a caddy. Rather than keeping your shampoos and soaps spread out, store them all in one place.
A caddy that hangs over your shower head, like this chrome one should hold everyone’s shower products.
If you prefer something with a softer look, you can get a mesh caddy instead. Hang it over the shower door, curtain rods, or even on the wall.
A caddy with lots of pockets, can be used to keep all your frequently used toiletries in one accessible area.
Cabinets
If you have empty wall space, why not add more cabinets to your bathroom?
10. Final Touches To Personalize Your Bathroom
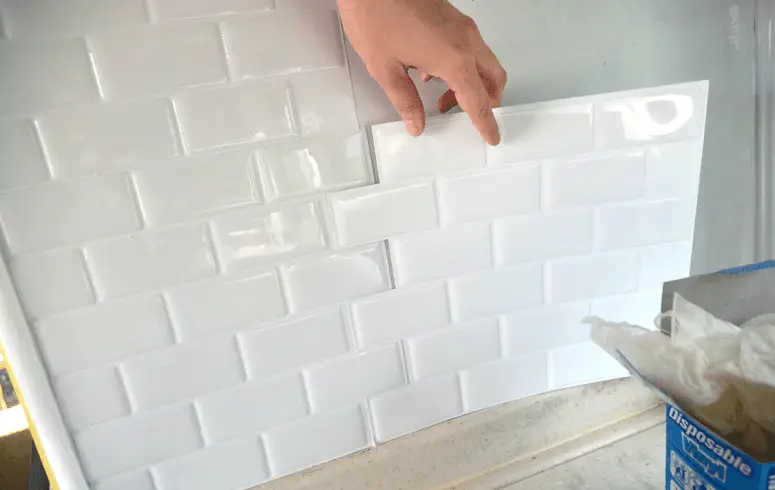
Once you have completed the major renovations, add some finishing touches. These are some little things that will give a personal touch and style to your bathroom.
Backsplash
A backsplash can brighten up a plain white tub or shower surface.
The best method for RV and camper bathrooms is with peel-and-stick decals.
As mentioned earlier, heavy items are not the best idea for RVs and campers. Ceramic tiles might look nice on walls, but they’re heavy and can get jostled loose over time.
Have Fun With Accessories
There are subtle ways to make your bathroom look and feel like a spa. Get rid of bulky bottles altogether.
Hang playful prints up to give your bathroom a unique look and amuse you and your fellow campers. It is an inexpensive way to add some fun to your bathroom.
Matching Items
Invest in a new bathroom rug and towels in your favorite color. Try to match all your new accessories (racks, hooks, etc) together.
Conclusion
I hope you found some inspiration in this guide to upgrading your RV or camper bathroom.
You can mix and match as many or as few of these upgrades as you choose. The end goal is a bathroom that you’re happy with.
Improving your bathroom isn’t just a good project for the short term. Better fixtures and a pleasant design can boost the resale value of your RV or camper.
Do you have any other tips to share about upgrading an RV or camper bathroom?
Tell us in the comments. If this article helped you, please share it with other RV or camper owners.



Mike, you made a statement about shower door or curtain rod replacement but never said anything about the door. Can you use a residential shower door in the RV?
Bought my first camper after hurricane Harvey n 8ft water on our street caused I never rdd wang to be without bed n potty again. It’s an older 94 damon hornet 24ft inside excellent condition but dated…I had just bought flooring n paint a few days ago on my google feed I found your link n post to be quite helpful…as I’m replacing all of the bathroom ok m ugly yellow/tan sink tub n toilet…black white n wood w those pops of color…
I’m hoping to see more oF this great country of ours.
Happy travels