Problems with your camper’s water heater can take the fun out of an otherwise great trip.
After all, most of us will be using the shower at least once a day.
The water heater is one of those gadgets you may think only a professional should be tinkering with.
This is true in some cases, and I will make it clear what should be left to the experts.
Still, there are quite a few problems that you could be capable of repairing on your own. Learn how to fix common camper water heater issues, step by step.
What To Know Before Getting Started
Your water heater is one of the more complex parts of your camper.
Whether it runs on electricity, propane or both, there is a lot to consider.
Always remember that just because you can fix something, this doesn’t mean you have to. If you are uncomfortable tinkering around with your water heater, hire a professional to help get the job done.
Safety Comes First
You should always take basic safety precautions around your water heater.
If you are opening it up, make sure the water is not still hot or under pressure.
The majority of repairs are best done with the utilities off—particularly electricity and gas.
Unless you have to run water through the heater to test that it works, turn these off.
Understand Your Water Heater
If you have had little contact with your water heater so far, take some time to learn about it.
Check your camper’s owner manual for information.
Know what type of water heater you have, and the recommended maintenance practices. You may also want to check if your water heater is still under warranty.
How To Fix A Water Heater That Won’t Heat: Human Error
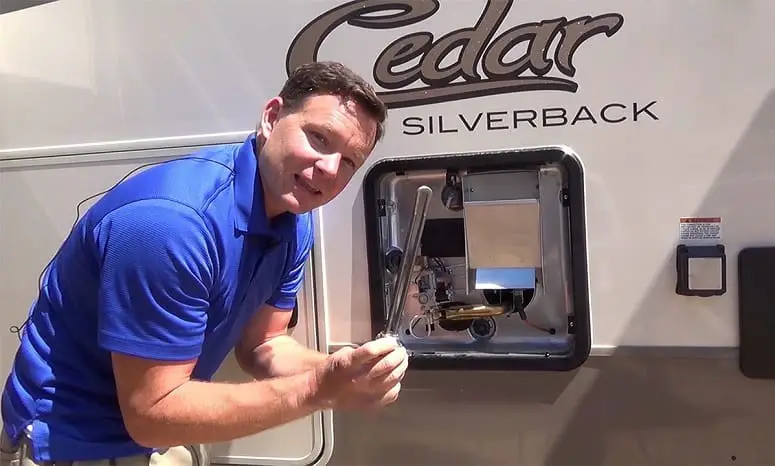
If your water heater isn’t delivering the heat you need, don’t automatically assume it needs repairing.
Plain old human error might be the culprit.
It’s important to try out these fixes before moving forward. The first rule of camper repairs is to check for little problems before assuming there are bigger ones at play.
Step 1
In almost all cases, only a single faucet in your camper can run hot water at any given time.
Since most camper water heaters are small, running multiple faucets can exhaust hot water quickly.
If someone is running hot water in the kitchen while you’re trying to shower, you’ll both end up with cold water.
Turn off all the faucets in your camper and wait a few minutes. Then, turn on a single faucet and see if the water runs hot again. If so, congratulations—an easy fix.
Step 2
If the water is still running cold, you may have forgotten to shut off your bypass valve. You can find this valve at the back of your water heater.
If it is still on, turn it off. Your water heater should run hot again. Learn more about your water heater’s bypass valve here:
How To Fix A Water Heater That Won’t Heat: Propane Problems
You’ve tried closing all the faucets, and making sure your bypass valve is off.
Is your water still running cold? Wondering what you should be doing now?
Your propane supply may be at fault. If the propane supply is sporadic, the burners won’t stay hot.
Before you begin, make sure that the electricity and gas are both off.
Step 1
Check for loose wires inside your water heater that could be preventing propane from igniting. As long as the wires are intact, you can tighten them.
If the wires are corroded or exposed, it’s better to call a professional.
Step 2
If your wires are tightened, move on to your propane lines. If you haven’t done so recently, this is the time to check for leaks.
If you discover a propane leak, take action immediately.
Step 3
If there are no leaks, you might have blockages in the propane line. For example, there might be dust or debris.
Performing an airline bleed may be the solution. As the name implies, an airline bleed is a technique to get rid of air in your gas lines.
You’ll be getting rid of air as well as clearing out any debris that might be clogging the lines. Note that you should be doing this every time you refill your propane tanks.
How To Fix A Whistling Water Heater
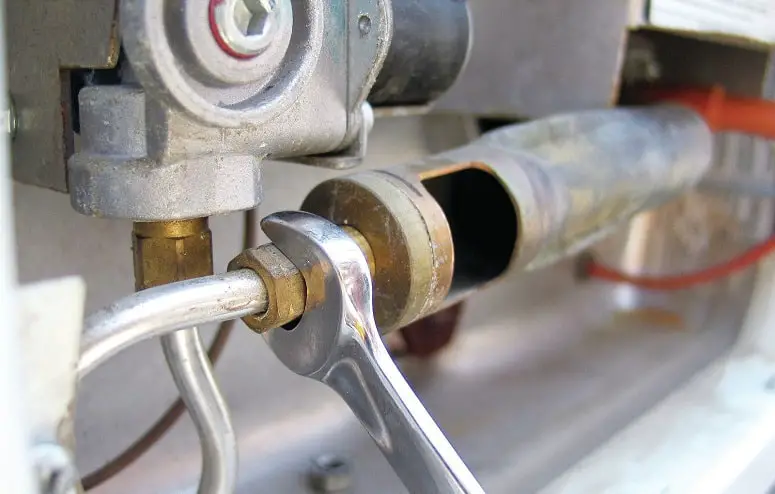
Any whistling in your camper should be coming from either you or your tea kettle.
If your water heater is whistling up a storm, don’t ignore it.
The fix for whistling is fairly straightforward. It is typically caused by either a loose, old or dirty check valve.
Step 1
Turn off your water supply and drain your water heater completely.
Step 2
Find the check valve on your camper’s water heater. Make sure that it is screwed in tightly. If your check valve is loose, your water heater will whistle.
Step 3
If the check valve is screwed in correctly, it might just need a cleaning. Remove it and clean it off. Use only warm water—do not use any soaps or cleaning products. Reattach it and see if the whistling stops.
Step 4
If your water heater is still singing, your check valve might be worn out. Buy a new one and replace it.
How To Fix A Screeching Water Heater
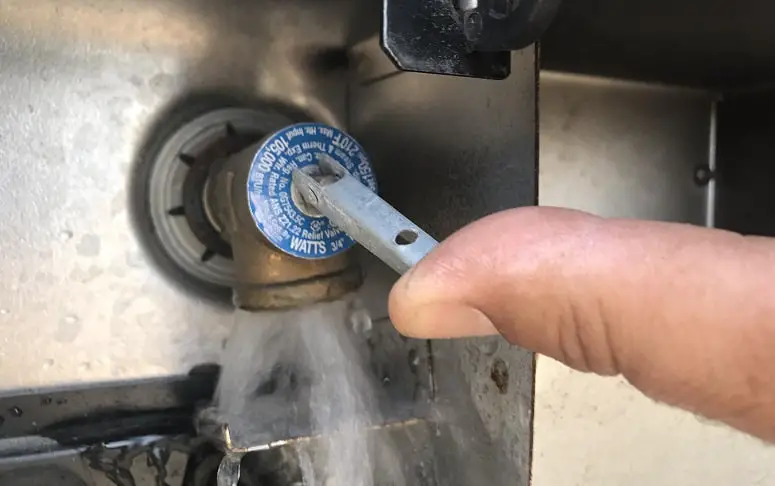
Is your water heater making screeching sounds, like a horror movie sound effect? Build-up could be the reason why.
A camper’s water heater needs to be cleaned out on a regular basis.
If this isn’t done regularly, calcium and limescale can collect inside the heater. These build-ups can then result in shrieking or screeching sounds when it’s turned on.
Step 1
Turn off all of the utilities and drain the water heater before opening it up to check inside.
It’s easy to spot limescale or calcium build-up. You will see hard, crusty deposits, ranging in color from white to brown.
If you see evidence of corrosion, call a professional. There’s a good chance you will have to replace your entire water heater.
Step 2
Get an appropriate product to descale your water heater and use as directed. Buy one that isn’t corrosive, to avoid damaging your water heater or pipes.
Step 3
Now that all those pesky calcium deposits are loosened up, it’s time to flush your tank. Get a water heater cleaner to help you do the job.
How To Fix A Smelly Water Heater
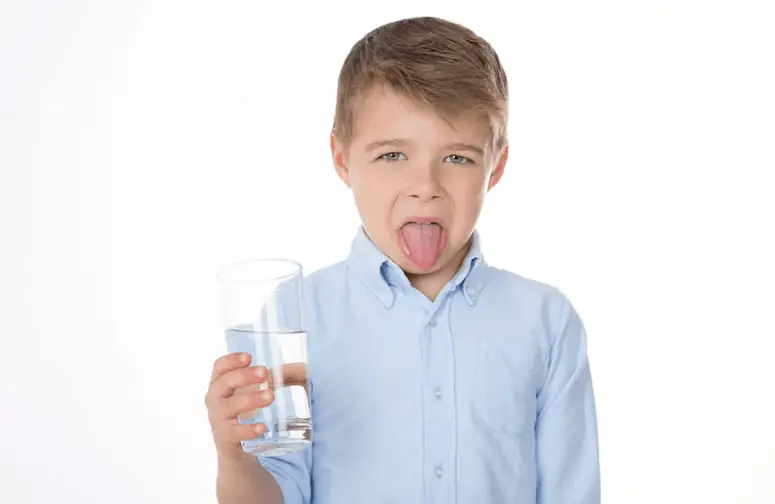
A nasty smell emanating from your water heater shouldn’t be ignored. The stink could be caused by a build-up of bacteria.
If you haven’t sanitized your water heater for a while, it’s time to do it now. Not only do bacteria have an unpleasant odor, they can be dangerous to your health.
Step 1
Start by draining your water heater and turning off the gas. Then, prepare your cleaning solution. You can use either vinegar or bleach.
For vinegar, mix two cups per one gallon of water capacity. If you choose bleach, it will have to be diluted further. Mix no more than two-thirds of a cup of bleach per one gallon of water capacity.
Step 2
Fill your camper water heater with your cleaning solution of choice. Allow it to sit for several hours.
Step 3
Flush out your water heater, then run water through it to remove residue. If you have used bleach, make sure you cannot smell any coming out of the taps. You might have to flush and run water through the heater several times.
Step 4
You may want to replace your anode rod at the same time. This rod prevents your water heater from rusting, and can also reduce unpleasant smells.
If you haven’t changed it for over a year, it may be time for a new one. Watch this video to learn how to change the anode rod:
How To Fix A Sooty Water Heater
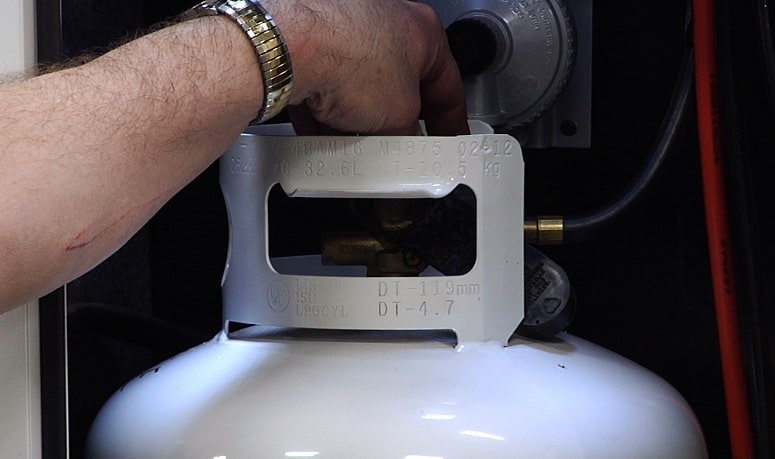
Soot on or around your water heater is not a normal occurrence. You’ll have to check out your water heater and its related mechanisms thoroughly.
Step 1
Start by checking your LP tanks. A sooty water heater could be a symptom that your gas is running low.
Step 2
If soot still appears, investigate further. Examine the following parts for corrosion, build-up, loose screws or damage:
- The main burner.
- The exhaust grille.
- The U-tube.
You can clean or tighten as necessary.
If corrosion is at fault, you will have to call a professional to consult further.
Do the same if there is no corrosion but your water heater still remains sooty.
How To Fix Slow-Running Hot Water
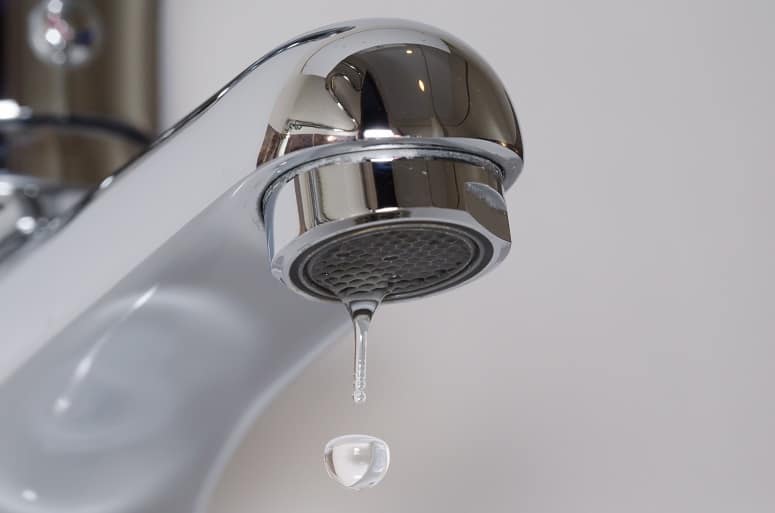
If hot water takes a while to start running out, build-up could be the culprit. Your water heater might not even be the guilty party this time.
Step 1
Check your shower head and faucet screens. Build-up on these screens could be preventing water from flowing through. You should look for deposits in the form of discolorations or actual crusts.
Step 2
You can use a descaling product or vinegar. If you want to use a product, make sure it will not damage your faucet screens or shower head.
If you prefer to use vinegar instead, all you’ll need is white vinegar and a microwave (or pan). You will want to wholly submerge your shower head and screens in vinegar.
Make sure that you have enough vinegar and a large enough container for the job.
Heat up several cups or a bowl of vinegar in your pan or microwave until warm. Be careful not to let the vinegar get too hot.
Step 3
Leave your showerhead and faucet screens in the vinegar for 10 minutes. If there are still deposits, wait another 5–10 minutes.
You might have to use a chemical product for more stubborn build-up. If nothing is doing the trick, it could be time to buy a new shower head or faucet screens.
Step 4
Reinstall your freshly cleaned (or new) showerhead and faucet screens. Water should be running normally.
How To Fix A Water Heater That Won’t Ignite
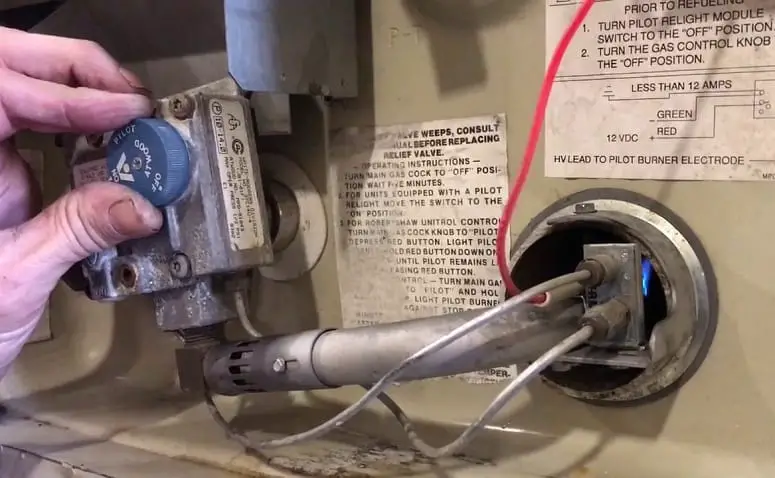
If your water heater won’t ignite, you’ll need to look at your igniter and electrodes.
Step 1
Listen for clicking coming from your igniter. If you hear clicking but don’t see ignition, it might be corroded.
If you do see corrosion, once again I advise you to get in touch with a professional.
Step 2
Examine the insulation around your water heater’s electrodes. Badly insulated electrodes could prevent the igniter from working correctly.
Insulation that is falling apart or cracking will have to be replaced. Switch off the electricity before you handle the electrodes directly.
Make sure the electrodes are tightly fitted. Loose electrodes will not work as they should.
Step 3
If the ignition still isn’t working, replace the electrodes with new ones.
Step 4
If all of this has failed, you’ll have to call in the professionals.
How To Fix A Water Heater That Runs Out Of Hot Water Fast
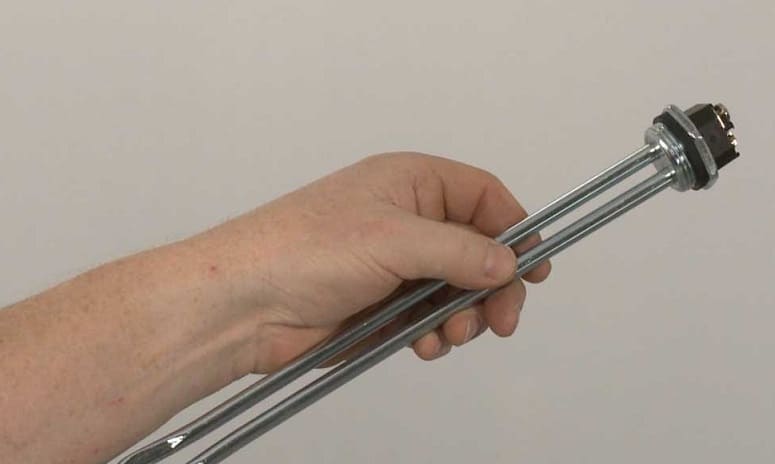
If your hot water is only lasting for a little while, you probably need a new heating element.
This handy mechanism is responsible for heating up water as it enters the heater.
Step 1
Switch off all the utilities and locate your heating element. If a gas line is in the way of your heating element, you can move it.
Just loosen the gas line and pivot it. This is why it is essential that your gas is turned off.
Step 2
Unscrew and remove the heating element from your water heater. Water will likely begin pouring out when you remove it—don’t worry about this.
Step 3
Your old heating element will probably show visible corrosion. Screw in your replacement heating element at this point.
Step 4
Move your gas line back in and tighten it well. Check that everything is in order by running your water heater.
How To Fix A Faulty Pressure Release Valve
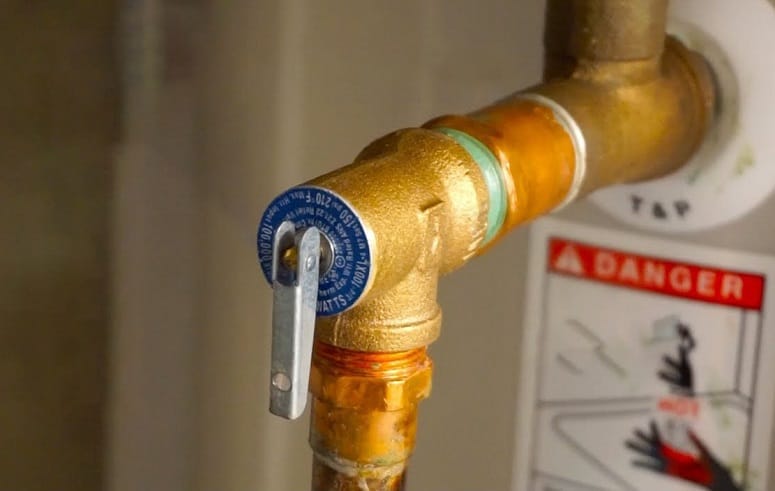
The pressure release valve works to prevent explosions and fires. As you may have guessed, it is a crucial part of your camper’s water heater.
Your pressure release valve is in place to relieve pressure to ensure excessive temperature or pressure does not build up in the water heater.
Step 1
If your pressure release valve is old, you’ll have to replace it. Air traveling to the top of the water heater’s tank can wear it down over time.
If your pressure release valve is new or has recently been replaced, move on to the next step.
Step 2
If there is still a fault when a new pressure release valve is fitted, call a professional. Life-threatening accidents can happen if there is an issue with pressure regulation in your water heater.
Maintaining Your Water Heater To Prevent Problems
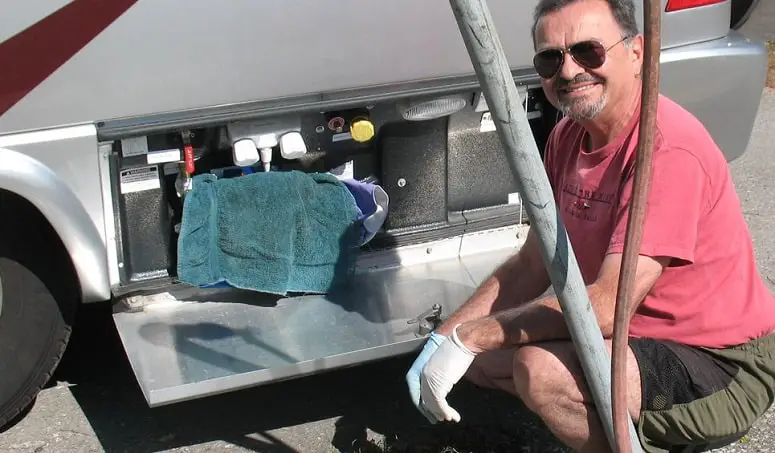
All camper owners should make a point of keeping up with water heater maintenance.
Many of the complications I have covered can be avoided by periodically maintaining your water heater.
Clean Your Water Heater
Your water heater needs to be cleaned on a regular basis.
This will get rid of limescale, calcium deposits, and bacteria before they have a chance to take hold and cause damage.
How often your water heater needs to be cleaned depends on you. If you take your camper out frequently, every few months should be fine.
If you only use your camper occasionally, clean the water heater before putting it into storage. You can use vinegar, bleach, or a specialty product—whatever works for you.
Know The Lifespan Of All The Parts
As you may have realized, the parts in your water heater won’t last forever.
Anode rods, pressure valves, heating elements, and more, need to be replaced every once in a while.
Learn how long the parts of your water heater are expected to last. Waiting until something is on the brink of breaking down can damage your water heater.
You can check the manufacturer of the parts themselves or your water heater’s manual.
Conclusion
I hope you now feel more confident about tackling camper water heater repairs. If you’re lucky, you’ll be able to fix the problem without involving a professional.
Don’t attempt fixes that you’re uncertain about.
Make a habit of maintaining your water heater; stop these issues from cropping up in the first place.
If you have other water heater fixes to recommend, tell us in the comments.
Did this article help you solve your water heater woes?
Share it with fellow camper-owners.



A
my hot water heater leaks club out under warranty was told found small leak on supply line. Amount of water leaking did not come from a small leak. Warranty expired in January, was told their repairs are warranted for 1 year.
Excellent, thank you for the info