As the end of summer draws near, many campers start thinking about prepping their camper trailers for the long winter nap.
We mend, clean, and pack everything.
We even seal off cracks and other entry points that rodents may use to access our precious camper trailers.
Are you wondering what to do with the camper battery? Do you remove it or leave it in its compartment?
Should you charge the battery for hours then store it “fully charged” for the rest of winter, or max it out and leave it dead until spring comes around?
Doing either of these can damage your camper battery and shorten its life dramatically.
How Should You Charge Your Camper Battery For Winter?
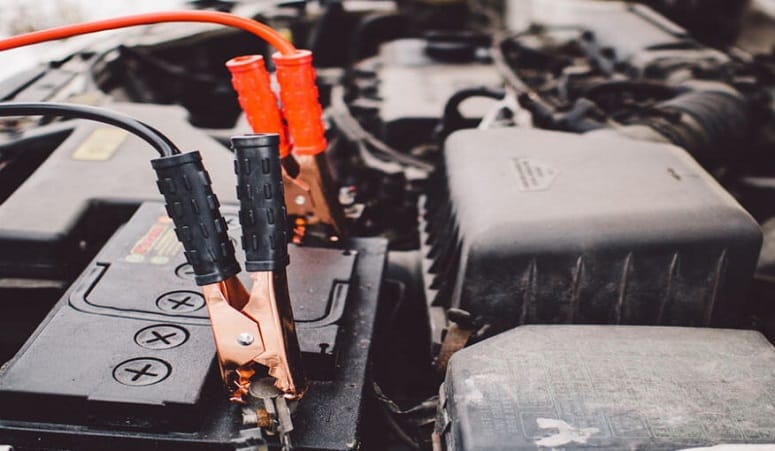
Many of us don’t realize the dangers of overcharging batteries. We assume that once the battery is fully charged it ceases to receive power.
This is a wrong assumption because the battery continues to get power in the form of trickle charges.
If you continually overcharge your battery, the internal chemistry of the battery will change and become damaged.
The battery will never reach full power again and soon enough you will need to buy a new one.
The opposite is just as bad. Think about your cell phone. Many of us charge our cell phones only after they reach critically low levels.
We also take them off charge as soon as they attain 50 percent or 75 percent charge. Who has the time to wait around for 100 percent charge?
We work with whatever minimum we can get.
If you continually use your cell phone without letting it charge fully, you are only reducing its battery life. The same principle applies to a camper trailer battery.
When you discharge the battery repeatedly without allowing a full recharge between the cycles, sulfation will occur. While sulfation can be reversed if caught early, prolonged undercharging will only lead to one end—battery failure.
Letting your battery die before charging it may sound like a good idea but it isn’t. If you do this several times—possibly as little as twice, your battery will likely suffer irreparable damage.
This is because continued low or zero charge affects the battery’s stability and it will never take a full charge for the rest of its life. A poorly performing battery will see you buying a new one sooner than you had anticipated.
What should you do then? Find out below.
How To Winterize Your Camper Battery
Rather than buying a new battery every six to twelve months, show some TLC to the one you have. Depending on the brand, you may be looking at three to five years of service.
1. Disconnect The Battery
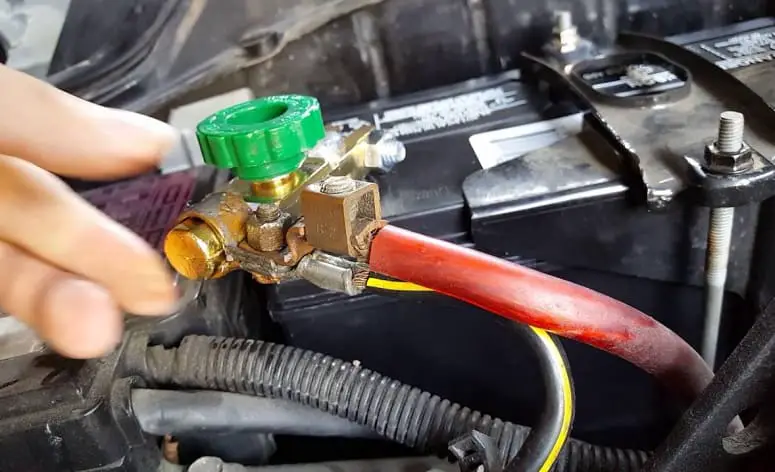
Camper batteries are used to power many things, including the lights, water pumps, and furnace heater fan, among others.
If you leave these appliances plugged in, they will slowly drain your brain and it will die before winter is over.
Disconnect the terminals as well—there will be two cable terminals. The red cable terminal is positive while the black one is negative. Make sure that the terminals don’t touch, to prevent vehicular damage or even electrocution.
2. Clean The Battery
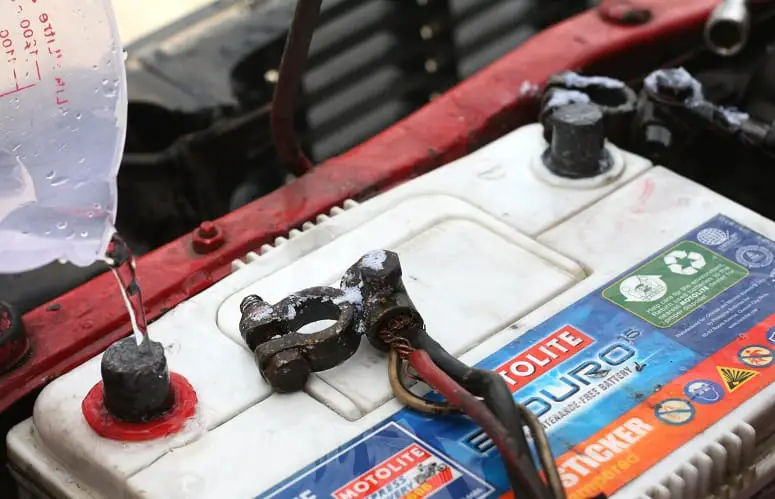
We should first mention the need to wear protective eyewear and gloves while handling the battery.
Throughout its life cycle, a camper battery accumulates dirt and corrosion.
Mix one cup baking soda to one gallon of water and use the mixture to remove the corrosion. Clean and dry the casing as well as the terminals.
Once this is done, you can use a clean and dry rag to wipe any dirt or dust that accumulates while in storage.
3. Charge Your Battery
Battery capacity deteriorates by 10 percent every month as long as it is not in use. If you store the battery without charging it all winter, you will permanently lose 40 percent capacity.
No amount of recharging will bring back the battery’s capacity. It’s gone.
Start by charging the battery fully before keeping it in storage. Check your battery every two weeks to make sure that the charge doesn’t go below 80 percent.
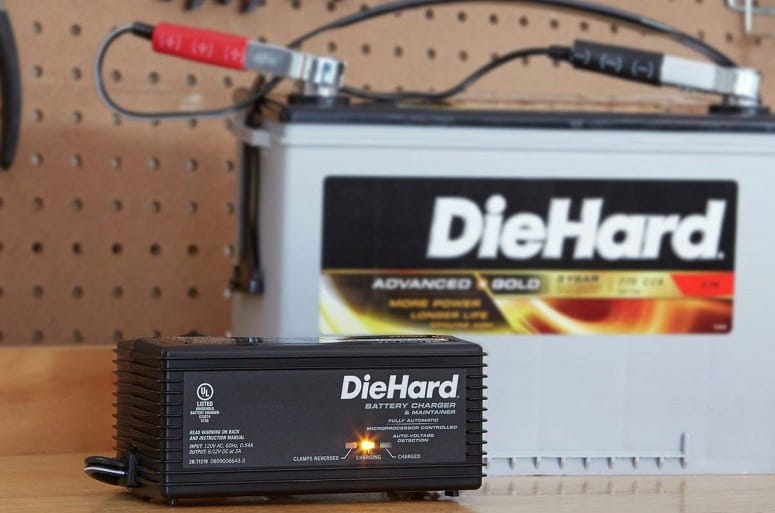
Use a trickle charger, or your standard car battery charger, to top up the 20 percent charge, so that your battery stays at 100 percent.
Trickle charging ensures that your battery remains fully charged. It does this by charging the battery at a rate that is equal to its self-discharge. To avoid damaging your battery, don’t leave it on trickle charge for more than 48 hours straight.
Some batteries can last three or four weeks before reaching the 80 percent mark. I would, however, recommend checking the battery every two weeks, maximum three, just to be safe.
A battery minder is a battery maintaining device that you can use to keep your battery conditioned all through winter. Buy one online or at a battery store, plug it into a household outlet and you’re good to go.
4. Store It Properly
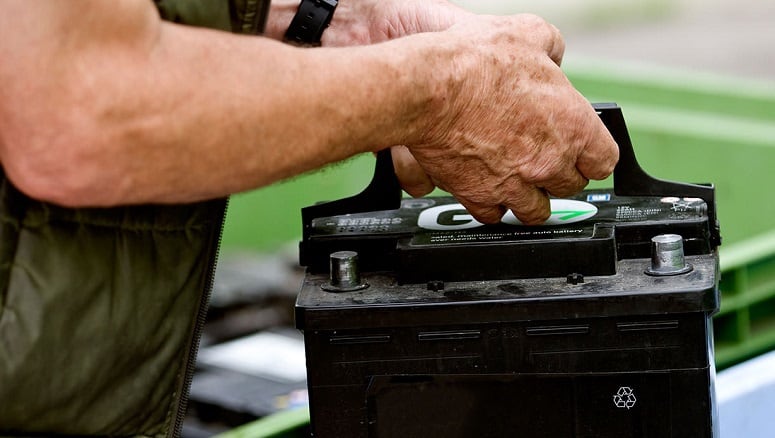
I don’t recommend leaving the battery in the camper trailer, as it can freeze when the temperature drops too low. As the battery freezes, the acid inside it expands, affecting both the battery plates and container and causing irreversible damage.
Under no circumstances should you try to charge a frozen battery, it can explode and cause a fire, not to mention injure you in the process.
Once you remove the battery from the camper trailer during winter, store it in a dry place away from the elements. Be careful not to expose your battery to heat sources, since this will increase the rate of self-discharge.
A battery that self-discharges too fast will require frequent charging to ensure it stays at 100 percent, otherwise, it will lose its power capacity as mentioned earlier.
Additionally, avoid placing the battery directly on the floor; instead, rest it above ground. Otherwise, use cardboard or similar material as a mat.
What Is Sulfation?
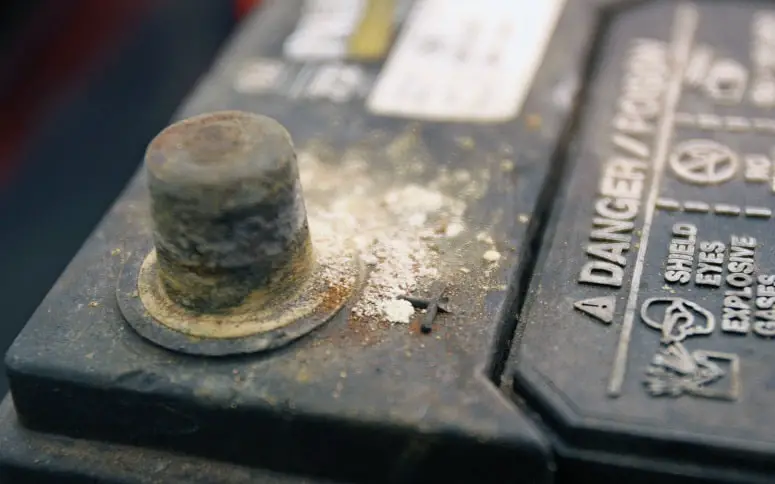
A better question would be, “What causes sulfation?” Let’s answer both.
Lead acid batteries consist of plates, lead and lead oxide that is submersed in electrolyte.
The composition of the electrolyte comprises distilled water and sulfuric acid.
Sulfation occurs when the sulfuric acid separates from the electrolyte. The sulfur ions begin to form crystals, which then coat the lead plates. Left unchecked, the crystals continue to grow in size and harden, resulting in all sorts of problems.
Some of the initial signs of sulfation include prolonged charging time and reduced power storage capacity. The lost efficiency and general deterioration lead to permanent failure.
So, what causes sulfation?
Long periods of disuse are responsible for sulfation. This is not particularly helpful when you consider that winter is several months long! Oh, and the fact that your battery will be in storage the entire time.
Luckily, it’s not all doom and gloom and you can actually prevent sulfation from occurring. Consistently charging your battery while in storage will prevent the separation of the electrolyte.
It will also stop the formation of crystals and break down any crystals that have started to form.
How To Handle Sulfation
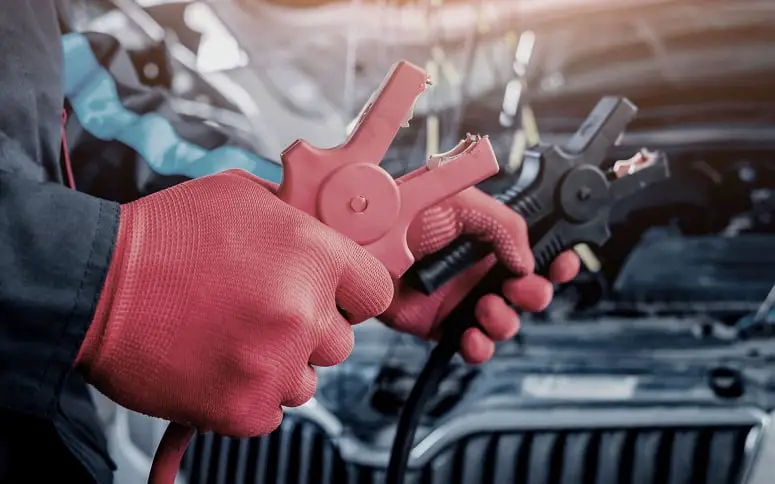
If caught early enough, sulfation can be reversed. A simple charge can break down the lead sulfate crystals which will then be absorbed into the electrolyte.
The battery should function well after this. You should, however, get a professional to do this to ensure you don’t overcharge it.
Permanent sulfation is just that. It’s caused by extended low battery charge and can’t be reversed. You’ll need to purchase a new battery to replace the damaged one.
When Should You Add Water To A Battery?
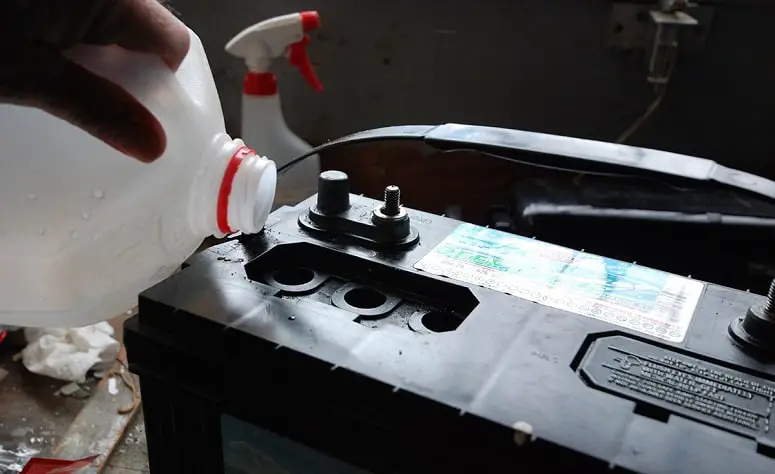
Maintaining the correct water levels in your camper battery is important even when it is in storage. Naturally, the more you use your battery, the more you need to refill the water.
A winterized battery requires less water but it will need water at some point.
There’s a delicate balance between underwatering and overwatering, you can find watering guidelines from the battery’s manufacturer. Use a hydrometer to check the electrolyte level.
Low electrolyte levels can cause irreparable damage to your battery. Overwatering, on the other hand, will dilute the electrolyte and lead to diminished battery performance.
Always add water after fully charging the battery, unless you are faced with a dry battery whose plates are exposed. In this case, just add enough water to reach the top of the plates, and then charge the battery.
Be sure to only use distilled water to avoid contaminating your battery. Regular water, including tap water, contains minerals which can shorten the battery’s lifespan.
Wrapping Up
Winterizing your camper battery the right way will be much easier when you use these handy tips. Remove the battery from the trailer before winter sets in.
Store it above ground and away from the elements. More importantly, monitor the battery’s discharge and top it up anytime it reaches 80 percent.
Remember, your battery’s lifespan is dependent on you.
Do you have more tips to help keep camper batteries from dying over winter?
Please let us know in the comments. Did you find our information useful? Please share it with others.


