When campers were first used for various forays, space was limited.
As we have learned more about the many ways we can maximize our space, friction fit shelves have become more popular.
Also known as interference fit shelves or press fit shelves, friction fit shelves open up a whole new world of space.
Those who are willing to utilize them are able to enjoy numerous advantages.
While there are a wide range of easy ways to create extra storage inside of your camper, friction fit shelves are the way to go.
They offer the sort of upgrades that cannot be achieved anywhere else.
Even those who find themselves reluctant to modify their camper will benefit.
Let’s take a closer look at the initial steps that must be taken before the camper’s new friction fit shelves are able to be added.
If you are looking to take advantage of this awesome idea, here is a helpful primer.
Read on to learn more about this process and the advantages you can enjoy.
Obtaining Material
The best part of all is that you will not need to obtain very much material.
This step of the process is much easier than you may think.
Head to your local home improvement store or your favorite online retailer to find out more about the furring strips that are needed.
Two sheets of masonite are also required for this task.
The furring strips are going to be used to support your shelves.
In addition to your furring strips and masonite, you may also want to use a jigsaw.
This makes the cutting process easier and ensures a much cleaner fit.
From there, it is time to create two different sides that are designed to hold the runners.
The runners will hold up the shelves and the shelves hold both sides apart.
No nails or screws are needed to complete the process.
This makes the friction fit shelving process a snap.
What Are The Next Steps?
This can be tricky, depending on the shape of your camper wall.
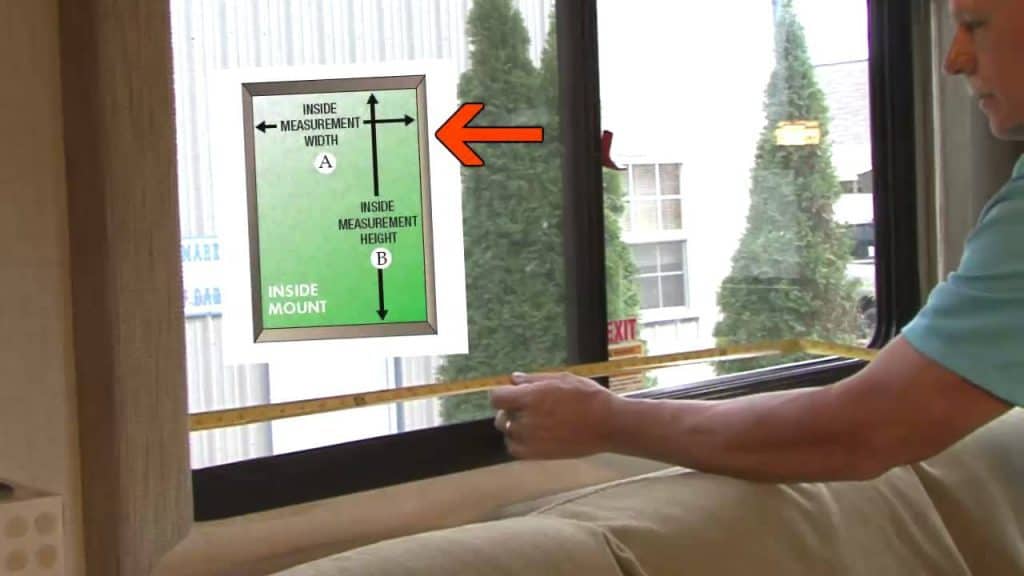
For best results, take the time to measure from the front bottom corner to the back of the camper and the top.
This gives you straightforward information to work with. Once you have an approximation to use for a template, you can proceed.
Paneling and cardboard work well when creating a template. You can use other materials if needed but these tend to work best. Some may try to use newspapers or magazine pages.
These materials are too flimsy, though. Try your best to avoid the usage of flimsy materials when possible.
Be sure to mark the materials properly. It can be difficult to see the marks once they are placed on the masonite you’ve purchased.
The last thing that you want to do in these scenarios is play a guessing game. Once you have taken care of this step, the rest of the process unfolds fairly simply.
A 7-Step Process For Installing Friction Fit Shelves
Even those who do not consider themselves to be especially handy will have no problem handling the process.
Upgrading your camper is just a few short steps away.
Read on to learn more about each of the following seven steps:
1. Deciding On Your Number Of Shelves

This will vary depending on the camper.
Some may only need two shelves.
Others may be preparing for a cross-country trip and want to provide themselves with an adequate amount of space.
Make sure to leave sufficient space between them, so that they can remain usable.
The more usable flat surfaces you have access to, the better.
2. Making Your Spacing Decisions
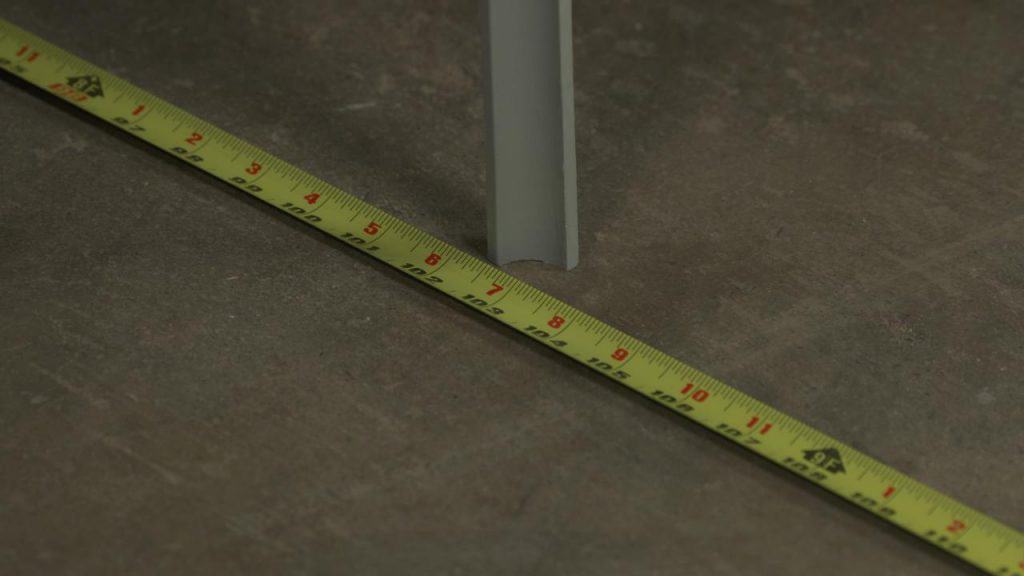
This is where the measurements that you have already taken are going to come in handy.
These measurements are not critical, though.
If you need to make any changes to suit the specific needs of your camper, feel free.
The most important thing is to make sure that you are creating a sufficient amount of room.
3. Cutting The Side Panels
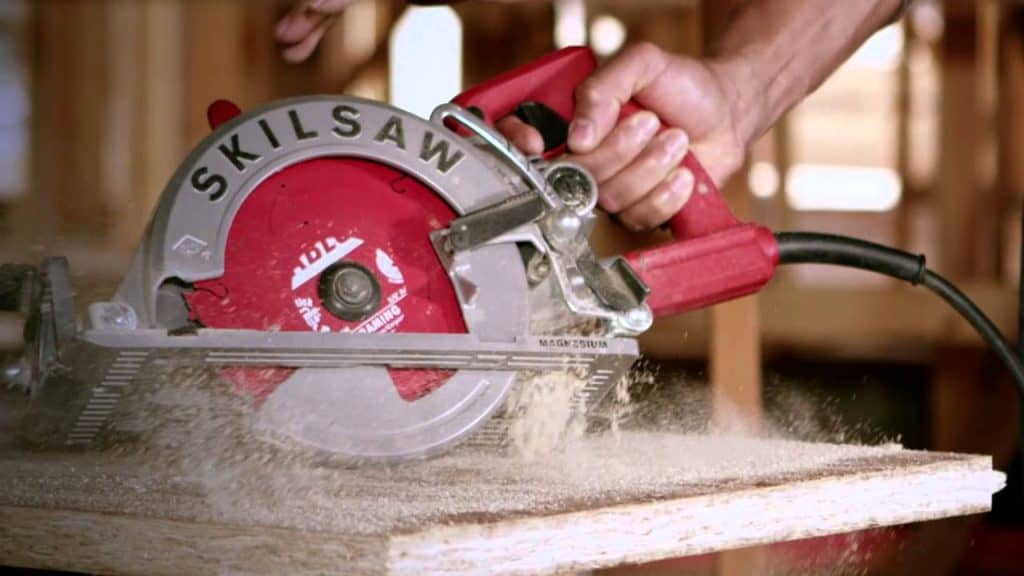
The aforementioned saw can be useful for this step but there are other cutting implements to be used.
A Skilsaw works best for this step.
The template markings will be there to help guide you through this process.
The circular saw works best if the angles are straight.
Ensure that the template markings have been made properly so that no mistakes take place.
4. Attachment Of The Shelf Supports
The attachment methods that are used will depend on the adhesives that you prefer.
Some camper owners may decide to use glue.
Others may want to use brads for extra clamping.
Liquid Nails works wonders.
If you can’t find Liquid Nails, look for other structural adhesives. Use this type of adhesive sparingly, though, it doesn’t need to be overdone.
5. Cutting The Shelves
Take your time with this step.
It is a crucial one.
There is a balancing art that needs to take place here.
The shelves must fit together tightly enough to hold it all in place.
Yet, the friction fit must also be even on both sides. The width between the side panels is a great way to measure.
Make sure that everything will be properly held in place before proceeding to the next step on the list.
6. Cutting And Measuring The Shelf Spreaders
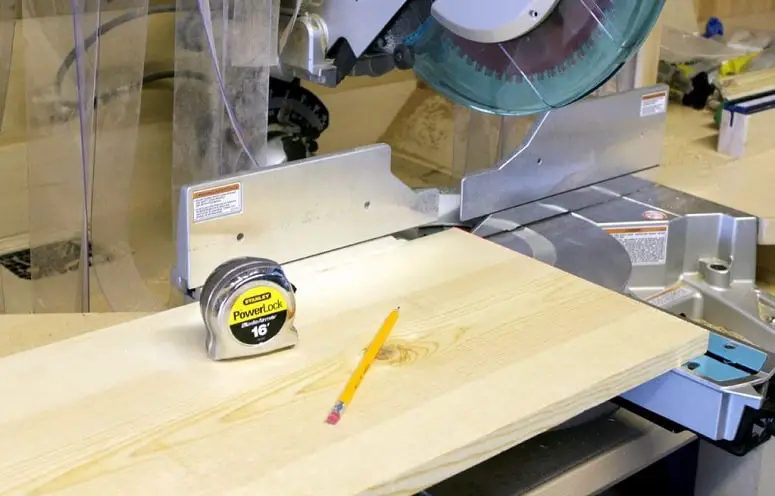
This step is more optional in nature.
While the masonite panels might be strong enough to hold up everything that you need, those who are more fanatical may not agree.
The spreaders are great for ensuring that the side panels stay in place.
They are a wonderful idea for anyone seeking extra storage capability.
If you opt for shelf spreaders, they need to fit between the shelf supports as tightly as possible.
7. Place The Shelves
Once everything is cut and ready to be placed, you are essentially all set.
As soon as the shelves have been placed, it is time to go through your packing checklist.
Now that you have all this extra room to work with, there is no limit to the storage possibilities.
Your head will be spinning when you think of all that additional space!
Once the shelving has been installed, you are able to enjoy a plethora of different advantages.
Permanently mounting friction fit shelves opens up the storage space in a variety of ways.
The average person is aware of the benefits of shelving in their home, but this doesn’t mean that they are aware of the benefits of camper shelving.
The time has come for a closer look at the many advantages you’ll enjoy once the aforementioned steps have been completed.
Putting Your Own Personality On Display
Friction fit shelving is about more than just opening up your space.
It is about allowing the owner of the camper to showcase their own personality.
You may be looking to optimize the existing storage space in your cupboards or cabinets.
Or perhaps you would like some space to dedicate to your collectibles.
No matter what your interests may be, there is a friction fit shelving plan that lets you store them safely.
Increased Functionality
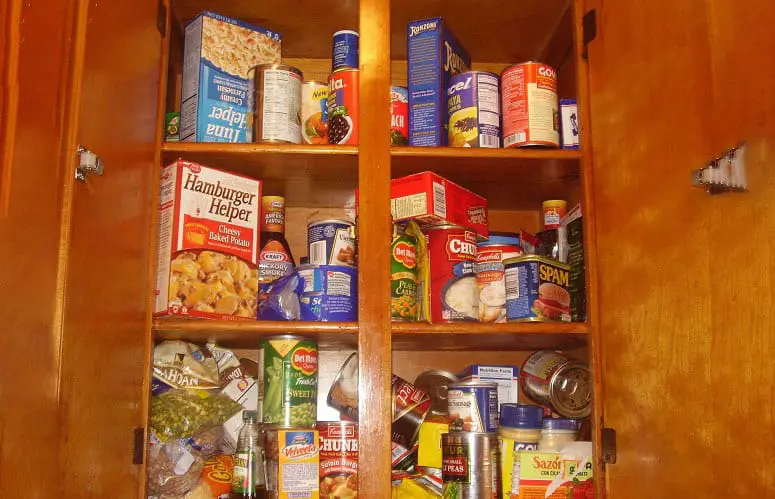
Shelves are great for organizing items.
What about functionality, though?
Those who are looking to create gourmet meals while on vacation, for example, will find that friction fit shelves make life easier while cooking.
Standard kitchen cabinets generally have only one shelf, with too much empty space above.
So you end up stacking items on top of each other and then it’s difficult to find ingredients quickly and easily.
The extra shelves are ideal for keeping all the ingredients to hand when cooking up a feast.
Placing the shelves at the customized heights allows you to easily organize your herbs and spices, dry food packs and cans.
Hidden Storage
This is especially important for those who are traveling with kids in tow.
A sturdy shelf that is hidden away from the common areas is key.
Parents are able to use the space in the common area for other (read: more important) purposes.
Meanwhile, children are able to bring all of the toys and games that will keep them away.
Sounds like a win/win proposition for all parties involved.
Hidden storage is also great for parents with little ones who are looking to store harmful chemicals.
Cleaning products and related materials should be stowed in an area that is not readily accessible.
Organize Your Clutter
Anyone who has ever taken a long road trip can tell you about the clutter that tends to accumulate.
Converting a smaller space into an area for storage is tremendously helpful in this regard.
There are a variety of ways that you can go about this task.
Using friction fit shelves is the best choice you can make, though.
With friction fit shelves, your days of navigating clutter will become a thing of the past.
Items can be grouped in a more logical manner.
It also becomes easier to throw away items that are no longer useful.
Removal of clutter is also linked to decreased stress and anxiety.
We want to hear from you.
Share your ideas on how friction fit shelves can help your next camper trip to be even more successful.
Tell us about your experiences and share this article with your social circle.


