Sick and tired of having a lackluster light source in your campsite?
It might be because you don’t have enough lumens: the measurement and power of light.
Lumens have a lot of insanely intricate components and variables, but we’ve done our best to comprise them in this bite-sized, easy-to-read guide that should explain everything you need to know about lighting up your campsite.
You’ll be able to shop for lighting equipment much more effectively, and fully know what you’re getting yourself into after this brief read. Ready to get started? Let’s hop into it.
First of All, What Are Lumens?
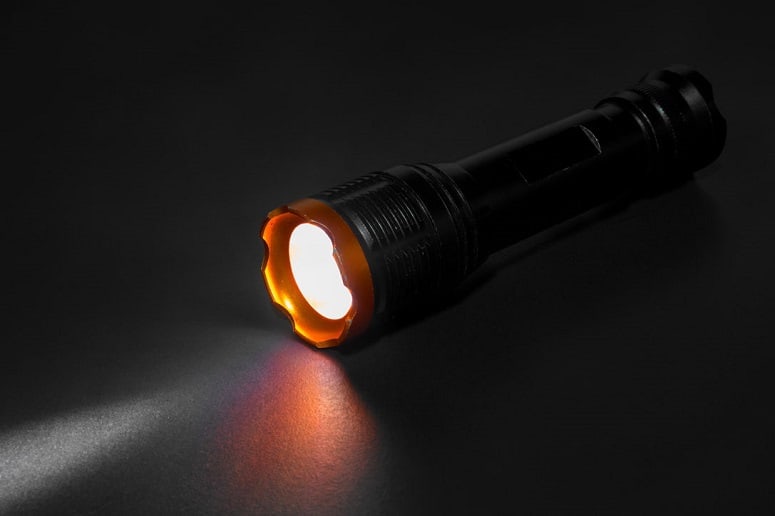
Lumens are a form of measuring light and are most commonly used when selling flashlights, lanterns, and headlamps to consumers.
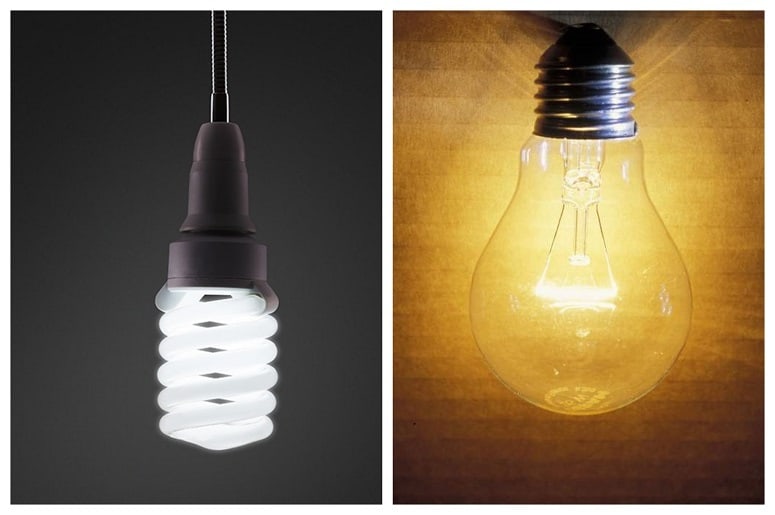
Lumens and wattage don’t necessarily have to add up, which we’ll talk about in a minute. Just because an average energy-saving lightbulb has 75 watts, doesn’t mean that it will have 1,100 lumens, and so on.
Wattage refers to power consumption, but you can get light sources that have more lumens without adding more wattage.
The trick is getting the most energy-efficient light source available by purchasing via the lumen number. This means less bulb burnouts, more time during charges (for rechargeable LED lanterns, etc.), and an overall better purchase.
Lumens identify brightness, and nothing else. To put it into perspective, Energy Star states that a 60-watt light bulb has an average of 800 lumens. If you put a 60-watt bulb into a table lamp in your living room right now and then turn it on, that’s about 800 lumens of power.
The thing is, you can magnify and manipulate lumens to appear brighter than they actually are. Part of this has to do with optical illusions, and part of it has to do with reflections.
Reflecting light does not produce more light out of anything, but instead, it moves the source of light around to produce more visibility to the naked eye. This works with both natural sunlight, as well as manufactured or synthetic light from a flashlight.
In fact, when you go to buy a flashlight, you can look inside the lens and see aluminum mirrors positioned in a cone shape all around the interior to manipulate (or focus) the light. That brings us to our next topic: strength.
Certain lumen strengths can also be used in self-defense scenarios, such as in EDC survival flashlights.
You can easily find inexpensive models with 3,000+ lumens, which when concentrated or put into a stun gun mode (strobe), you can disengage from assailants, or wild animals on the campsite.
3,000 lumens is more than enough to see from one end of a football field to the other, five times over.
Focused Light Versus 360-Degree Light
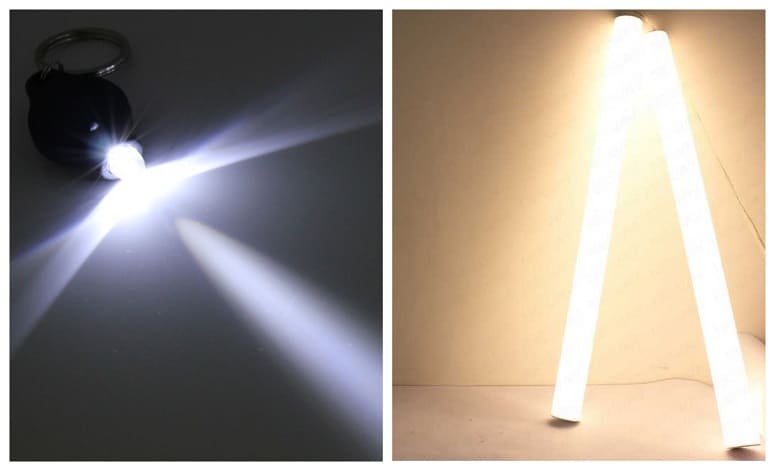
As we discussed, you can’t produce more light from a source without increasing the base lumens, but those lumens can be projected differently.
If you have a 1,000-lumen camping lantern versus a 1,000-lumen tactical flashlight, they will produce different levels of visibility. Your lantern allows that light to travel in a 360-degree direction, evenly displacing those 1,000 lumens of power all around the source.
With a flashlight, whether it’s using internal mirrors or not, that source (the maximum lumen power) is still at 1,000, but it’s being focused in one direction. You would describe these as dim lights versus “blinding” lights.
This is going to define how you purchase and use lighting equipment. If you’re trying to maintain an even level of light in your campsite, you’ll opt for lanterns (and hopefully, more than 1,000 lumens).
If you’re planning on using the campfire for light, and you have a relatively small campsite, you can probably stick with some tactical flashlights.
The Difference Between LED Lumens and Gas Light Lumens
Gas lanterns work differently from LED, electric-powered models. If your gas lantern is creating the energy for an LED light bulb, this section only moderately applies to it.
Lumens from a fire are inconsistent, which means at any point, you can lose certain amounts of visibility.
If your LED lantern is set to the highest mode (let’s say 1,200 lumens), it will consistently provide that parameter of light to you, whereas flame-fed lanterns fluctuate.
How to Keep Your Campsite Lit Up Properly
The goal of all this information is to upkeep a certain lighting level on your campsite, and now that we’ve covered all the bases, it’s time to tell you how to achieve it.
1. Find the Total Area of Your Campsite

Use a measuring tape and find an approximate square footage of your campsite.
Keep in mind that while doing this, you want to account for an additional foot of circumference so that you’re not leaving any dark nooks and crannies.
This is going to determine how many lumens you’ll need, and since you obviously want to know before you pack up to go camping, make a mock campsite in the backyard before going.
Set up the tent, designate areas for equipment storage and cooking spaces, and write down how many square feet there are.
2. Determine Your Comfortable Lighting Zone
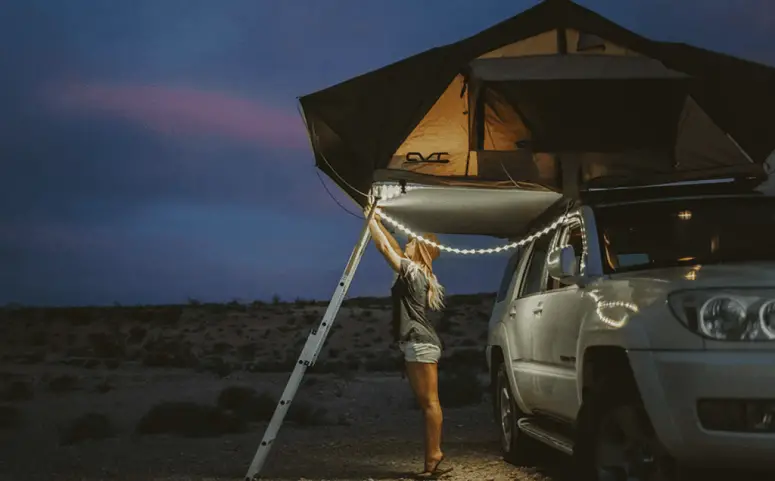
Everyone’s eyes adjust differently, and some of us can just see better in limited visibility. Find out how much you enjoy for a lighting zone, and if you’re bringing other party members along, ensure that they can see as well.
The best way to determine this is by figuring out how many lumens you use in an indoor space, and gauging how comfortable that lighting level is.
We want to find the total lumens per square foot that you’ll need, so you will need to:
- Find the square footage of a mock room (let’s say your living room)
- Determine how many lumens are in each of the light sources (and where they are placed)
Now take the total number of lumens in your space. Let’s say there are three fixtures at 1,000 lumens each, so you have a total of 3,000 lumens.
Now divide that by your room’s square footage, and see what you get. In our example, 3,000/150 = 20, so if that zone is comfortable to you, then your goal should be 20 lumens per square foot. This can be hard to achieve. If you’re uncertain of that lighting level, get a lamp, place it in the center of the room, and turn all the other lights off.
See how much light that lamp is giving off, and use that light bulb lumen rating to determine how many lumens per square foot there are.
If the bulb is about 800 lumens in the same sized space we discussed earlier, then you would have 800/150 = 5.33, a significantly lower number than we found before. Compare these two findings, and see how much light you’re going to need.
3. Ensure You Aren’t Bothering Other Campsites
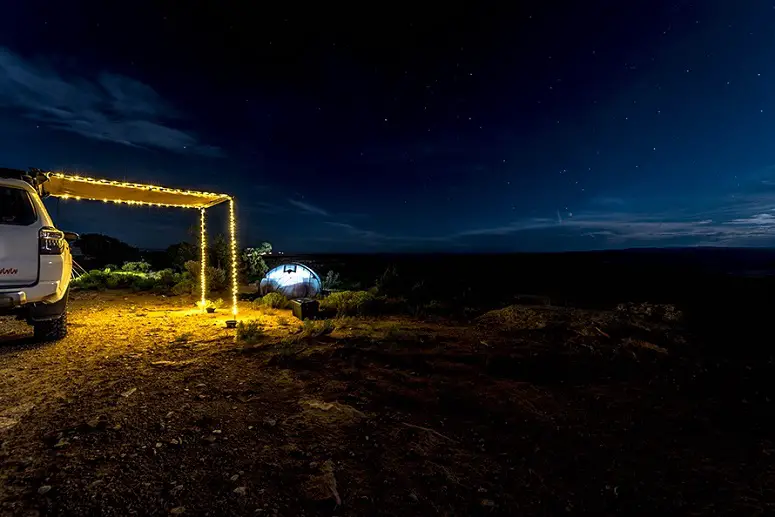
This may not sound like a step in lighting up your camp appropriately, but it is.
If you find the perfect lighting environment that’s right for you, but a neighboring campsite is complaining, then you’re going to have to switch tacts.
You don’t want to feel underlit, so determine if this is going to cause issues between you and other campers.
4. Use Multiple Lanterns In Between Tents
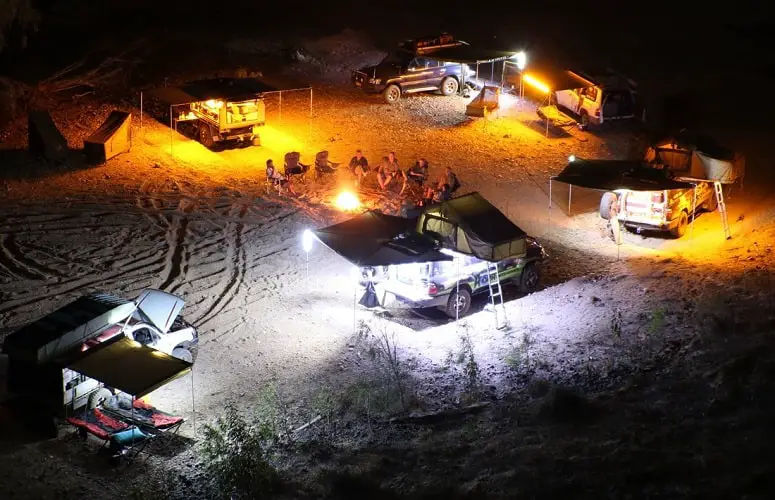
Got a large party? Having a couple of light sources may give you enough lumens on paper, but you have to think of the obstacles: people around the fire, tents, and other items that may be around like a grill.
Getting a batch of lower-powered lanterns and placing them in between tents could provide you with the ideal lighting environment without too many shadowed or dark patches.
5. Only Keep Flashlights In Tents
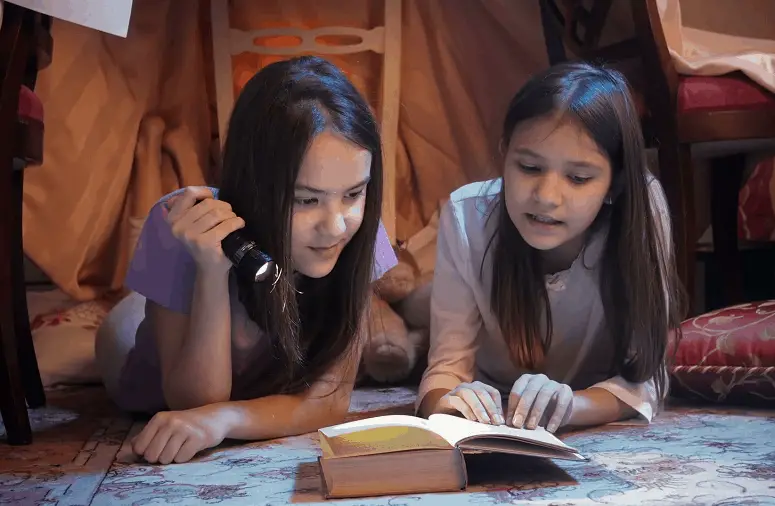
In the spirit of not bothering your neighbors, only equip flashlights for personal use, and not as a primary source.
We talked about focused versus dispersed light earlier, and this is a surefire way to not only limit your visibility but potentially tick off your neighbors.
Visibility Is Key
The visibility in your campsite is key to ensuring comfort, peace of mind, and knowing what that sound is in the dark late at night.
You’re equipped with enough working knowledge over lumens to make a more informed decision.
Now that you know what you’re looking for in terms of lighting, be sure to check out our other guides.
References:


![9 Final Thoughts And Items For Your First Camper Adventure [Checklist] 12 RV Camping Checklist](https://kempoo.com/wp-content/uploads/2018/11/first-camper-adventure.jpg)
