The big day is coming up, and you’re the designated individual that’s hell-bent on setting up campsite the perfect way.
Problem is, you don’t have that much experience in selecting an area and propping everything up.
This is your guide because we’re about to disclose a ton of secrets in choosing the best campsite, regardless of your expertise.
You know what they say: location, location, location. It’s a fact in just about any scenario you can think of: location matters, so from picking the right spot to designating where everything goes, we’re going to get your prepared.
We’ve also snuck in a few elite camping hacks from our detailed camping hack article, in order to give you a little bit more info to push you over the line.
Today you’re a camping enthusiast, but tomorrow, you’ll be a skilled survivalist.
Choose High, Level Ground to Start Out
Even if it feels like a minor detail, every logistics of your camping trip will come into play sooner or later.
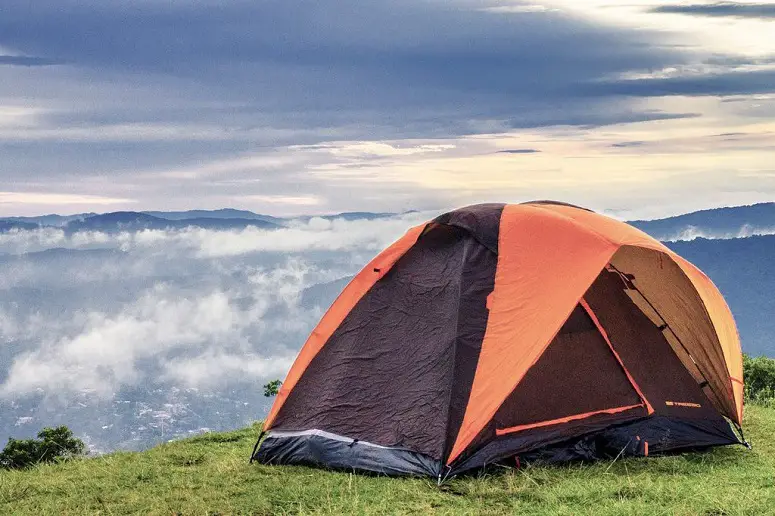
To start things out right, you need to find the high ground and claim it for yourself.
There are a ton of reasons why high and level ground is important, including:
Flood Protection
Higher ground means a less likely chance of water pooling up in your campsite. On the other hand, level ground is good because water won’t flow through your campsite on its way to a lower elevation.
On that note, do be careful that your flat ground isn’t immediately downhill from a very steep point, or else you might find yourself treading water. This is where bucket-style tent flooring and tables for your equipment come in handy.
Stay Away From Meadows
We’re trying to avoid big insects that tend to lurk in these areas.
Ants can be just about anywhere, but larger predatory insects usually reside near tall grass. If you can find high ground that is predominately dirt without any grass at all, that’s going to be your best bet.
Beware Widow Makers
This is a term for previously fallen trees that are visibly leaning on other trees. At any point, a strong wind could knock it loose, and straight down on you.
The tricky part is that you still want to be near some tall trees but inspect the campsite first to ensure that this isn’t an issue.
Stay Away From Cliffs
We trust you to not walk off of them, but you’re risking the chance of rockslides or falling boulders. Just because it’s a rare chance doesn’t mean it’s one that you need to test.
If you find a perfect campsite with everything you want, but it’s at the base of an overhanging rocky crag, pack up and find a new spot.
Do your best to make sure it’s not difficult to get to your campsite. In the event of an emergency, you want an easy path back to your vehicle, or to the campground central office to get some help.
The level ground also allows you to place your tent much more easily, without having to account for imperfections in the land.
Check for Running Water
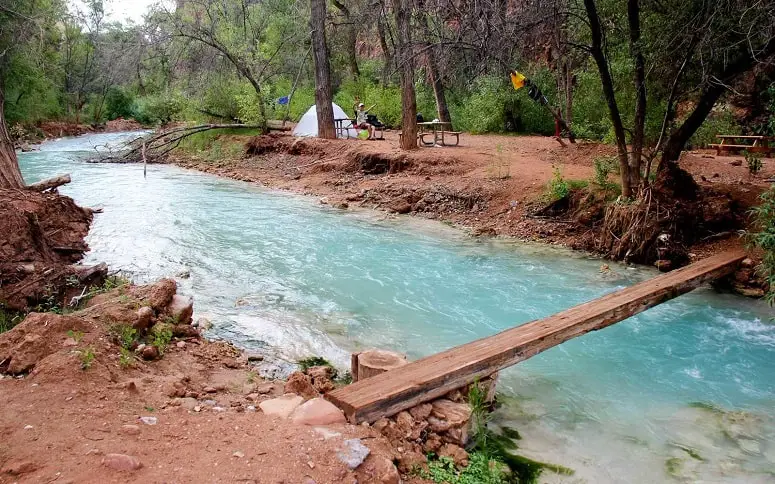
There are two reasons to check for running water: to have a nearby source but to also not have it be too close by.
There’s a rule that you need to be at least 200 feet away from any running water source where animals drink from.
The reason being is that not only will you disrupt wildlife, but if you’re using the toilet outside and burying your waste, it needs to be a certain distance away from clean, running water sources.
We like to stay 250 feet away just to be safe and ensure there’s no rule-breaking.
If you’re like us, you’re bringing a gravity-fed water filtration system along for the ride so you don’t have to lug heavy water jugs.
One gallon of water weighs approximately eight pounds, but a proper water filtration system can clean about two gallons in eight minutes.
We’ve covered a guide on water filtration and the facts that you need to know about it before getting started.
Look for a Safe Campfire/Cooking Spot
Campfire safety is huge, and so is picking the right spot to set up shop in the first place.
When we go camping, we want to cause as little disturbance to the campsite and wildlife as possible.
When it comes to your firepit, it’s a risk versus reward mindset, because you may have to clear a bit of brush or debris in order to make a safe campfire spot.
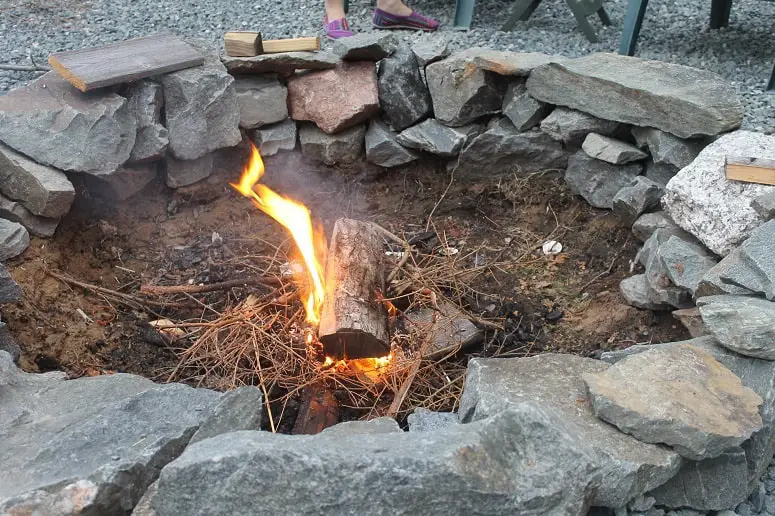
If you’re really roughing it and the campsite doesn’t come with a pre-configured fire pit, that’s okay.
Head into the woods and find a collection of large stones, and make a ring around your campfire.
We want cinders and wisps of fire to be completely contained, so look for a central location in your campsite where the only nearby things will be your plastic camping chairs.
After that’s all said and done, create a small campfire with a minimized peak.
Your campfire peak is the tallest point of tinder (usually located in the direct center of your campfire), but you can still get a good fire going with a short peak.
You’ll have to account for wind speed and direction, so you’re not sending flare-ups toward your belongings.
Designate Your Area
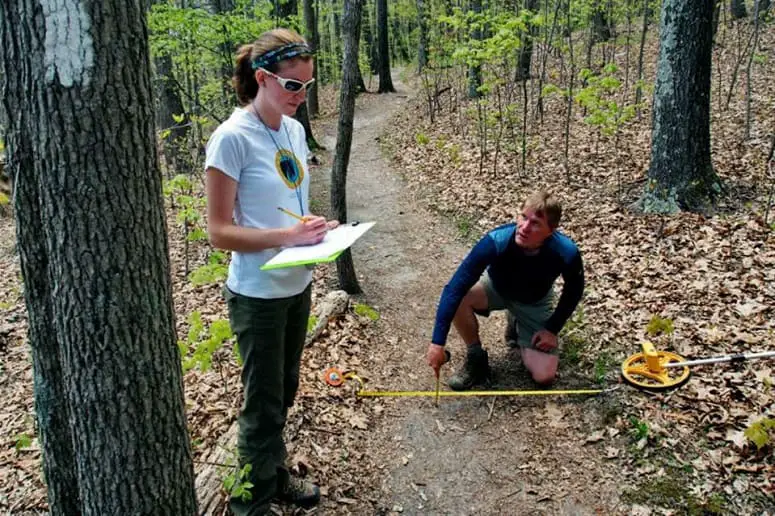
This can get a bit technical if you’re a first-timer.
Bring along a measuring tape, and decide where all the tents are going to go.
This will help you light up your campsite more effectively, and help you place your lanterns in key areas.
The difficulty here is ensuring everyone has a bit of privacy, particularly in large party camping situations.
A good rule of thumb is to have at least six feet of space between tents, but if you’re on a large campsite and you don’t want noise/eavesdropping to be an issue, opt for ten to twelve feet between tents.
While designating your area, you need to think about where the handwashing station, grill, campfire and other campsite components are going.
We want to have wide open spaces to walk between everything, so nobody is knocking over a grill or tripping on a tent wire.
It’s a good idea to write down a list of dimensions for your big items, like the ones we’ve mentioned here, so you can get a feel for where everything is going to end up.
Start With the Hub: Your Tent
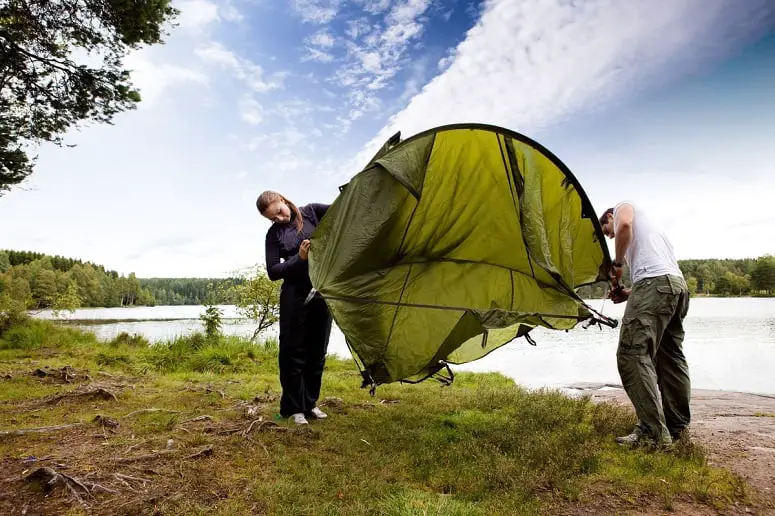
So now it’s time to actually set things up.
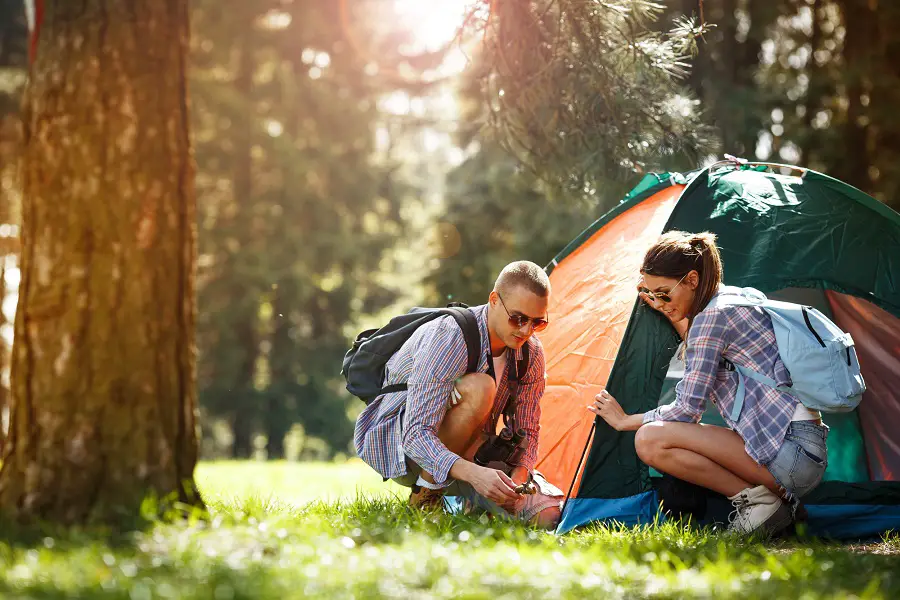
You chose a good spot, you have enough space, so start setting up your tent.
Inspect the ground to make sure it’s going to hold onto your tent stakes properly.
If you have multiple tents, you can overlap tent stakes and lines to keep them close together (if you’re on a small campsite).
This maximizes space, and gives you a spot to rest if you’re weary from travel.
Designate a Toilet Area
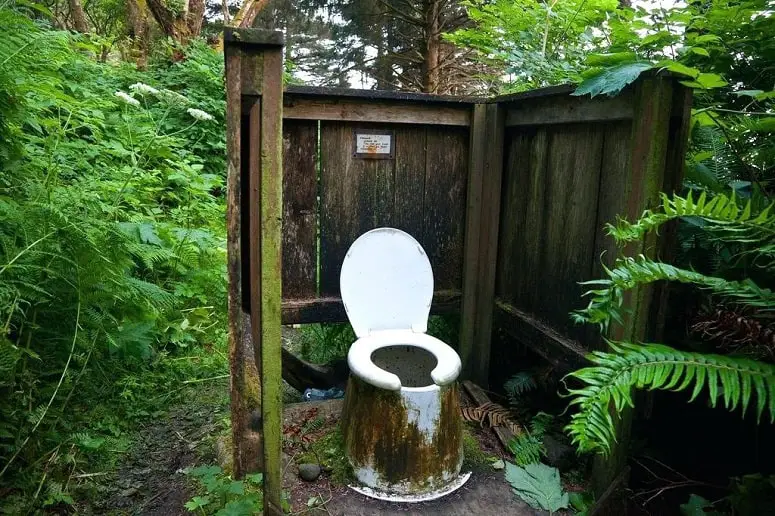
Whether you’re making a DIY toilet or you’re burying your waste in the woods, you need to designate that area.
If you’ve gone solo, then you can ignore this step, but if you’re with friends you don’t want to “walk-in” on one another while you’re trying to answer nature’s call.
You can use some of our camping hacks to make your toilet area a little more comfortable and similar to the indoors.
If you’re using the on-site camp facilities or you’re camping alone, it’s important to bring a lock for your tent zipper.
You never know what kind of people are camping in the site next door, and it’s important to keep your belongings safe.
Stow mostly everything you can in your tent while you’re gone. At night, keep a lantern on inside your tent to make it appear like you’re there, even when you run to the restroom.
Hang Food From a Branch
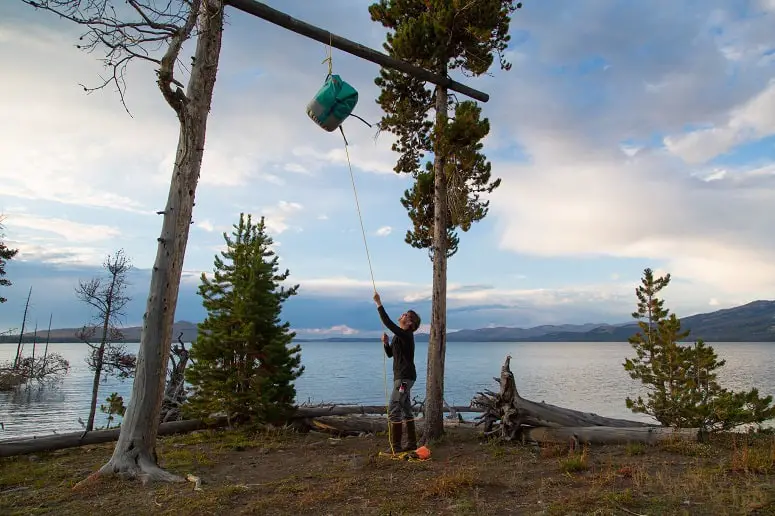
Want to get woken up by a black bear at 2:00 AM?
We didn’t think so.
There are tons of critters who can smell food from five-hundred feet away or more, so it’s best to hang it from a branch in sealed containers.
Besides that, it will keep ants, insects, and other critters at bay. This is often called a bear bag, and it’s got a few different ways you can pack it.
Our favorite method is to get a child-sized hammock and position it between two trees.
This offers some of the highest storage and isn’t directly accessible from a branch (bears do know how to climb, you know).
You can also hoist up a dense nylon bag with some rope, leave it hanging ten feet in the air, and tie the rope around a tent stake.
The point is, keep your food up high to ensure the safety of your entire camping crew.
Fill the Space
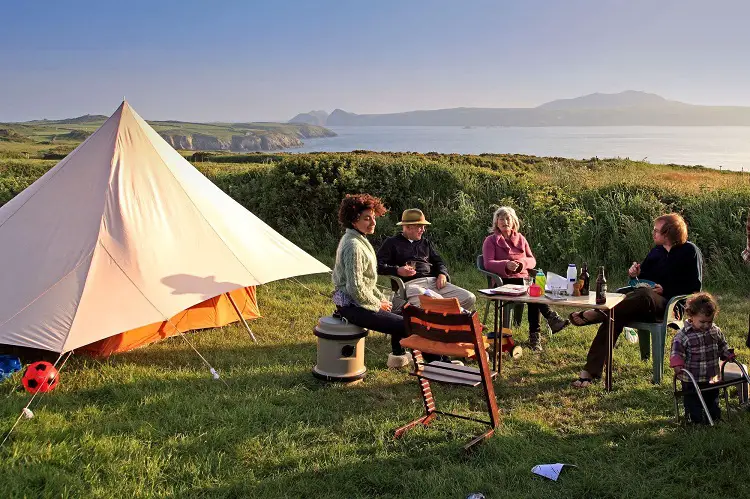
Now that you have a fully prepared campsite, it’s time to unravel the little things that make this outdoor space into a home away from home.
Start by getting the interior of your tent ready. If you’re placing sleeping pads or foam connector tiles down, take care of that first.
This is where the handy packing techniques that we mentioned earlier come into play. If you have a tent with bucket-style flooring, you might find it a bit difficult to space out those tiles.
If you’ve found solid, level ground, then this issue should resolve itself after walking on the pad/tiles for a while.
Pop the camping table up, bring any essentials inside, and you’ll be all set with the tent interior. Head outside, and start getting the fire going in the middle of the camp.
This gives you a sense of finality like you’re finally settling into your outdoor space. This also lets you designate where the chairs are going to go in proximity to the fire pit.
From there, place a waste bin within arm’s reach, so if you’re enjoying a few cold ones by the fire later, you’re right near a trash bin.
You’re all set to kick back and enjoy, but if you want to increase your game further, read these takeaway tips on maintaining the perfect campsite.
Create a Kitchen Station
Cooking outdoors?
We all love to throw a few steaks on the grill, but cleanup tends to be a nightmare. Get an outdoor sink, and create a DIY hand washing station out of a 2.5-gallon jug and a paper towel holder, so you can have a miniature takeaway kitchen in the great outdoors.
This keeps everything neat and tidy, but also gives you a place to keep your cookware and camping essentials clean.
Pack a Handheld Vacuum
This borders on eccentric, but nobody likes having dirt and dust on the inside of their tent. Keep this indoors, and run it before you go to sleep every night.
A handheld model usually costs around $30 and will give you about twenty minutes of runtime on a single charge. Since you’ll only need it for 1-2 minutes during each use, you shouldn’t burn through the battery supply.
Keep Trash Out of Sight
If you can’t stand the sight of the kitchen barrel at home, you’re not alone: people like having their garbage out of sight, and out of mind.
If you’re not a fan of keeping the trash bin by the campfire, keep it inside your tent, and let your camping party know where it is so things stay neat and tidy. A visible can of trash doesn’t exactly make the
There’s No Time Like the Present
What are you waiting for?
Put all of this fresh information to good use, and bring some notes along to ensure you don’t forget a thing.
We’re not only creating guides that transform your camping know-how, but we’re also reviewing top-line gear that refuses to quit, even when the going gets rough.
Find our buying guides, how-to’s, and snippet articles to better prepare you for come-what-may.
There’s a brash wilderness out there, and devil-may-care, you’re going to conquer it.
References:


![9 Final Thoughts And Items For Your First Camper Adventure [Checklist] 12 RV Camping Checklist](https://kempoo.com/wp-content/uploads/2018/11/first-camper-adventure.jpg)
